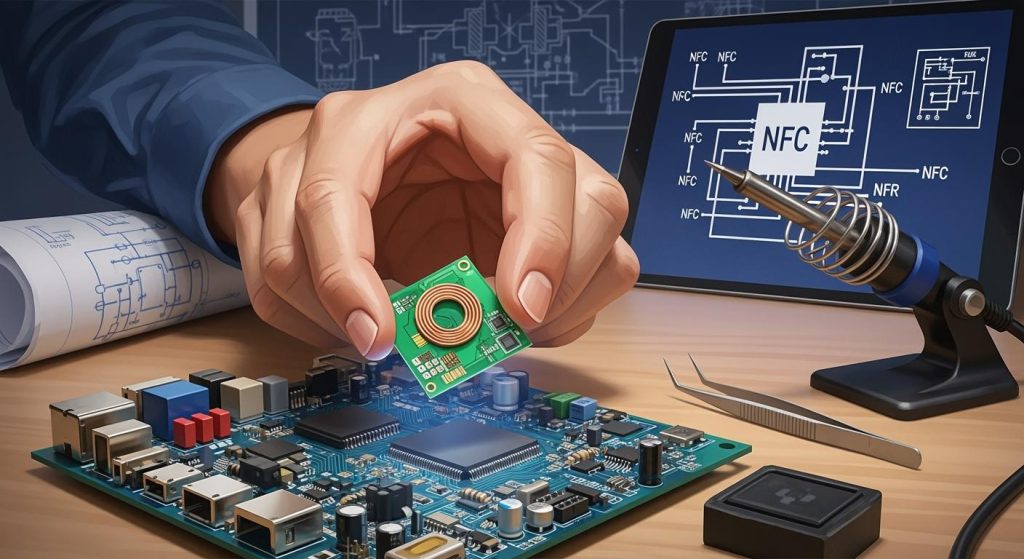
LED driver PCBs are important for powering LED systems. They control voltage and current to make LEDs work well. This also helps LEDs last longer. PCB cloning means copying a board by studying its design. This lets you learn how a LED driver PCB works. It helps create new ideas and save money. Copying high-power LED boards can help make custom lights. It can also improve older designs. Studying these PCBs shows how they work and boosts performance. This is useful for many different uses.
Key Takeaways
LED driver PCBs control power to make LEDs work well and last longer.
Copying PCBs can cut costs and help test designs faster, leading to quicker product releases and better designs.
Knowing the rules about copying PCBs is important; always get permission to avoid breaking copyright laws.
Good heat control is key for LEDs to work well; materials like aluminum or copper help remove heat.
Looking at current PCB designs can give new ideas and improve your projects.
Understanding LED Driver PCBs
Key Components
Power supply and regulation
The power supply is the heart of an LED driver PCB. It gives the right voltage and current to the LEDs. Without it, LEDs might overheat or stop working early. Many modern PCBs use constant current or voltage supplies. Constant current keeps brightness steady. Constant voltage works well with many LEDs in one system.
Control circuitry
Control circuits decide how LEDs work. They include parts like microcontrollers and chips. These parts control dimming, timing, and other features. This lets you design lights for specific needs, like saving energy or improving user experience.
Protection mechanisms
Protection features keep the LED PCB safe from harm. These include stopping over-voltage, short circuits, and overheating. Adding these features makes LEDs last longer and work better.
Core Functions
Voltage and current regulation
LED driver PCBs keep voltage and current steady. This is important to stop flickering and save energy. For example, good drivers turn power into light efficiently. This is a key part of designing LED PCBs.
Thermal management
Heat is a big problem for LEDs. Good thermal management keeps LEDs cool and safe. Tools like heat sinks and pads help remove heat. This improves how well the PCB works and makes it last longer.
Dimming and control features
Dimming lets you change how bright LEDs are. Advanced PCBs use methods like PWM or analog dimming. These make lights more flexible and save energy. They also work smoothly with different dimmers without flickering or noise.
LED PCB Assembly Process and PCB Cloning
Steps in PCB Cloning
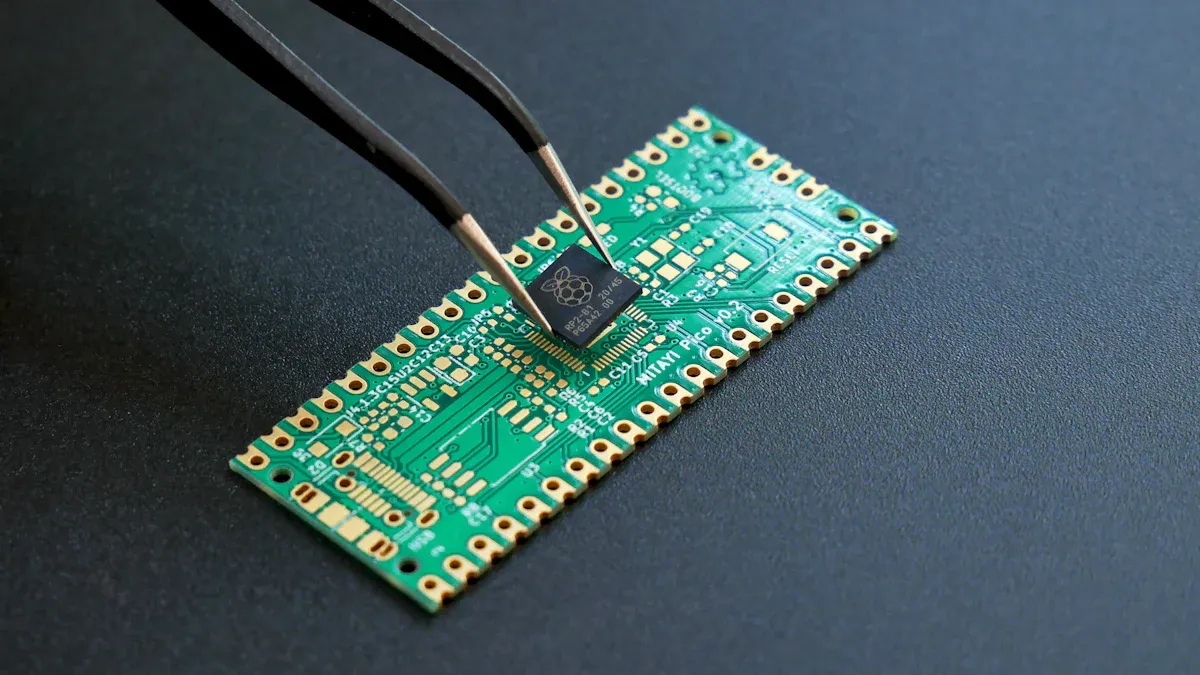
Taking apart the board
The first step is to take the board apart. Remove all parts carefully without breaking them. This helps you study each piece and its job in the circuit. Tools like soldering irons and pumps make this easier. After removing the parts, the board is ready for scanning.
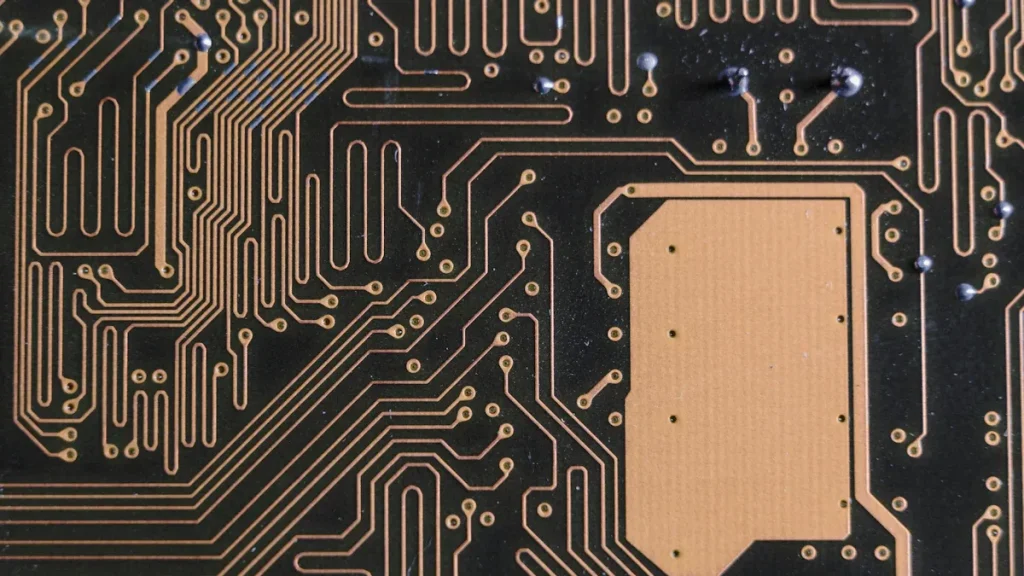
Scanning the board
Scanning is important to copy the board correctly. Scan both the top and bottom sides of the board. Use high-quality scanners to see all details like lines and holes. After scanning, software like Photoshop can improve the images. Clear scans help you get accurate designs and layouts.
Getting schematics and layouts
With clear scans, you can create schematics and layouts. Software like PROTEL99 changes the scans into editable files. This lets you rebuild the design on a computer. You can measure and arrange parts for the new board. This step ensures the new board works like the original.
Tools for PCB Analysis
Design software
Design software is very helpful for copying boards. It helps you draw and edit designs and layouts. Programs like Altium Designer and Eagle make this simple. They let you see the board and fix mistakes. Using design software makes the process accurate and easy.
Testing tools
Testing is an important part of copying boards. Tools like multimeters and oscilloscopes check if the board works. These tools find problems so you can fix them. Testing makes sure the new board is good quality and works well.
Reverse Engineering Techniques
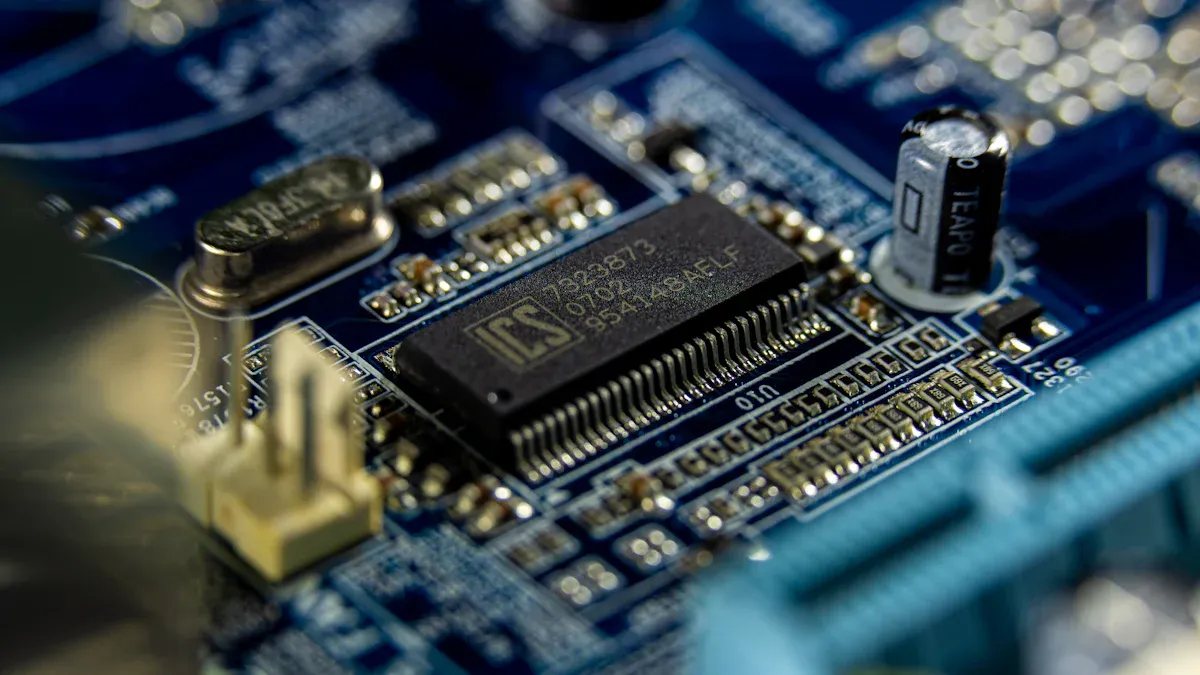
Finding parts
Finding parts is a key step in copying boards. You need to know each part, like resistors and chips. Tools like magnifying glasses and datasheets help you identify them. This step ensures you use the right parts for the new board.
Rebuilding the circuit
Rebuilding the circuit means putting the parts and connections back together. Use the schematics and layouts to guide you. Software tools make this step faster and more accurate. This finishes the copying process, making the board ready to use.
Benefits and Challenges of PCB Cloning
Benefits
Saving money
Cloning PCBs helps save money. Copying designs skips the cost of making new ones. It also lowers expenses during testing and building samples. Studies show cloned PCBs are cheaper but just as reliable. This makes cloning a smart choice for saving money without losing quality.
Faster design testing
Cloning speeds up testing new designs. You can copy, test, and fix designs quickly. This helps launch products faster. Research shows companies using cloning finish projects sooner. Reusing good designs keeps you ahead in fast-moving fields like LED lighting.
Learning from other designs
Cloning teaches you about existing designs. By studying copied PCBs, you learn how they work. This can spark new ideas and improve your projects. For example, you can change cloned designs to fit your needs or make them work better.
Challenges
Legal and ethical issues
Cloning PCBs can cause legal problems. Copying without permission might break laws. Always check who owns the design and get approval first. Following rules avoids trouble when cloning boards.
Technical difficulties
Cloning needs special skills. You must know parts, rebuild circuits, and make accurate layouts. Without the right tools or knowledge, it’s hard to get good results.
Keeping quality high
Good quality is key for cloned PCBs. Bad copies can fail or work poorly in important uses like LED lights. Use trusted cloning services and test carefully. This ensures your boards meet standards and last a long time.
Technical Aspects of LED Driver PCB Analysis
Material Selection
Substrate materials
The material used for the PCB base is very important. For low-power LEDs, FR4 is cheap and works well. But it has low heat transfer (0.3 W/m·K). This makes it bad for high-power LEDs. MCPCBs, like aluminum or copper bases, are better. Aluminum can transfer heat up to 200 W/m·K. Copper is even better at 380 W/m·K. These materials help remove heat, making LEDs last longer and work better.
When picking a substrate, think about:
Thermal conductivity: Higher numbers mean better heat removal.
Coefficient of thermal expansion (CTE): Matching CTE with LED parts avoids stress.
Dielectric strength: High strength lowers the chance of short circuits.
Conductive layers
The layers that carry electricity are also key. For high-power LEDs, thicker copper (2 oz or more) is best. It lowers resistance and heat, helping the PCB work well. Good conductive layers make the board stronger and more reliable for tough jobs.
Thermal Management
Heat dissipation techniques
Good heat control keeps LED PCBs working well. MCPCBs are great because they transfer heat better than FR4 boards. Thermal interface materials (TIM) help by lowering heat resistance between parts. Aluminum heat sinks are also common. They pull heat away from the PCB quickly and efficiently.
Thermal vias and pads
Thermal vias and pads help move heat out of the PCB. They send heat to coolers like heat sinks. Adding more thermal vias improves heat flow and stops hot spots. This keeps LEDs at safe temperatures, making them last longer.
Design Principles
Layout optimization
A good layout makes the PCB work better. Shorter paths for electricity lower resistance and improve signals. Solid copper areas help return currents flow easily. Stitching vias connect layers, improving current flow and cutting noise.
Minimizing EMI
Electromagnetic interference (EMI) can harm LED performance. To reduce EMI, keep signal paths short and use solid copper areas. These steps lower interference and improve signals. Stitching vias also help by keeping current paths steady, reducing EMI further.
Applications and Use Cases
LED Lighting Applications
Retrofitting systems
Upgrading old lights with LED driver PCBs saves energy. For example, swapping incandescent bulbs for LEDs lowers electricity bills. This is popular in homes for long-lasting lighting. Streetlights also benefit by using less power and improving visibility. LED PCBs make older systems modern and reliable.
Customizing LED solutions
Advanced PCBs help create special LED lighting designs. You can make lights for plants or buildings. Stage lights and gaming gear use custom boards for cool effects. These PCBs control brightness, colors, and energy use. Custom LED designs work for homes, businesses, and creative ideas.
Industry Use Cases
Consumer electronics
LED driver PCBs are key in gadgets like phones and laptops. They power screen lights and status indicators efficiently. Gaming keyboards use them for colorful lighting effects. Their small size and reliability make them perfect for modern devices.
Automotive lighting
Cars use LED PCBs for headlights, taillights, and inside lights. These boards make roads safer with bright, steady lighting. They also improve car looks with custom light designs. Taillights with LED PCBs last longer and need less upkeep. Their compact size fits well in cars.
Industrial and commercial systems
Factories and offices use LED PCBs for strong, bright lights. Floodlights and high bay lights rely on these boards for safety. LEDs stay cool while lighting up large spaces. Stores and offices use them to save energy and work efficiently. These PCBs are tough and great for heavy-duty jobs.
Studying and copying LED driver PCBs is important for new lighting ideas. It helps you learn about designs, make them better, and save money. But, it’s important to follow the law. For example, copyright and patent rules protect original designs, as shown in studies. By learning about PCB analysis, you can find new ways to improve lighting while staying ethical. Whether upgrading old systems or making custom lights, this knowledge helps you create responsibly.
Aspect | Description |
|---|---|
Legal Considerations | The section explains important legal rules for PCB copying, like copyright, patents, trademarks, and trade secrets. |
Technical Processes | It talks about the steps to copy PCBs and how they are done in the industry. |
Industry Applications | The section shows how PCB copying is used in different industries, with examples and data to explain its importance and common use. |
FAQ
What does an LED driver PCB do?
An LED driver PCB powers and controls LEDs. It keeps voltage and current steady. This stops flickering and overheating. It also helps LEDs last longer.
Is it legal to copy an LED driver PCB?
You can copy a PCB if you follow the law. Check who owns the design first. Get permission if needed. Breaking rules can cause big problems.
What tools are needed to copy a PCB?
You need tools like soldering irons and multimeters. CAD software and scanners are also important. Oscilloscopes help check and copy designs correctly.
How does heat control help LEDs work better?
Heat control removes extra heat from the PCB. Materials like aluminum or copper are used. Thermal vias also help keep LEDs cool. This makes them last longer and work well.
How does PCB copying help with new ideas?
Copying lets you learn from other designs. It makes testing faster and cheaper. You can change copied designs to fit your needs or create new ones.
Tip: Always test copied PCBs carefully to ensure they work well.