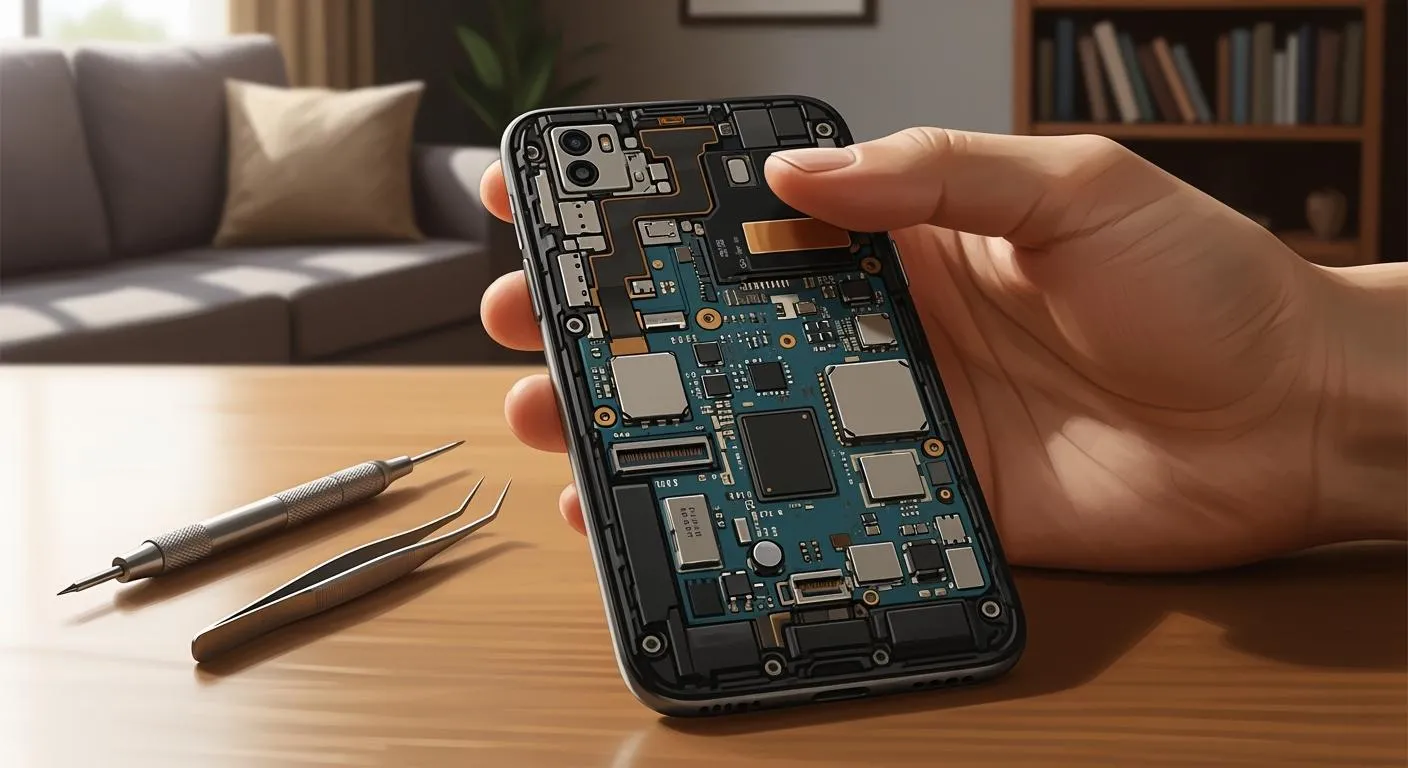
You can replace a mobile phone motherboard at home if you have the right tools and follow each step carefully. Before you start, make sure you stay safe, check if the parts fit, and save your data. If you have a smartphone like an iPhone 5s or Redmi 2, you can try this fix yourself. Be careful of these common problems:
You might lose your data if the motherboard breaks.
Your device could stop working for good.
Broken power circuits can get too hot.
Opening your phone usually means you lose your warranty.
Coverage Type | Description |
|---|---|
Covered | Problems inside the phone from normal use |
Not Covered | Fixes by people not allowed or using other parts |
If you do not feel sure, ask a professional for help.
Key Takeaways
Always save your data before you change the motherboard. This helps you not lose important things.
Make sure the new motherboard works with your phone. Check the serial numbers and how the parts fit.
Use the correct tools, like screwdrivers and anti-static wrist straps. These tools help keep your phone safe while you fix it.
Work in a clean and neat place. This helps you keep small parts safe and stops damage.
If you are not sure about any step, ask a professional for help. This can stop more problems from happening.
Tools for Smartphone Motherboard Replacement
Essential Tools and Parts
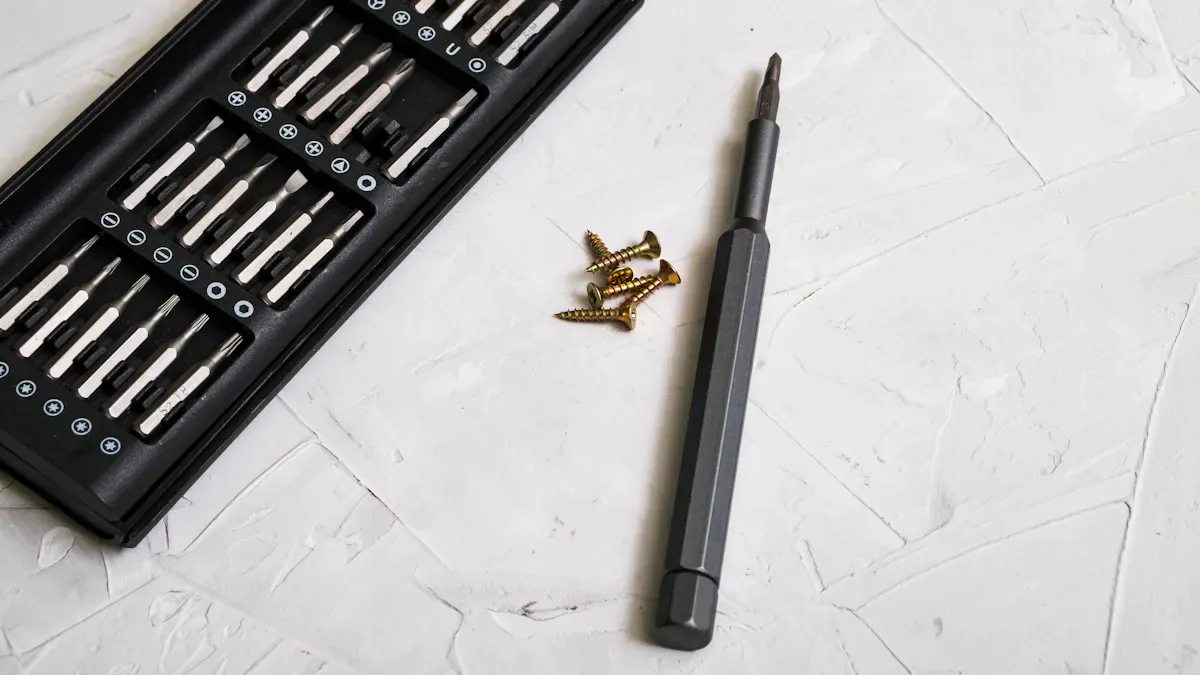
You need the right tools to open your smartphone and swap out the motherboard. Most successful repairs use these items:
Heat gun for loosening glue and removing parts.
Soldering station for attaching or removing tiny connections.
Precision screwdrivers to handle small screws inside your smartphone.
Spudgers to gently pry open the case without cracking it.
Tweezers for picking up small pieces and connectors.
Multimeter to check if circuits work.
Anti-static wristband to protect your smartphone from static electricity.
LCD separator for taking off the glass from the screen.
Tip: Keep all your screws and parts in a small tray or cup. You do not want to lose anything!
Checking Motherboard Compatibility
Not every motherboard fits every smartphone. You must check before you buy a replacement. Here is how you can do it:
Power off your smartphone and open it up. Find the white label on the motherboard. It usually sits near the SIM tray or under the battery connector. Write down every letter and number you see.
Look up your board’s code in official service manuals or trusted repair guides. Make sure the pin layout, voltage, and firmware match your smartphone.
Ask the seller for clear photos of the board. Check that the serial sticker, test points, and layout look the same as your old one.
• Always match the serial label on your old board, not just the phone’s model number.
• Never guess based on model alone. The board revision code must match.
Safety Equipment and Workspace
You want to keep your smartphone safe from static electricity and damage. Set up your workspace like this:
Use an anti-static mat on your table.
Wear an anti-static wrist strap.
Power off your smartphone before you start.
Disconnect the battery right away.
A clean, organized space helps you find tools fast and keeps your smartphone parts safe.
Safety Precautions Before You Replace the Motherboard
Preventing Static Discharge
Static electricity can harm your smartphone. It can break the motherboard and other parts. You can protect your phone by following these steps:
Wear an anti-static wrist strap. This keeps static away from your phone.
Use an anti-static mat on your table. Put your phone on the mat before you start.
Touch a metal table leg before touching any parts. This removes static from your body.
Always turn off your phone and disconnect all parts. Take out the battery connector first.
Tip: Moving around can make static build up. Try to stay still while you work on your phone.
Handling Sensitive Components
Smartphone parts are small and easy to break. You must be careful when you touch them. Look at this table for safe ways to handle parts:
Method | Description |
|---|---|
Ground Yourself | Touch metal to remove static before touching phone parts. |
Use Antistatic Bags | Keep parts in antistatic bags until you need them. |
Employ ESD Wristband/Mat | Use these tools to keep phone parts safe from static. |
Minimize Body Movements | Stay still so you do not make static. |
Avoid Ungrounded Surfaces | Do not put phone parts on metal that is not grounded. |
Cover Components | Put covers back on when you are not working on parts. |
Disconnect all parts slowly and gently. Do not use force. If you hurry, you could crack the screen or hurt the battery.
Data Backup and Loss Risks
Changing the motherboard can erase everything on your phone. You must back up your data before you disconnect anything. Here is what you should do:
Make sure your old board works before you start. If it does not, you might lose your data.
Do a full backup of your phone. Save contacts, photos, and files.
Learn what data needs to be moved and how to do it. This helps you avoid problems later.
Note: If you skip the backup, you could lose your favorite photos or important messages forever.
Before you disconnect anything, check your backup again. You want your phone and your data to stay safe.
Replace a Mobile Phone Motherboard: Step-by-Step
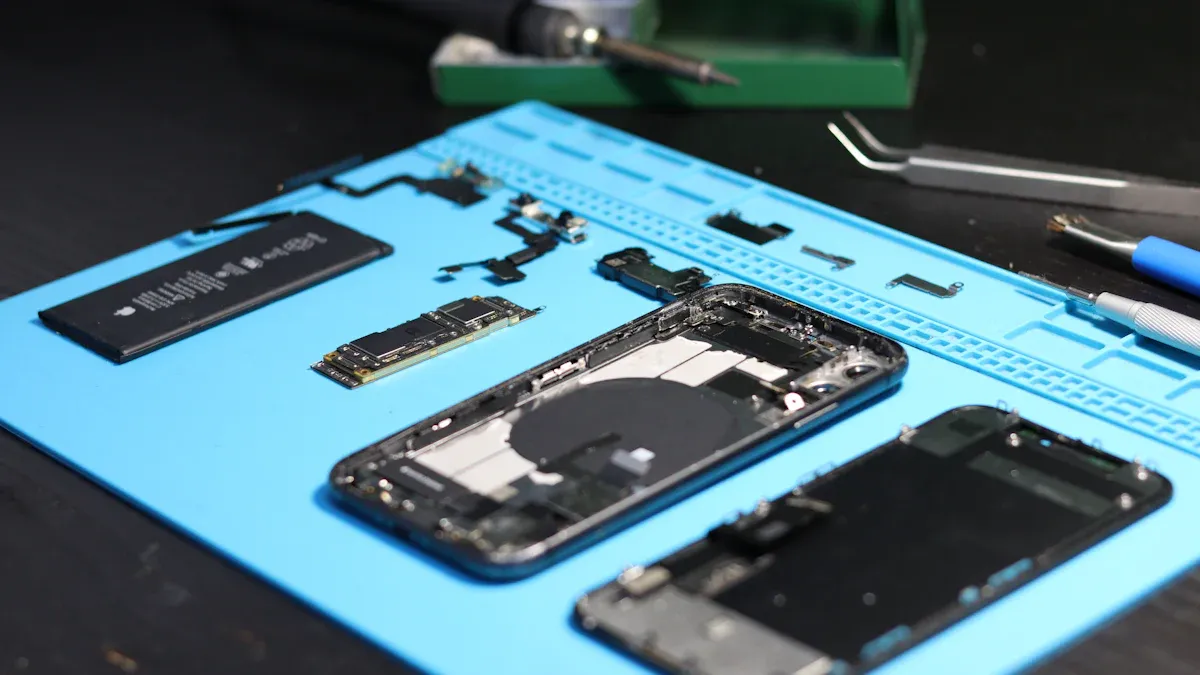
Ready to tackle a smartphone motherboard replacement? Let’s walk through the procedure together. Take your time, stay organized, and remember—gentle hands make for a happy phone!
Power Off and Disassemble
Start by making sure your smartphone is completely powered off. This step keeps you safe and protects your device from damage. Here’s how you begin the procedure:
Turn off your phone.
Unplug any charging cables or headphones.
Remove the back cover. Some phones have a latch, while others need a prying tool.
Use a precision screwdriver to unscrew the housing. Place each screw in a tray or compartment so you don’t lose them.
Tip: Take photos as you go. These pictures will help you remember where each part belongs during reassembly.
Disconnect Battery and Components
Now you need to disconnect the battery and other parts. This step is important for preventing damage to your smartphone and making the procedure smoother.
Open the phone and position it on your anti-static mat.
Remove the battery connector first. Always start with the battery to avoid short circuits.
Disconnect all external cables and connectors from the motherboard. Use tweezers or a spudger for tiny plugs.
If your phone has extra cards or modules, like SIM or memory cards, take them out now.
Gently set each part aside in a separate compartment or tray.
Note: Never pull on cables or connectors. Wiggle them gently if they feel stuck.
Remove the Faulty Motherboard
You’re halfway through the procedure! Now it’s time for removing the faulty motherboard. Be patient and work slowly.
Check for any screws or clips holding the motherboard in place. Remove them carefully.
Lift the faulty motherboard out of the phone. Use a spudger if it feels tight, but don’t force it.
Watch for any hidden connectors underneath. Double-check before pulling the board out completely.
Place the faulty motherboard on an anti-static surface.
Organizing Tip | Description |
|---|---|
Compartmentalized trays | Keep screws and small parts separated and easy to find. |
Zip-tie small assemblies | Hold groups of parts together to keep their orientation. |
Take photos during disassembly | Use your phone or camera to snap pictures for reference during reassembly. |
Install the New Motherboard
Now you’re ready for installing the new motherboard. This part of the procedure needs careful alignment and connection.
Make sure all stand-offs or supports are in place under the new motherboard.
If your phone has a shield plate, swap it out for the new one before you continue.
Align the new motherboard with the mounting holes and connectors.
Insert the screws loosely at first. This helps you adjust the board if needed.
Tighten the screws in a random order, but don’t over-tighten. You want the board secure, not cracked.
Reconnect all cables, making sure each one clicks into place.
Attach any front-panel switches or indicator cables, following your phone’s manual for correct placement.
Tip: Double-check every connection before moving on. A loose cable can stop your phone from working.
Reconnect and Reassemble
You’re almost done with the procedure! Now you need to put everything back together.
Reconnect the battery and any other modules you removed earlier.
Place the back cover on your smartphone and press it into place.
Insert and tighten all screws, using your photos as a guide.
Power on your phone to check if it works. If it doesn’t, go back and check each connection.
Remember: Keep calm if your phone doesn’t start right away. Sometimes a connector just needs a little push.
Replacing a mobile phone motherboard at home takes patience and attention to detail. Keep your workspace tidy, organize your parts, and follow each step in the procedure. If you ever feel unsure, it’s okay to ask for help. You’ve got this!
Common Phone Motherboard Replacement Mistakes
Avoiding Damage During Replacement
It is exciting to fix your smartphone. But you can make mistakes if you hurry or skip steps. Here are some mistakes you should avoid:
If you use too much force, you might crack the screen or break connectors.
If you forget to disconnect the battery, you could cause a short circuit.
Waiting too long to replace a bulging or old battery can hurt your smartphone.
Picking a cheap motherboard from a brand you do not know can make parts fail.
Flashing the wrong firmware can mess up your software or make your phone too hot.
If you lose screws or small parts, your phone might not stay together.
If you follow each step and stay calm, you can stop most of these problems.
Ensuring Proper Reassembly
When you finish the repair, check if your smartphone works right. Sometimes, putting it back together wrong can cause new problems. Look at this table to see if something is wrong:
Sign | Description |
|---|---|
No sound / abnormal audio | You do not hear anything during calls or the sound is bad. |
No signal / no baseband | Your smartphone says ‘No service’ or only lets you make emergency calls. |
Motherboard overheating | The phone feels hot. This can mean a short circuit or a power problem. |
Unable to flash/unable to identify the device | Your computer does not see your smartphone. This can happen if the USB part is broken. |
Water damage/liquid ingress | The phone restarts by itself or acts strange. This can be from water or rust. |
Fast power consumption | The battery runs out fast. This can mean the motherboard leaks or the battery is old. |
If you see any of these signs, check your connections and make sure you did not skip any steps.
When to Seek Professional Help
Sometimes, you will have problems that need special tools or skills. You should get help if you see these things:
Some problems really need a professional. These are usually things that need special tools, lots of skill, or could break your phone for good if you do them wrong.
Motherboard-level microsoldering means fixing tiny parts on the board with a microscope.
Fixing a charging port that is soldered to the motherboard.
Repairing a broken power IC or other chips that control your smartphone.
If you do not feel sure or your smartphone has big problems, a technician can help you and keep your phone safe.
Testing After Smartphone Motherboard Replacement
Power On and Initial Checks
You just finished putting your smartphone back together. Now comes the moment of truth—testing if everything works! Start by pressing the power button. If your smartphone turns on, you can move on to a full check. Here’s a simple list to guide you through the process:
Press every button on your smartphone. Make sure each one clicks and works.
Swipe and tap the screen. Check for smooth touch and no dead spots.
Plug in your charger. Watch for normal charging and battery signs.
Play a song or video. Listen for clear sound from the speakers.
Connect to Wi-Fi, Bluetooth, and mobile data. Try sending a message or browsing the web.
Open the camera app. Take a photo and test the sensors.
Launch a few apps. Make sure your smartphone runs them without crashing.
Make a test call. Speak into the microphone and listen through the earpiece.
If you backed up your data, check that your contacts, photos, and files are still there.
Tip: If you spot any problems, write them down. This helps you track what needs fixing.
Troubleshooting Issues
Sometimes, your smartphone might not power on or work as expected after a motherboard replacement. Don’t panic! Here’s what you can do:
Check if the power button responds. If nothing happens, the battery connection or power IC might be loose or damaged.
Use a multimeter to test the battery voltage. It should read between 3.7V and 4.2V. If it’s too low, try charging with a DC power supply.
Look for loose cables or connectors inside your smartphone. Open it up and double-check each connection.
If your smartphone turns on but acts strange, test each part again. Sometimes, a cable is not fully clicked in.
If you see no display or hear no sound, check the screen and speaker connections.
For problems like overheating or fast battery drain, make sure all parts are in the right place and not touching each other.
If your smartphone got wet, stop using it right away. Do not try home fixes like rice or freezing. Let a professional check it.
If you still can’t fix the problem, visit a repair shop with experience in your smartphone model.
Common Issue | What to Check or Do |
|---|---|
No power | Battery, power button, mainboard connection |
No display | Screen cable, screen itself |
No sound | Speaker cable, audio chip |
Overheating | Battery, power IC, misplaced components |
Note: Always back up your data if your smartphone powers on, even for a moment. You don’t want to lose your important files.
Testing your smartphone after a motherboard replacement takes patience. Go step by step, and you’ll spot any issues early. If you get stuck, asking for help is always a smart move.
You now know how to change a smartphone motherboard at home. Always save your data before you start. Make sure the new motherboard fits your smartphone. Be gentle with every smartphone part you touch. Use tools like screwdrivers and anti-static wrist straps to keep your smartphone safe. If you have trouble, look at your smartphone manual or ask a pro for help. Take your time and pay close attention to each step. This will help you fix your smartphone the right way. Here’s a short review:
Save your data before you begin.
Make sure the new motherboard matches your smartphone.
Be gentle with all smartphone parts.
If you are not sure, get help and use your manual.
Tool | Why It Matters |
|---|---|
Screwdriver | Lets you open your smartphone safely |
Wrist strap | Keeps your smartphone safe from static |
FAQ
Can I replace my smartphone motherboard without any experience?
You can try if you feel confident and follow step-by-step instructions. If you get stuck, look for online guidance specific to your smartphone model. Sometimes, asking a professional makes things easier.
What should I do if my smartphone does not turn on after replacement?
Check every connection inside your smartphone. Make sure the battery sits right. Try pressing the power button again. If nothing works, you may need help from a repair shop.
Will I lose my data when I change the smartphone motherboard?
Yes, you will lose your data if you do not back it up first. Always save your contacts, photos, and files before you start. This keeps your smartphone information safe.
How do I know if the new motherboard fits my smartphone?
Look at the serial number and layout on your old motherboard. Match these details with the new one. You can also check your smartphone manual or ask the seller for help.
What tools do I need for a smartphone motherboard replacement?
You need a screwdriver, anti-static wrist strap, spudger, tweezers, and a clean workspace. These tools help you open your smartphone and keep parts safe.