You can solve many issues on Android PCB boards with the right approach. Start with a careful look for visible damage. Use proper tools to find short circuits, broken traces, or faulty parts. Quick action helps prevent more damage. For the repair of Android devices, always follow safety steps. If you feel unsure, ask a professional for help.
Key Takeaways
Begin by looking at the PCB to spot damage like burn marks or broken traces.
Use a digital multimeter to look for short circuits and check if the voltage is steady.
Always wear safety gear, like glasses and gloves, to keep yourself safe while fixing things.
If you are not sure how to fix something, ask a professional for help so you do not break your device more.
Cleaning and checking connections often can help your Android device last longer.
Android PCB Board Overview
What Is an Android PCB Board
You use an Android PCB board every time you power on your smartphone or tablet. This board acts as the backbone of your device. It connects all the electronic parts and lets them work together. Each part of the PCB has a special job. You can see the main parts in the table below:
Component | Description |
|---|---|
Substrate | Usually made from FR-4 or Polyimide. It gives the board strength and keeps electricity from leaking. |
Copper Layer | This layer forms the paths that carry signals and power between parts. |
Solder Mask | This green or blue coating protects the copper from rust and stops short circuits during soldering. |
Silkscreen | You find labels and symbols here. These help you know where to put each part. |
Drill Holes and Via | These holes let signals move between layers in boards with more than one layer. |
You can think of the PCB as a city map. The copper layer acts like roads. The substrate works like the ground. The solder mask keeps everything safe, just like fences. The silkscreen gives you street names and signs. Drill holes and vias act like tunnels or bridges.
Common Causes of Faults
You may face problems with your Android PCB board for many reasons. Some of the most common causes include:
High humidity in the air. This happens a lot during rainy seasons or if you keep your device in a place with poor airflow.
Circuit shorting. Unstable voltage, lightning strikes, or old electronic parts can cause this.
Physical damage. Dropping your device or bending the board can break the tiny paths inside.
Dust and dirt. These can build up and block connections.
Poor soldering. If the joints are weak, parts may not connect well.
Tip: You can prevent many faults by keeping your device dry and clean. Store it in a safe place and avoid sudden shocks.
When you know what causes faults, you can spot problems faster. This helps you fix your device and keep it working longer.
Essential Tools for PCB Repair
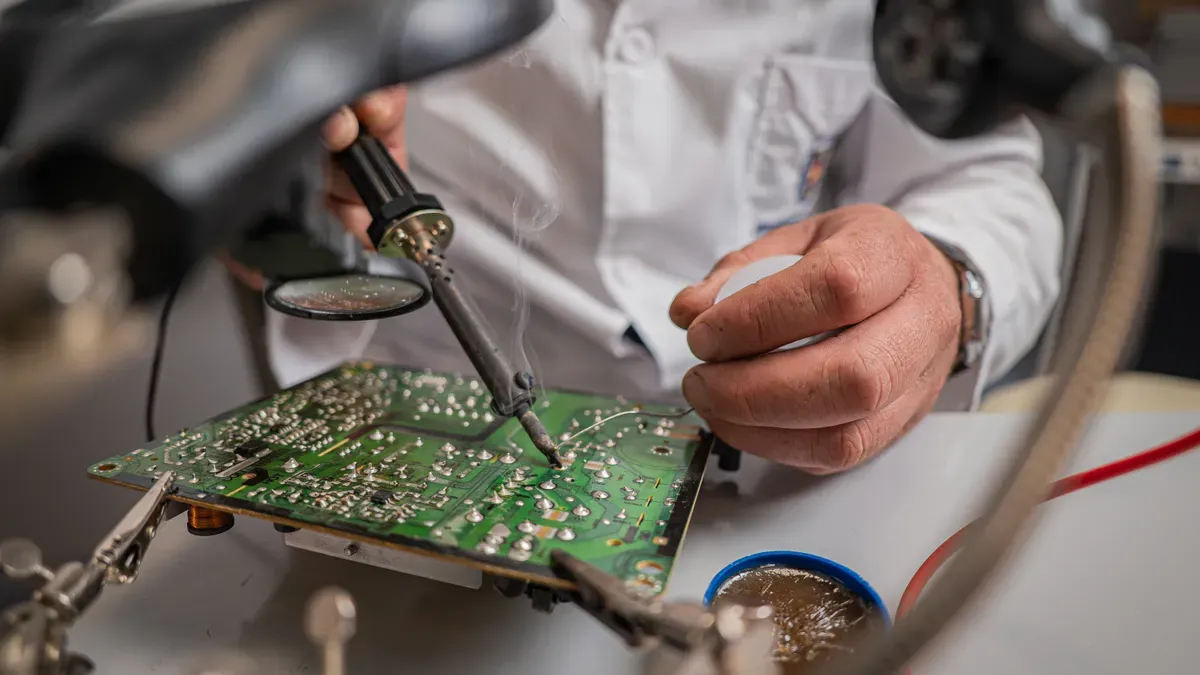
When you want to fix an Android PCB board, you need the right tools. These tools help you find problems and make safe repairs. Each tool has a special job. You can see the most common tools below.
Digital Multimeter and Oscilloscope
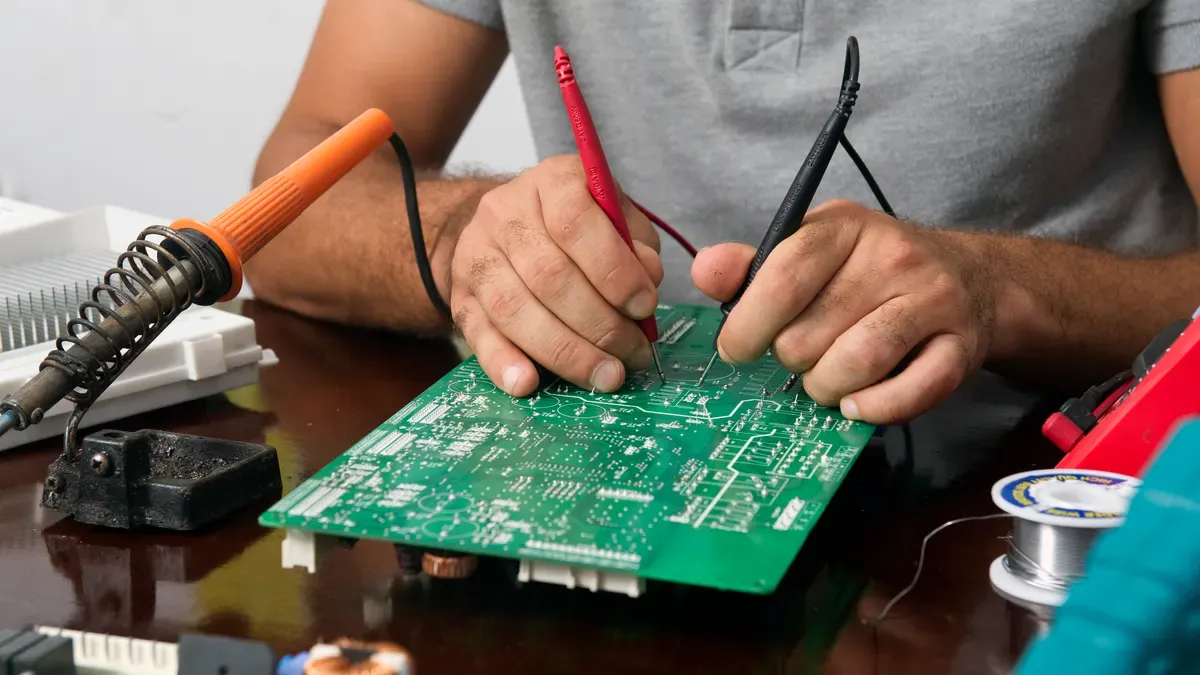
A digital multimeter is one of the most important tools for electronic board repair. You use it to check if electricity can flow through a path. It helps you measure resistance and find broken connections. You can also use it to test circuit paths in complex layouts. This makes it easier to find faults.
An oscilloscope lets you see how signals move in a circuit. You use it to check if signals look normal or if there are problems. This tool helps you find issues that a multimeter might miss. With both tools, you can test and understand most faults on a PCB.
Tip: Always start with a multimeter for basic checks. Use an oscilloscope if you need to see signal shapes or timing.
Heat Gun, Soldering Iron, and Jumper Wires
A heat gun helps you remove or replace parts on the board. You use it to heat up solder quickly. A soldering iron lets you attach or remove small parts. You need steady hands for this tool. Jumper wires help you fix broken paths. You can use them to connect two points if a trace is damaged.
These tools let you repair physical damage. You can replace bad parts or reconnect broken lines. Always use the right tool for each job.
Safety Equipment
Safety gear keeps you safe during repairs. You should wear safety glasses to protect your eyes. Use gloves to avoid burns or cuts. Work in a clean, dry place to prevent accidents. Good lighting helps you see small parts.
Note: Never skip safety steps. A small mistake can cause injury or damage the board.
Software | Simulation | Price | Operating System |
|---|---|---|---|
Altium Designer | Yes | $325/month or $9990 | Windows |
Proteus | Yes | About $250/year | Windows |
Sprint Layout | No | $50 one-time | Windows |
You can use these software tools to design and test PCB boards before you repair them. Altium Designer gives you many features for complex boards. Proteus is good for learning and testing circuits. Sprint Layout works well for simple boards.
With the right tools and software, you can make repairs faster and safer.
Step-by-Step Troubleshooting Process
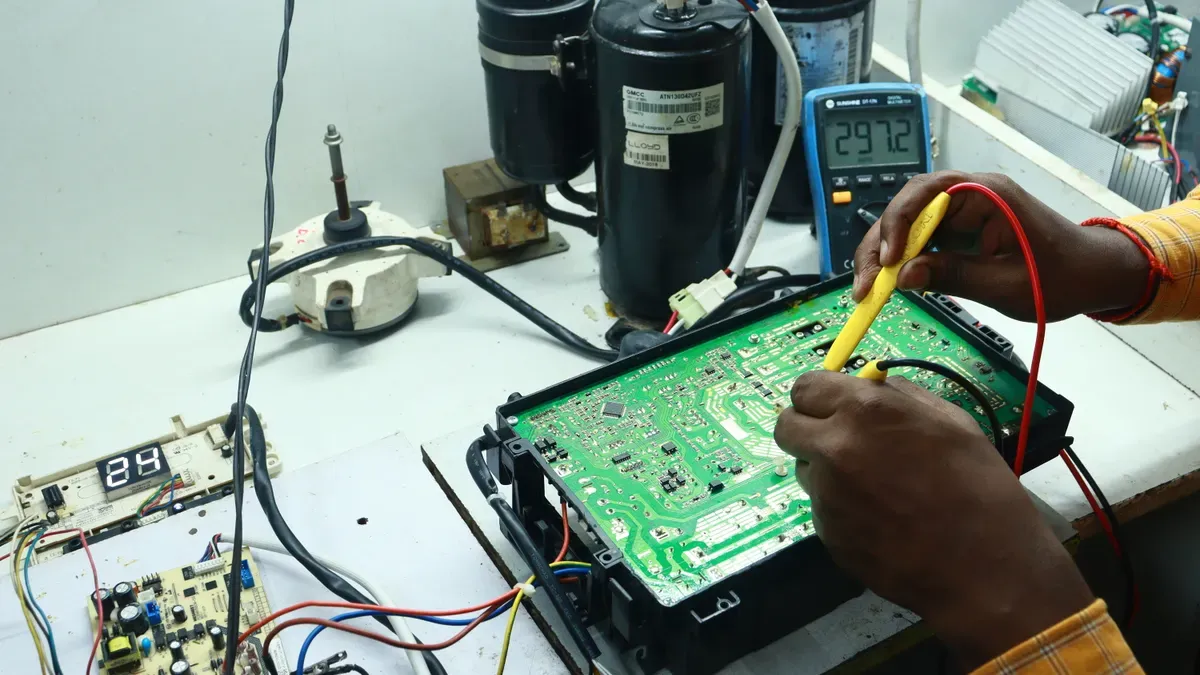
You can fix many faults on Android PCB boards by following a clear troubleshooting process. Each step helps you find and solve problems quickly. You need to start with a careful look, then test for short circuits, check components, and finally trace broken paths.
Visual Inspection for Damage
You should begin by looking closely at the PCB board. Many faults show visible signs. Use a magnifying glass or microscope if you have one. Look for anything unusual, such as burn marks, bulging parts, or broken pins. The table below shows common signs you might see:
Damage Type | Description |
|---|---|
Bulging, burnt, or leaking capacitors | If capacitors on the board are bulging or leaking fluid, the board may be damaged. |
Burn marks on PCB | If there is a burnt smell or visible burn marks on the board, it may have been overloaded or short-circuited. |
Bent or broken CPU socket pins | If the CPU is not recognized, check the pins on the motherboard socket. |
Tip: If you see burn marks or leaking fluid, you should not power on the device. This can prevent further damage.
Identifying Short Circuits
You need to check for short circuits after your visual inspection. Short circuits can cause the board to stop working or even burn out parts. Use a digital multimeter to measure voltage between power pins and ground. Make sure you see stable readings, such as 3.3V or 5V. If the voltage drops or jumps, you may have a short circuit.
Follow these steps to check for short circuits:
Set your multimeter to measure voltage.
Place the probes on the power pin and ground.
Check the reading. You should see a steady voltage.
If the voltage is unstable, unplug the board and look for burnt areas.
Note: Always check voltage before connecting the USB cable. This keeps your computer safe.
Testing Components
You must test each component to find faulty parts. Use your multimeter to measure the output voltage of the board. Check if the voltage matches standard values like 3.3V, 5V, or 12V. If the voltage is wrong, the power supply may be bad.
Inspect chips for signs of burning, bulging, or leaking thermal paste. Check connectors, such as HDMI, USB, and AV, to make sure they are not loose or damaged. If you cannot fix the problem, try replacing the high-voltage board. This often restores the device.
Here is a simple checklist for testing components:
Measure the power supply voltage.
Inspect chips for physical damage.
Check all connectors for tightness.
Replace the high-voltage board if needed.
Callout: If you find a damaged chip or connector, replace it with a new one. This can solve many issues.
Tracing and Repairing Broken PCB Traces
You may need to repair broken pcb traces if you find that signals do not reach certain parts. Start by identifying the broken trace. Use a microscope for precision. Look for areas damaged by burning or corrosion.
To repair a damaged pcb board, scratch away the coating around the broken trace. Use a jumper wire to reconnect the two points. Solder the wire carefully to avoid creating new faults. Clean the area after soldering.
Identify the broken trace.
Use a microscope for accuracy.
Scratch away the coating near the break.
Solder a jumper wire to reconnect the trace.
Clean the area to remove any leftover flux.
Tip: Always double-check your repair with a multimeter. Make sure the connection is solid and the signal flows as expected.
You can restore the board’s function by following these steps. Careful work helps you avoid new problems and keeps your device running longer.
Common Faults and PCB Repair Solutions
Repair of Android Short Circuits
You often face short circuits when you work with Android PCB boards. Short circuits can stop your device from working. You need to act fast to prevent more damage. Start by using a digital multimeter to check for abnormal voltage between power and ground pins. If you see unstable readings, unplug the board right away.
You can follow these steps for the repair of android short circuits:
Find the area with burn marks or melted solder.
Use your multimeter to test each path for continuity.
Remove any damaged components.
Clean the affected area with isopropyl alcohol.
Replace faulty parts and solder them carefully.
Tip: Always check the board after each step. You want to make sure the short circuit is gone before you power up the device.
You can prevent future short circuits by keeping your device dry and clean. Store it in a safe place and avoid sudden shocks.
Fixing Faulty Capacitors and Components
You need to check capacitors and other components often. Faulty capacitors can cause many problems. You can spot bad capacitors by looking for bulging tops or leaking fluid. Burn marks and melted solder also show signs of damage.
Technicians use several methods to find and fix faulty parts:
Look for bulging capacitors and burnt traces on the PCB.
Check voltage and measure the temperature of components while the device is running.
Use freeze spray to detect faulty components quickly. This helps you find poor solder joints and temperature issues.
Observe signs like melted solder or burn marks.
You can replace a bad capacitor by desoldering it and putting in a new one. Make sure you use the right value and type. For other components, follow the same steps. Remove the damaged part, clean the area, and solder the new part in place.
Note: Always double-check your work with a multimeter. You want to confirm the new component works as expected.
Circuit Board Repair for Broken Traces
You may find broken pcb traces when you inspect the board. Broken traces stop signals from reaching their destination. You need to fix these quickly to restore the device.
Here is a simple process for circuit board repair:
Use a microscope to find the broken pcb trace.
Scratch away the coating around the break.
Solder a jumper wire to reconnect the two points.
Clean the area to remove any leftover flux.
You can use a multimeter to test the connection after you finish. If the signal flows, you have fixed the problem. You may need to repeat the process if you find more broken pcb traces.
Callout: Careful work prevents new faults. Take your time and check each repair.
You can use printed circuit board repair techniques to fix complex boards. These methods help you restore the board and keep your device running longer.
Addressing Cold Solder Joints
Cold solder joints can cause weak connections. You may see them as dull or cracked solder spots. Devices with cold solder joints often fail to start or lose signal.
You can fix cold solder joints with these steps:
Identify dull or cracked solder spots.
Heat the joint with a soldering iron.
Add fresh solder to make a strong connection.
Clean the area after you finish.
You can use freeze spray to check for temperature changes. If the device works after spraying, you have found the problem. Always inspect the board for more cold solder joints.
Tip: Good soldering skills help you avoid cold joints. Practice makes perfect.
You can improve pcb repair results by checking every joint and using proper tools. This keeps your device safe and reliable.
Safety Tips and Professional Help
Safety Precautions for PCB Repair
You need to follow strict safety steps when you repair Android PCB boards. Safety keeps you and your device protected. Always work in a clean, dry area with good lighting. Wear safety glasses to shield your eyes from small parts or solder splashes. Gloves help you avoid burns and cuts.
You must handle the board gently. Rough handling can damage the circuitry or the substrate. Use the right tools for each task. When you remove protective coatings, choose a method that fits the board. You can use solvents, peeling, heating, grinding or scraping, and micro blasting. Each method works best for certain coatings. Proper technique keeps the PCB intact and working.
Wear safety glasses and gloves.
Work in a dry, well-lit space.
Handle the PCB gently to avoid damage.
Use the correct tools for each repair.
Choose the best method for removing coatings: solvents, peeling, heating, grinding/scraping, or micro blasting.
Clean the board after each repair to remove dust and leftover solder.
Tip: Always unplug the device before you start any repair. Electricity can cause injury or damage the board.
You protect the board and yourself by following these steps. Careful work helps you keep the device safe and ready for circuit board maintenance.
When to Seek Professional PCB Repair Services
You may face problems that you cannot fix at home. If you see deep burn marks, broken chips, or complex faults, you should ask for help. Professional circuit board repair services have special tools and skills. They can fix issues that need advanced testing or replacement parts.
You should seek help if you feel unsure about the repair. If the board does not work after basic fixes, a professional can find hidden faults. Experts can also help when you need to recover important data or restore a device for business use.
Callout: You save time and avoid bigger problems when you ask for expert help. Professionals can make sure your device works safely and lasts longer.
You keep your device running well by knowing when to try repairs and when to call a professional. This choice protects your investment and helps you avoid costly mistakes.
You can fix circuit boards if you follow simple steps. Use the right tools for each job. Always stay safe and wear safety gear. Try easy repairs like changing capacitors or surface mount parts. If you are not sure, ask a professional for motherboard repair. Test your circuit board after every repair. To make your device last longer, do regular maintenance. Clean fans and check cables often. Update firmware when needed.
Clean fans and cables often
Update firmware regularly
Use measuring tools to check parts
Make your device work better with advanced methods
FAQ
What should you do first when your Android device stops working?
Start with a visual check of the pcb. Look for burn marks, broken traces, or loose parts. Use a digital multimeter to test for faults. This step helps you decide if you need circuit board repair or a replacement pcb.
How can you tell if a pcb trace is broken?
You can spot a broken trace by using a magnifying glass. Look for gaps or dark spots on the pcb. If you find one, use a jumper wire for circuit board repair. This method restores the signal path without a full replacement.
When should you choose a replacement pcb over repair?
If you see deep burns, many damaged parts, or failed circuit board repair attempts, you should pick a replacement pcb. This option saves time and gives your device a fresh start. Sometimes, replacement is safer than repeated repairs.
Can you fix a faulty component on a pcb yourself?
Yes, you can replace simple parts like capacitors or resistors. Use a soldering iron for circuit board repair. Always check the pcb after each replacement. If you feel unsure, ask a professional for help to avoid more damage.
How do you keep your pcb working longer?
Keep your pcb clean and dry. Avoid drops and shocks. Check for dust and loose parts often. Use the right tools for circuit board repair. Replace worn-out parts quickly. Good care helps you avoid frequent replacement and keeps your device running.