Designing an amplifier circuit is a fun way to learn electronics. First, understand how signals get louder or stronger. Then, pick parts like resistors, capacitors, and a transistor. A basic amplifier boosts sound, which is great for beginners. While building, you’ll see how to connect parts to make it work. This hands-on activity teaches key ideas and builds your skills. Always stay safe when working with electronic parts for a good experience.
Key Takeaways
Learn about important parts like transistors, resistors, and capacitors. These are needed to make an amplifier work well.
Test your circuit on a breadboard first. This helps you find mistakes and check if it works.
Use a clear circuit diagram. It helps you build and fix problems later.
A Class AB amplifier is good for beginners. It gives good sound and saves power.
Stay safe and keep things neat when working with electronics. This makes building easier and better.
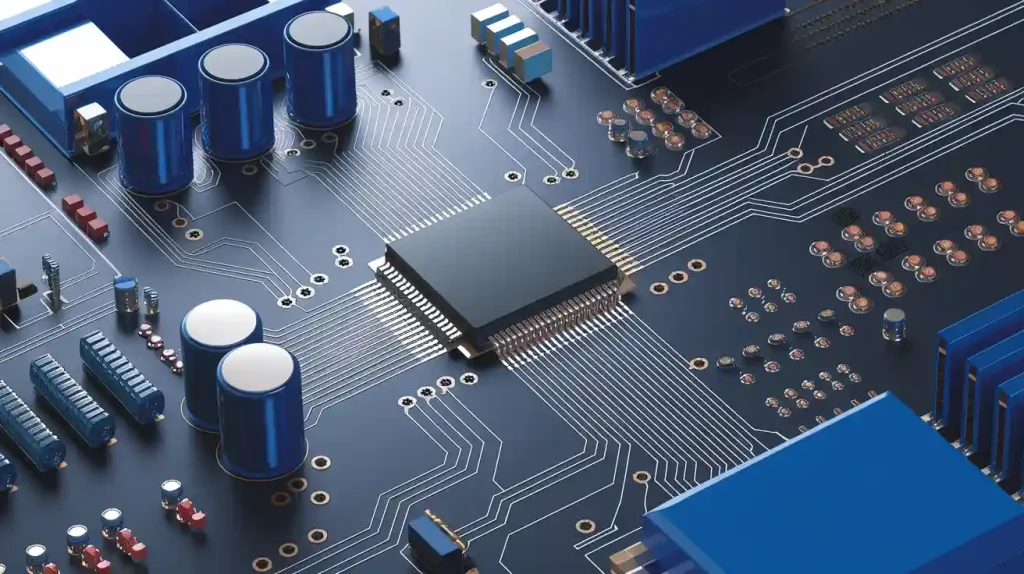
Components for a Simple Audio Amplifier
Key Components and Their Roles
To make a simple audio amplifier, you need a few parts. Each part has a job to help make the sound louder. Here’s what you’ll need:
Transistor: This is the main part of the amplifier. It takes a weak sound signal and makes it stronger. For example, the MJL3281A transistor works better than the 2N3055. It gives clearer sound and handles more current without distortion.
Resistors: These control how much current flows in the circuit. They also help set how much the amplifier boosts the sound.
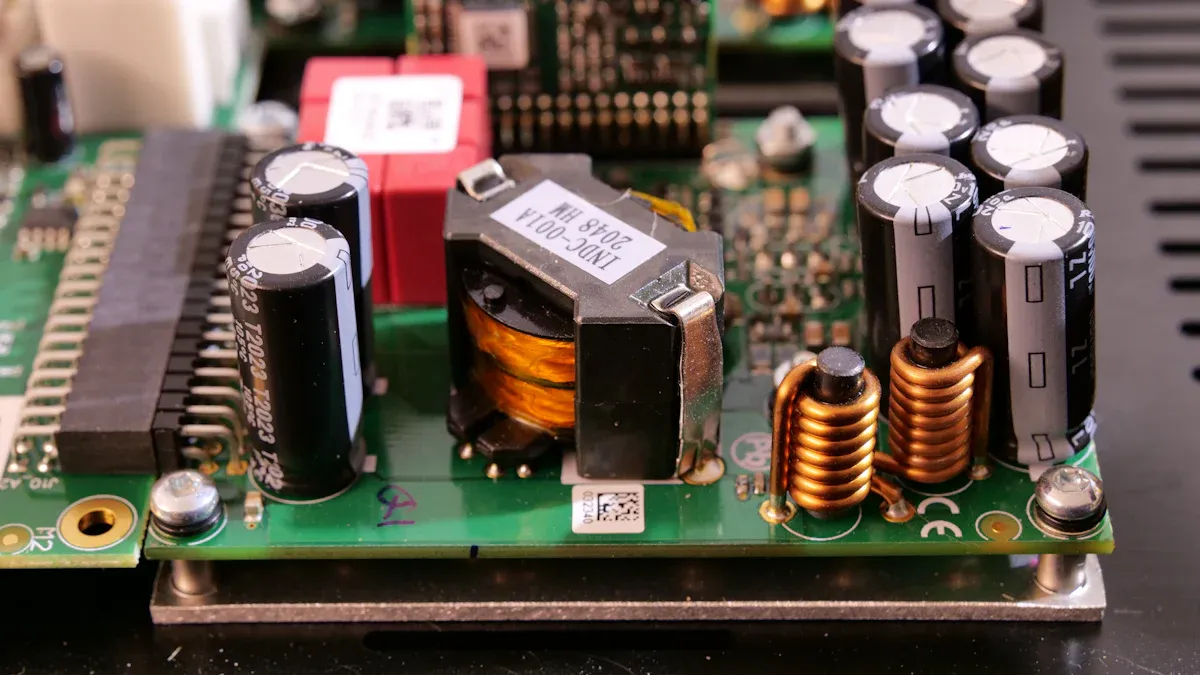
Capacitors: These store and release energy. They remove noise and keep the power steady in the circuit.
Power Supply: This gives the circuit the electricity it needs to work. A steady power source helps the amplifier work well.
Input and Output Jacks: These connect your audio device, like a phone, to the amplifier. They also send the louder sound to the speakers.
PCB or Breadboard: This is where you put all the parts together. A breadboard is good for testing, while a PCB is better for a permanent setup.
Good parts are important. For instance, the MJL3281A transistor works well even with high currents, unlike the 2N3055. This keeps the sound clear and free of distortion. Also, the type of amplifier you choose (A, B, or AB) affects how it works. Here’s a quick look:
Amplifier Class | Linearity | Efficiency | Characteristics |
|---|---|---|---|
Class A | High | Low | Very clear sound, but uses more power |
Class B | Moderate | High | Saves power but may distort the sound |
Class AB | High | Moderate | Good mix of clear sound and power saving |
For beginners, a Class AB amplifier is a smart pick. It gives good sound and doesn’t waste too much power.
Tools Required for Assembly
Using the right tools makes building easier and avoids mistakes. Here’s what you’ll need:
Soldering Iron: This tool connects parts together permanently. An adjustable soldering iron is best for small, delicate parts.
Multimeter: This measures voltage, current, and resistance. Use it to check if your circuit is working properly.
Wire Cutters and Strippers: These help you cut wires to the right size and remove the plastic covering for clean connections.
Screwdrivers: These are used to attach parts and put the amplifier case together.
Oscilloscope (Optional): This tool shows the sound signal as a wave. It helps you adjust the circuit for better performance.
Accurate tools are important. For example, the MAX4238 Op Amp is very precise and stable, making it great for detailed circuits. The MAX4428 IC also helps by reducing errors, so your amplifier works well.
Tip: Keep your tools and parts organized before starting. A neat workspace makes building easier and safer.
With these tools and parts, you can build a simple audio amplifier that sounds great. Whether you want mono or stereo sound, paying attention to details will make your project a success.
Designing the Amplifier Circuit
Principles of Signal Amplification
To make an amplifier, you must know signal amplification. This process makes weak signals stronger. Strong signals can power speakers or other devices. A transistor is the key part that amplifies signals. It controls how much current flows in the circuit. When a small signal reaches the transistor, it lets more current pass through. This makes the signal louder.
Good amplification depends on several things. First, the circuit must keep the original signal clear. Distortion can make the sound worse. Second, the circuit needs to handle power without overheating. Picking the right parts, like resistors and capacitors, helps the circuit work well. These parts also keep the sound clean and strong.
Studies show that following certain rules improves amplifiers. The table below lists important findings and how they help design better amplifiers:
Key Findings | How They Help Design Amplifiers |
|---|---|
Using electron tubes and semiconductor components | Helps build high-quality amplifiers |
Focus on signal clarity | Important for making good amplifiers |
Following standards IEC 60268-3 and IEC 60268-11 | Ensures amplifiers meet industry requirements |
By using these ideas, you can make an amplifier that works well and meets standards.
Creating a Circuit Diagram
Before building, you need a clear PCB Design plan. A circuit diagram shows how parts connect. Symbols represent parts like transistors, resistors, and capacitors. For example, a transistor is shown as a triangle with lines for its terminals (collector, base, emitter).
Start by drawing a simple diagram on paper or software like Fritzing. Put the input jack on one side and the output jack on the other. Place the transistor in the middle to amplify the signal. Add resistors to control current and capacitors to reduce noise. Connect the power supply to give energy to the circuit.
Keep your diagram neat and easy to read. Avoid crossing wires too much. Label each part with its value, like “10kΩ” for a resistor. A clear diagram helps you build the circuit correctly and fix problems later.
Tip: Test your circuit online before building it. This saves time and parts by showing if it works.
Learning about signal amplification and making good diagrams are key steps. These steps help you design a reliable amplifier. Whether mono or stereo, your amplifier will work well if you follow these tips.
Building the Amplifier Circuit
Testing on a Breadboard
Before building your amplifier permanently, test it on a breadboard. A breadboard lets you connect parts without soldering. This makes it easy to fix or change things. Testing first ensures your circuit works correctly.
Here’s why breadboards are helpful:
You can quickly check if your circuit works.
They’re great for beginners who lack advanced tools.
You can reuse parts for other projects since no soldering is needed.
To begin, place the transistor in the middle of the breadboard. Add resistors, capacitors, and other parts as shown in your diagram. Use jumper wires to connect the input and output jacks. Check all connections carefully to avoid mistakes. Power the circuit and test it with sound. If the sound is clear and louder, your circuit is working. If not, check the connections and part values again.
Tip: Use short wires and group related parts together. This keeps your breadboard neat and easier to troubleshoot.
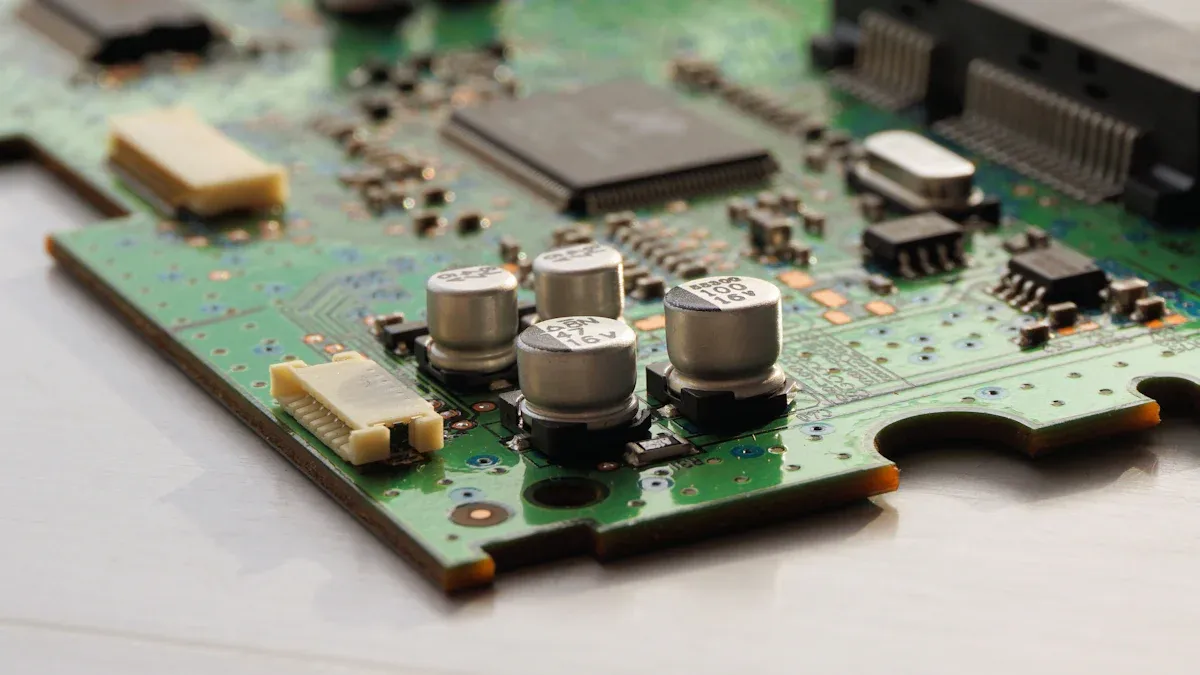
Soldering and Final Build
After testing on the breadboard, move to the final build. Soldering parts onto a PCB makes the circuit permanent and strong. Good soldering is key to a reliable amplifier.
Follow these soldering tips:
Use lead solder for strong connections.
Apply flux to remove dirt and improve solder bonds.
Clean the PCB after soldering to avoid corrosion.
Start by placing parts on the PCB as per your diagram. Solder each part carefully, ensuring smooth and secure joints. Don’t use too much solder, as it may cause short circuits. After soldering, check for loose connections or solder bridges. Finally, put the PCB in a case to protect it.
Note: A clean, well-soldered circuit works better and lasts longer.
By testing on a breadboard and soldering properly, you can build a great amplifier. Practice will help you get better at making circuits and understanding how they work.
Testing and Troubleshooting the Amplifier Circuit
Testing Output Signals
After building your amplifier, check if it works correctly. Connect your phone to the input jack. Attach a speaker or headphones to the output jack. Play a sound and listen closely. A good amplifier makes the sound louder and clear without distortion.
For better testing, use advanced tools if available. These tools help measure sound quality and find problems. Below are common testing methods:
Testing Method | What It Does |
|---|---|
THD and IMD Distortion | Checks if the amplifier adds unwanted sounds to the signal. |
FFT Distortion Spectrum | Looks at sound quality using harmonics from the main tone. |
SMPTE Intermodulation Distortion | Tests how the amplifier handles mixed signals for clear audio. |
Power Measurements | Measures power output to ensure low distortion levels. |
Damping Factor | Examines how output impedance affects sound performance. |
If you have tools like an oscilloscope, use them to improve your amplifier. For stereo amplifiers, make sure both sides sound balanced and clear.
Tip: Start testing at low volume to protect your speakers or headphones.
Resolving Common Issues
If your amplifier doesn’t work, don’t panic. Fixing problems is part of learning electronics. Here are common issues and solutions:
No Sound Output:
Check all wires and connections. Loose or wrong placements can stop the circuit.
Make sure the power supply gives the right voltage and current.
Distorted Sound:
Look at the transistor. Replace it if damaged or connected incorrectly.
Check resistor and capacitor values. Wrong values can cause noise or poor sound.
Overheating Components:
Add a heat sink to the transistor to keep it cool.
Look for short circuits caused by extra solder or crossed wires.
Uneven Stereo Output:
Use identical parts for both channels.
Test each channel separately to find the problem.
Note: Take your time when fixing issues. Change one thing at a time to find the problem.
Testing and fixing problems will make your amplifier work well. This process also helps you learn more about electronics and circuits.
Making an amplifier circuit has three main steps. First, collect the needed parts and tools. Then, draw a circuit plan and set up the parts on a breadboard. Last, solder the parts onto a PCB and test if it works. These steps help you learn about electronics.
Tip: Try using different transistors or resistor sizes. Small tweaks can make your amplifier work better.
Be gentle with electronic parts and follow safety rules. This prevents accidents while working. With practice, you can create circuits that fit your needs. Keep exploring and have fun! 😊
FAQ
1. What type of amplifier is easiest for beginners?
A Class AB amplifier is simple and great for starters. It gives clear sound and saves power. You only need basic parts like a transistor, resistors, and capacitors.
2. Can I use a breadboard for my final circuit?
Breadboards are good for testing but not for permanent use. Soldering parts onto a PCB makes the circuit stronger and work better.
3. How do I pick the right transistor for my amplifier?
Choose a transistor that fits your circuit’s power needs. For example, the MJL3281A is great for audio amplifiers because it handles high current and reduces distortion.
4. Why does my amplifier sound distorted?
Distorted sound happens due to wrong connections or broken parts. Check the transistor, resistor, and capacitor values. Make sure the power supply is steady.
5. Do I need advanced tools like an oscilloscope to test?
An oscilloscope helps check signals but isn’t required. You can test with simple tools like a multimeter and by listening to the sound.
Tip: Begin with basic tools and upgrade later. This saves money and helps you learn better.