Programming circuit boards gives you many new chances. When you use a pcb, you make new circuit designs. You can also find cool ways to use them. Each pcb lets you try different ways to program. You can use programming to control a circuit. You can test a pcb or make it do special jobs. Programming circuit boards helps you learn how a pcb works with sensors and displays. If you practice, you get better at programming and circuit design. You see how a simple pcb can do hard jobs. Every new project makes your programming skills better. You learn more about circuit boards each time. You find new uses by trying each pcb and programming feature.
Key Takeaways
First, pick the correct circuit board and collect all the parts you need before you start programming.
Use programming tools such as Arduino IDE and USB programmers to write your code and upload it safely.
Plan your circuit with care and look at every connection to stop errors.
Test your circuit many times after each change so you can find and fix problems early.
Keep practicing and try new projects to get better at programming and working with circuits.
Essential Tools
Circuit Boards
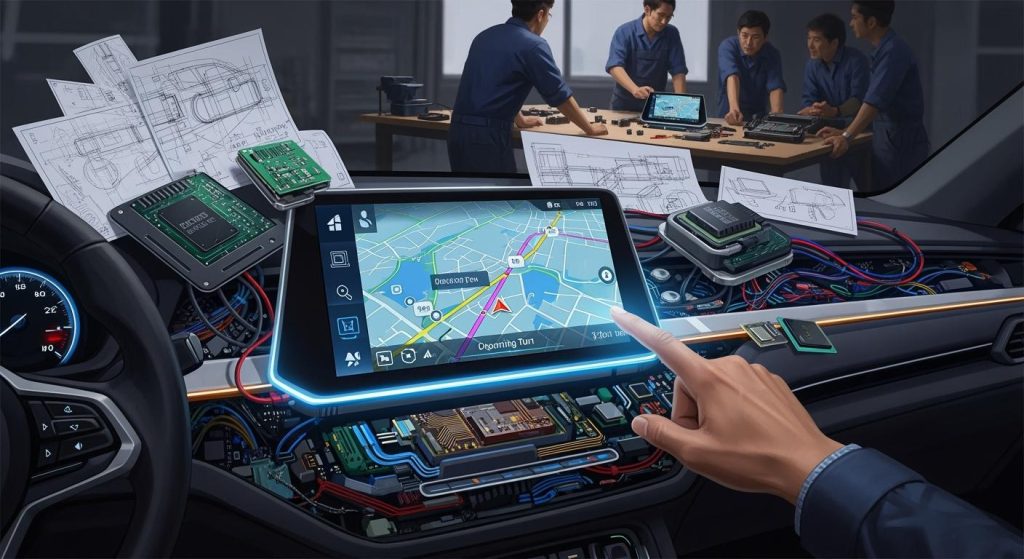
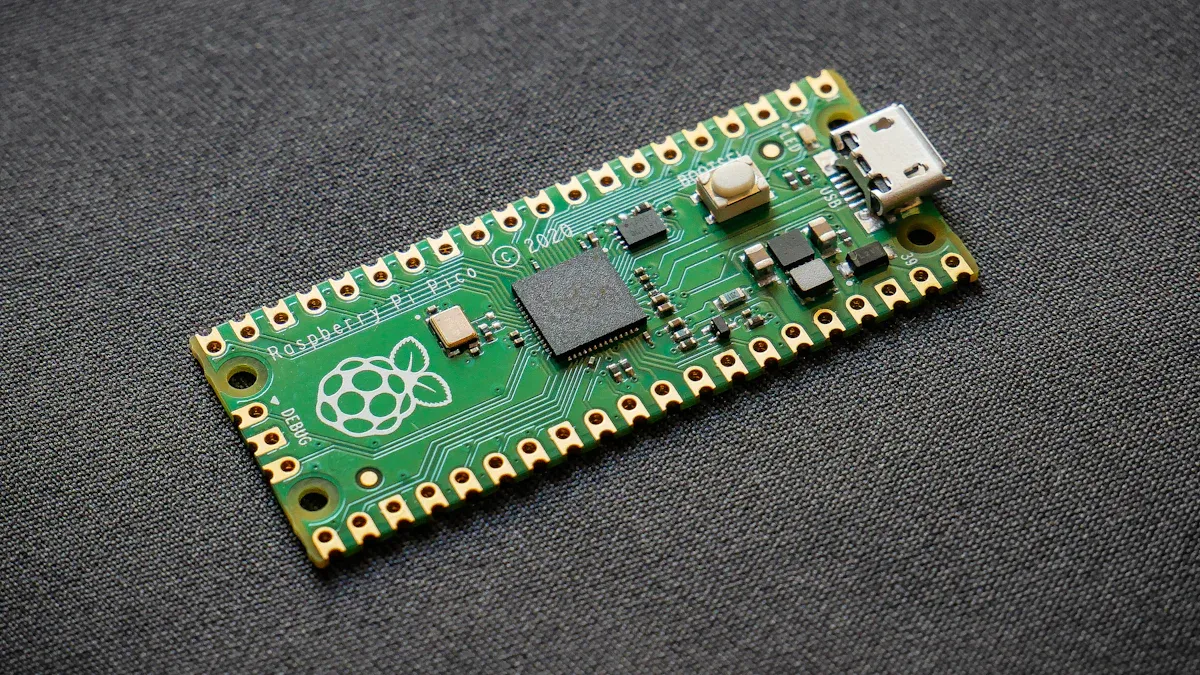
You need a pcb to begin programming. A pcb holds all the parts in one place. There are many types of circuit boards you can use. Arduino, Raspberry Pi, ESP8266, and ESP32 are some popular ones. Each board lets you try new ideas for programming. You can add sensors and displays to your pcb. A pcb is used for microcontroller programming. You make your circuit work by adding the right parts. Always look over your pcb before you start programming.
Programming Environments
You need special tools to write code for your pcb. Arduino IDE and Visual Studio Code are two common choices. These tools help you write, change, and save your code. You can check your code with these tools before you upload it. Programming environments make your work easier and better. You can use different languages in these tools.
Programmers and Interfaces
You need special tools to link your computer to the pcb. USB programmers and other interfaces help you send code to your circuit. These tools make sure your microcontroller gets the right commands. You use these tools to check and test your circuit. Always check your wires before you program your pcb.
Additional Hardware
You need extra hardware to make your circuit work. Power supplies, connectors, sensors, and displays are important parts. These parts help you test your pcb and make sure it works. You use these parts to check and test your circuit. Testing each part helps you find problems early. You can do more with your circuit by adding new hardware.
Programming Languages
You use different languages to program your pcb. C and C++ are used for microcontroller programming. Python is good for easy projects. Assembly is used for special jobs. You pick the best language for your project and circuit. Each language helps you make your pcb do more. You use these languages to check, program, and test your circuit.
Tip: Always check and test your circuit after each step. This helps you find problems and keep your pcb working.
Programming Circuit Boards: Step-by-Step
Preparation
You start programming circuit boards by choosing the right pcb for your project. Look at what you want your circuit to do. Pick a pcb that matches your needs. You also need to gather all the parts for your circuit. This includes the microcontroller, power supply, connectors, and sensors. Before you begin, check each pcb for any damage. Careful inspection helps you avoid problems later. Make sure your workspace is clean and safe. You need a computer with the right software for programming. Install the programming environment, such as Arduino IDE or Visual Studio Code. Good preparation makes programming easier and helps you get better performance from your pcb.
Circuit Design
Designing your circuit is the next step. Draw a simple diagram of your pcb and all the parts you will use. Plan where each part will go on the pcb. You need to connect the microcontroller, sensors, and other hardware in the right way. Use color-coded wires to keep your circuit organized. Double-check your design before you start building. Careful inspection at this stage prevents mistakes. You can use online tools to help with your circuit design. A clear design makes programming and functional testing much easier.
Writing Code
Now you write the code for your pcb. Open your programming environment and start a new project. Choose the right language for your microcontroller programming. C and C++ work well for most microcontrollers. Python is good for simple projects. Write code that tells your circuit what to do. Add comments to explain each part of your code. Save your work often. Use the built-in tools to check your code for errors. Good programming helps your pcb run better and makes functional testing more reliable.
Tip: Break your code into small parts. Test each part before moving on. This makes debugging easier.
Compilation and Uploading
After you finish writing your code, you need to compile it. The programming environment checks your code and turns it into a form your pcb can use. Fix any errors that show up during compilation. Once your code is ready, connect your pcb to the computer. Use a USB programmer or other interface to upload the code. Watch for messages that show the upload is complete. If you see errors, check your connections and try again. Proper uploading is key for functional programming circuit boards.
Circuit Board Testing and Debugging
Testing is a big part of programming circuit boards. You need to make sure your pcb works as planned. Start with a visual inspection. Look for loose wires or damaged parts. Use in-circuit testing to check if each part of your circuit is working. Try different testing methods to find problems. For example, you can use a multimeter to check voltage and current. Functional testing means running your code and watching how your pcb responds. If something does not work, use debugging tools in your programming environment. Change your code or fix your circuit as needed.
Note: Always keep a checklist for inspection and testing. This helps you track what you have checked and what still needs work.
You can also use in-circuit testing to check the performance of your pcb while it is running. This helps you find problems that only show up during real use. Try different testing methods, such as checking sensor readings or watching display outputs. Good functional testing improves the performance of your circuit. If you find a problem, look at your code and your circuit design. Make small changes and test again. Repeat this process until your pcb works well.
Functional testing and inspection are important for every project. You need to check your pcb after every change. This keeps your circuit safe and functional. In-circuit testing and other testing methods help you get the best performance from your programming circuit boards.
Applications and Tips
Applications
Programming with a pcb can be used in many ways. When you make a circuit, you can build smart home devices. You can use your code to control lights, fans, and alarms. Robotics is another area where pcb skills are useful. Many students use a pcb to make robots for school. Medical devices use programming and testing to keep people safe. IoT lets your circuit connect to the internet. You can collect sensor data and send it to your phone. These uses show why programming and inspection matter for every pcb. You can see new technology trends by trying these uses. Each use needs careful testing and inspection to work well.
Quick Tips
Always clean your workspace before you use your pcb.
Draw your circuit on paper before you build it.
Use color-coded wires to help with inspection.
Save your programming work often.
Test your circuit after every change.
Label each part for quick inspection.
Check your connections before uploading code.
Use a checklist for every step, from programming to testing.
Practice testing with different inputs.
Keep notes about each use and any problems you find.
Tip: Good inspection and testing help you find problems early and make your pcb better.
Troubleshooting
You might have problems when programming a pcb. If your circuit does not work, start by looking at it. Check for loose wires or broken parts. Use a multimeter to test your circuit. Make sure your code matches your circuit design. If you find errors, fix them one at a time. Test your pcb after each fix. Sometimes, you need special sensors or displays for your project. Make sure you use the right parts for your circuit. Keep your inspection checklist up to date. If you have the same problem again, look at your notes. Good troubleshooting helps your programming and testing get better for every pcb.
You now know the main tools for programming a pcb. You use a pcb to make a circuit and start coding. Each pcb lets you try new things. You should focus on functional programming and testing. You check your pcb by looking at it closely. You write code for your circuit and put it on your pcb. You use testing to see if your pcb works right. You can try many uses with each pcb. You learn more about programming and circuit design by doing more projects. You get better with every pcb, every use, and every round of testing and checking.
Keep trying new uses and keep practicing programming, testing, and checking. Every pcb and circuit you make helps you learn.
FAQ
What is the first step in programming a pcb?
You start by choosing the right pcb for your project. Then, you set up your programming environment. Make sure you have all the parts you need before you begin programming.
Which programming language should you use for a pcb?
You can use C, C++, or Python for most projects. C and C++ work well for microcontrollers. Python is easier for beginners. Pick the language that matches your programming skills and the type of pcb you use.
How do you upload code to your pcb?
You connect your pcb to your computer with a USB cable or programmer. Open your programming environment. Click the upload button. The programming environment sends your code to the pcb. Watch for messages that show the upload is complete.
What should you do if your pcb does not work after programming?
Check your wiring and connections first. Look for errors in your programming code. Use your programming environment’s tools to find problems. Test each part of your pcb. Fix one issue at a time and test again.
Can you use one programming environment for different pcbs?
Yes, you can use some programming environments, like Arduino IDE, for many types of pcb. Make sure your programming environment supports your pcb. Check for updates and install any needed drivers before you start programming.