You can start hardware reverse engineering even if you have never taken apart a gadget before. You just need to be curious and want to learn. Many beginners begin by opening old toys or electronics. They take them apart and draw how they think the pieces work. Doing this with your hands helps you see how things fit together. It also helps you think like an engineer. When you mix learning from books with real projects, you understand big ideas and small details. The field is growing, so there are many chances to learn, try new things, and join a busy market.
Key Takeaways
Begin learning hardware reverse engineering by opening old electronics. This hands-on work helps you see how things function.
Learn basic electronics ideas like voltage, current, and resistance. Knowing these basics is very important for your projects.
Use easy tools like screwdrivers, pliers, and multimeters to start. You do not need costly tools to begin learning.
Keep track of your work by taking pictures and writing notes. Good records help you remember what you did and share it later.
Join online groups and forums to meet other people. Asking questions and sharing stories can help you learn more.
What is hardware reverse engineering?
Key concepts and basics
You might ask what hardware reverse engineering is. It means taking apart a device to see how it works inside. You look at each part and see how they connect. You try to figure out the design. Sometimes, you just open a gadget and draw what you notice. Other times, you look closer at small circuits or chips. People use this in many areas, not only electronics. You can even find it in biology and software.
Why it matters
You may wonder why people do hardware reverse engineering. The reason is clear. It helps you learn how things work and fix problems. Many companies use it to make their products better or repair old ones. Here are some main reasons why it is important:
Reason | Description |
|---|---|
Preparing for software development | You can plan better and stop problems if you know the hardware. |
Optimizing networks | You find ways to move data faster and more safely. |
Testing data security and IP protection | You find weak spots and help keep devices safe from hackers. |
Researching and restoring legacy code | You keep old machines working, even if you do not have guides. |
Conducting legal analysis | You can check if someone copied a design or broke a patent. |
Real-world uses
You can see hardware reverse engineering in many places. For example, you might want to fix an old game console that does not work. You could open it, find the broken part, and change it. Some people use these skills to build their own gadgets or make old ones better. Companies use reverse engineering to test safety or make sure their products are special. There are stories where people save money by fixing things instead of buying new ones.
Essential skills and knowledge
Electronics fundamentals
You do not need to be an expert in electronics to start. You just need to know some basics. Learn how electricity flows in a circuit. Try to understand what voltage, current, and resistance mean. You can use a battery, a light bulb, and some wires to see these ideas in action. If you want to go further, look at how switches, resistors, and capacitors work. These parts show up in almost every device you open.
Tip: You can find free online videos that explain electronics with simple experiments. Try building a small circuit on a breadboard. This hands-on practice helps you remember what you learn.
Programming basics (C, assembly)
Many devices use small computers called microcontrollers. These run code written in languages like C or assembly. You do not need to write perfect code. You just need to read simple programs and guess what they do. Start with C because it is easier to read. Later, you can look at assembly. Assembly looks strange at first, but you will get used to it.
Here is a simple C code example:
int main() {
  int led = 1;
  if (led) {
    // Turn on the light
  }
  return 0;
}
You will see code like this when you do hardware reverse engineering.
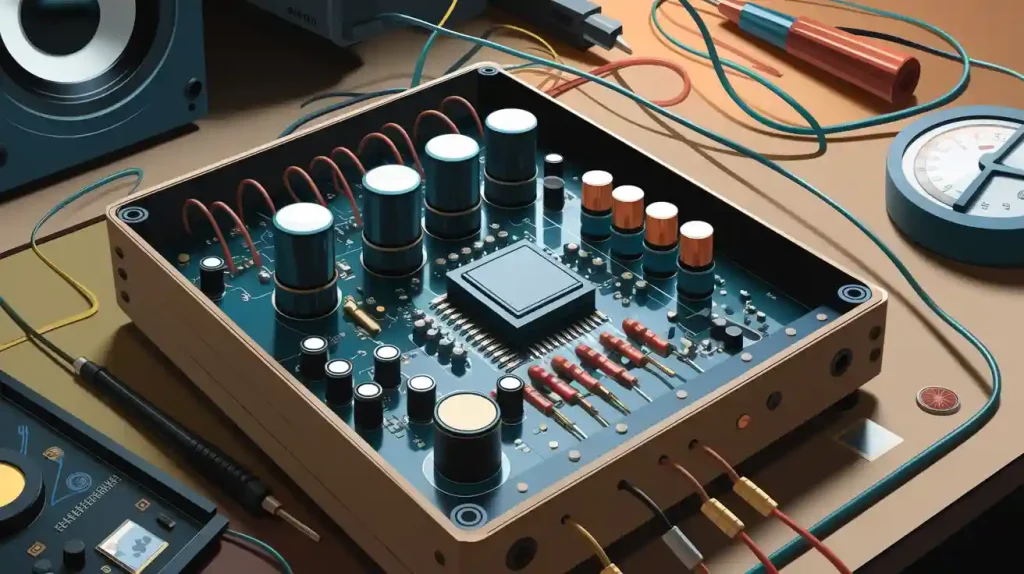
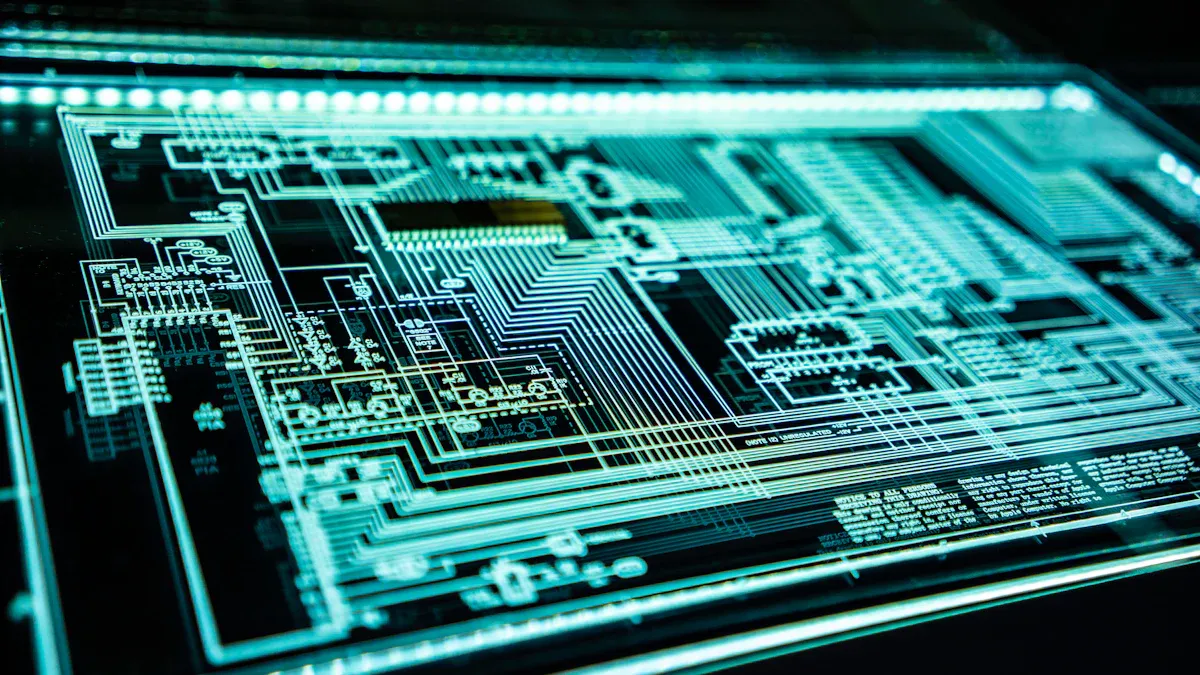
Understanding circuit boards
Circuit boards hold all the parts together. You will see green boards with lines and dots. The lines are paths for electricity. The dots are places where parts connect. Try to follow the lines with your finger. See where they go. Look for big chips, small resistors, and connectors. Each part has a job.
Part | What it does |
|---|---|
Chip | Brain of the device |
Resistor | Controls flow |
Capacitor | Stores energy |
Connector | Links to other parts |
If you practice looking at boards, you will get better at finding important parts. This skill helps you a lot in hardware reverse engineering.
Tools for hardware reverse engineering
Basic hardware tools
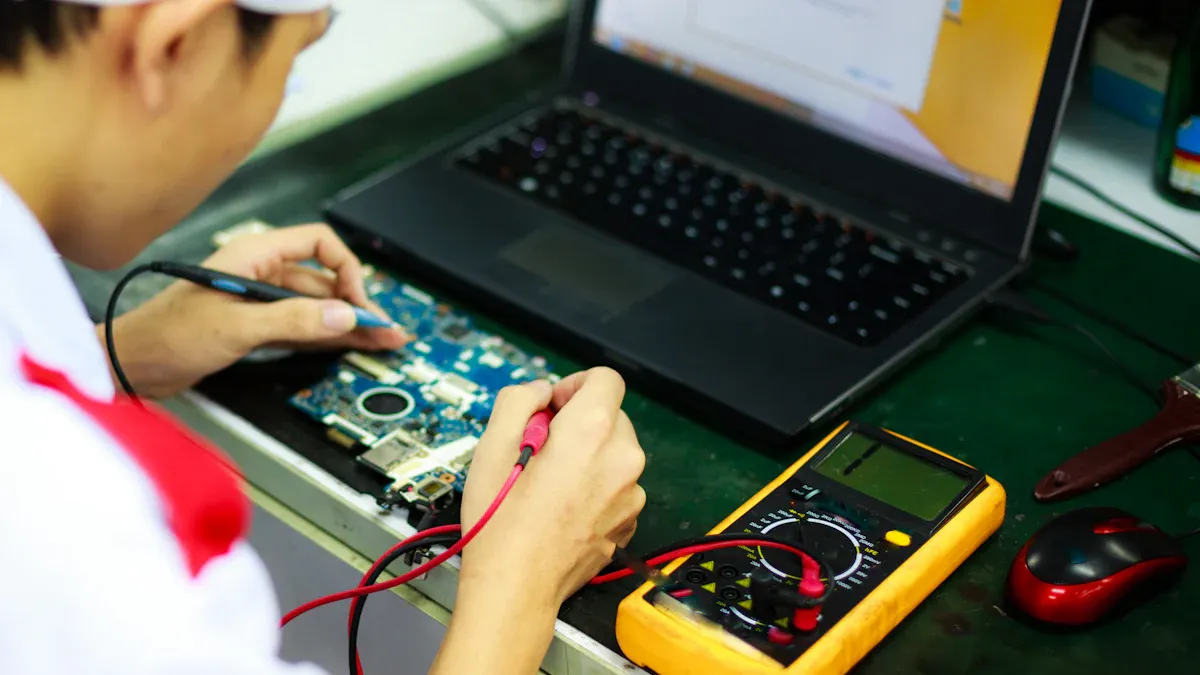
You do not need fancy gear to start with hardware reverse engineering. You can begin with a few simple tools. A small screwdriver set helps you open most devices. Needle-nose pliers let you grab tiny parts. A multimeter checks if electricity flows where it should. Tweezers help you pick up small pieces. If you want to see details, a magnifying glass works well. Many beginners use a breadboard and jumper wires to test circuits. These tools fit in a small box and do not cost much.
Tip: Start with used or old tools. You can upgrade later as you learn more.
Beginner software options
You will need software to look inside chips and code. Some programs are easy for beginners. Binary Ninja stands out because it works fast and lets you write simple scripts. Ghidra is another good choice. It helps you check your work and write notes. Radare2 goes deeper and shows how memory works, but you can try it after you get some practice. These tools help you see how a device thinks and acts.
Here are some beginner-friendly software options:
Binary Ninja: Fast, accurate, and easy to use.
Ghidra: Great for learning and making notes.
Radare2: Good for advanced memory work.
You might hear about IDA and Ghidra as advanced tools. Ghidra is free and open-source, so you can try it first. IDA is powerful, but you can wait until you have more experience.
Choosing your first tools
Picking your first tools can feel hard. You can make it easier by thinking about what you want to do. Do you want to look at firmware or find weak spots in a device? Each job needs different tools. Look for tools that support the chips you want to study. Check if the tool lets you write scripts or work with others. Think about cost, too. Some tools are free, while others cost money or need training.
Here are some things to consider:
Know what you want to do first.
Check if the tool works with your device.
See if you can use scripts or share your work.
Compare prices and see if you need extra help.
You do not need every tool right away. Start small and add more as you grow. This way, you will learn what works best for you in hardware reverse engineering.
First hardware reverse engineering project
Picking a device to practice
You might wonder what device you should start with. The best choice is something simple and safe. Old electronics like broken game consoles, remote controls, or even a used router make great practice items. These devices let you open them up without worrying too much about breaking something valuable.
You can also try Arduino boards. They are beginner-friendly and easy to modify. You can find lots of guides and projects online for Arduino. This makes them perfect for your first hardware reverse engineering project.
Here are some good options for your first project:
Old game consoles or controllers
Outdated routers or Wi-Fi adapters
Simple toys with electronic parts
Arduino boards
Tip: Avoid expensive or modern devices at first. They can be complex and hard to fix if something goes wrong.
Step-by-step workflow
You might feel unsure about where to start. Here is a simple workflow you can follow for your first project:
Inspect the device
Look at the outside and inside of your device. Notice the layout and the main parts. Take your time and try to guess what each part does.Test electrical continuity
Use a multimeter to check if the connections work. This helps you find broken wires or bad solder joints.Identify debug ports and key components
Look for small pins or connectors labeled as “DEBUG,” “UART,” or “JTAG.” These are often used for testing and programming. You can also spot big chips, memory cards, or power connectors. Start by testing the simplest functions. If you find a problem, trace backwards to see where it starts. Sometimes, the real issue hides behind another part.The first step in debugging is to isolate the problem area in your board. Testing should start with the simplest functionalities, and tracing backwards within functional blocks can help identify the actual source of issues, which may not always be where the symptoms appear.
Capture device signals
If you want to go further, solder wires to test points. Use an oscilloscope or logic analyzer to watch how signals move. This step helps you see how the device talks to its parts.Develop a proof of concept
Use the data you collect to build a simple model. For example, you can use an Arduino to copy what the device does. This helps you understand how the original device works.
Safety first! Always unplug your device before opening it. Use the right tools and work slowly. If you are not sure about something, ask for help or look for guides online.
Common challenges
You may face some problems during your first project:
Devices can be complex and confusing.
You might not find any manuals or diagrams.
Some devices have legal protections. Always check the rules before you start.
If you get stuck, do not worry. Every mistake helps you learn.
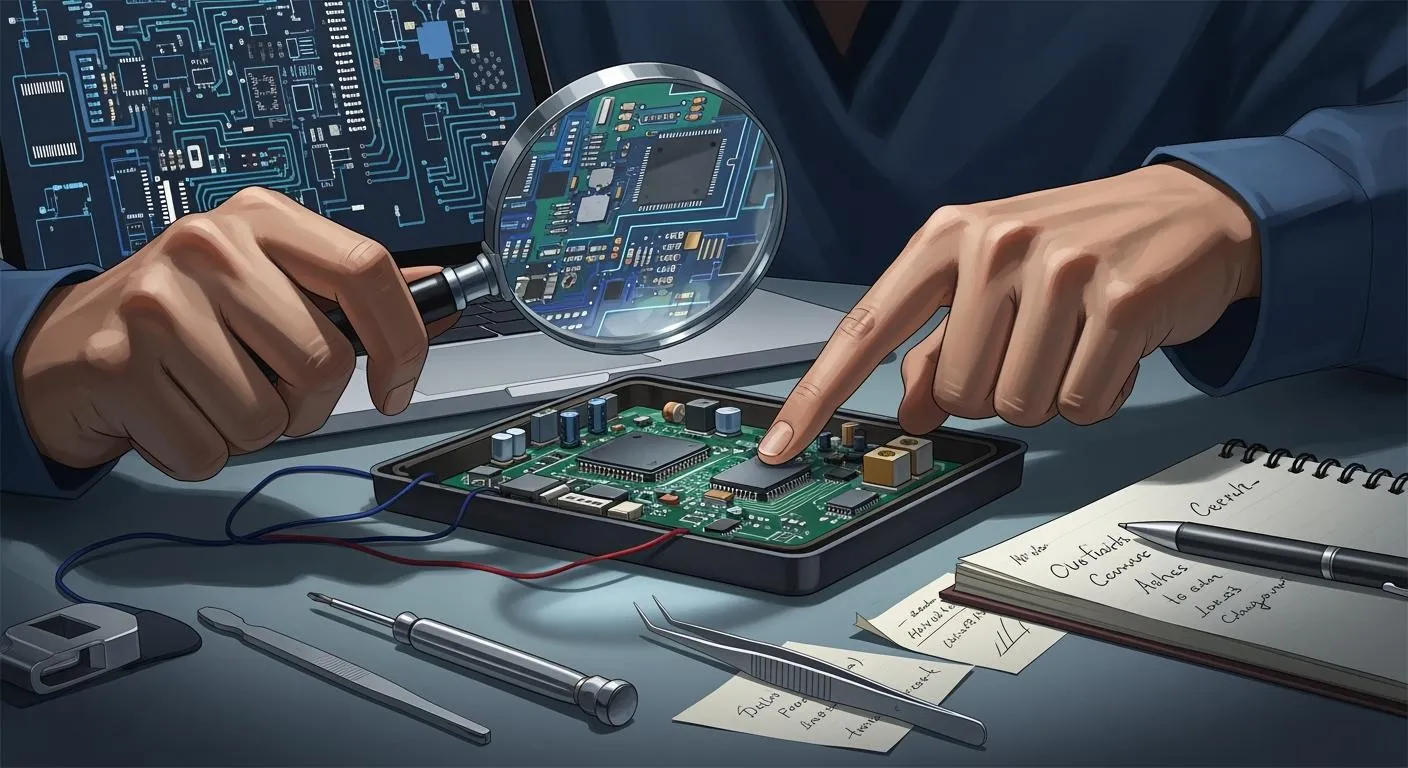
Documenting your process
Keeping good records is important. You will thank yourself later when you want to remember what you did or share your findings.
Here are some ways to document your work:
Take clear photos at each step. Snap a picture before and after you remove any part.
Write notes about what you see and do. Use a notebook or a digital app.
Draw diagrams of the circuit or label the parts you find.
Save any data or code you collect.
This habit helps you stay organized. It also makes it easier to explain your work to others or repeat your steps in the future.
Documentation Method | Why It Helps |
|---|---|
Photos | Visual record of each step |
Notes | Details about actions and findings |
Diagrams | Shows how parts connect |
Saved Data | Keeps code and measurements handy |
Note: Good documentation is a key skill for every reverse engineer. It helps you research, rebuild, or even improve the device later.
By following these steps, you will build confidence and skills in hardware reverse engineering. Remember, hands-on practice is the best way to learn. Have fun and stay curious!
Tips and learning resources
Common mistakes to avoid
It is easy to get excited and start fast, but beginners often make the same mistakes. Here are some things you should be careful about:
Do not skip safety steps. Always unplug devices before opening them.
If you forget to take notes or photos, you might forget what you did.
Do not start with new or expensive gadgets. Use old and simple devices first.
Do not rush. Look at each part slowly and carefully.
Ask for help if you need it. Many people like to share what they know.
Tip: If you get stuck, take a break and look at the problem again. A fresh look can help you notice things you missed.
Online guides and tutorials
There are many guides online, but some are better for beginners. The “Beginners Guide to Reverse Engineering (Retro Games)” is a good place to start. This guide uses old video games to teach hardware reverse engineering. It explains why reverse engineering is important and how it connects to programming. You will learn by taking things apart and seeing how they work. You will also see how games are made and why this helps you with other devices.
You can also find video tutorials on YouTube. Many people show real projects step by step. These videos help you follow along and try things yourself.
Community and forums
You do not have to learn by yourself. There are many online groups that welcome beginners and answer questions. Here are two popular forums:
Forum Name | Description | Link |
|---|---|---|
Tuts 4 You | A forum with articles and talks about reverse engineering. | Visit Tuts 4 You |
Tinker Different | A group for people who like old tech and hardware reverse engineering. | Visit Tinker Different |
You can join these forums to ask questions, share your work, or read what others are doing. People there are friendly and like to help.
Remember: The best way to learn is to try, make mistakes, and ask for help. The hardware reverse engineering community has many people who started just like you.
You can begin hardware reverse engineering by following a few easy steps. First, get some basic tools. You will need things like a TTL to USB adapter, CH341A programmer, SOP8 test clip, soldering iron, and solder flux. Next, learn some assembly language basics. Try using beginner tools such as Ghidra. Then, work on small projects. Make sure to write down what you do as you go.
Talk with other people who like hardware reverse engineering. Here are some resources that can help you:
Category | Resource |
|---|---|
Programming | Codecademy, HackerRank, C Programming Language |
Challenges | Challenges.re |
YouTube | LaurieWired, Low Level Learning |
Keep learning new things. Stay curious and join a group. Each project you finish helps you get better!
FAQ
What is the easiest device to start with?
You can start with an old TV remote, a broken game controller, or a simple toy. These devices have fewer parts and are safe to open. You will learn a lot by just looking inside and tracing the circuits.
Do I need to know how to solder?
You do not need to solder for your first project. Many beginners use breadboards and jumper wires. If you want to fix or connect parts later, learning to solder will help. You can find many beginner soldering videos online.
Can I damage a device by opening it?
Yes, you might break something if you rush or use the wrong tools. Always unplug the device first. Use a small screwdriver and work slowly. Take photos as you go. If you get stuck, ask for help or check a guide.
Is hardware reverse engineering legal?
In most cases, you can open and study your own devices. Some countries have rules about copying or sharing designs. Always check your local laws before you start. If you only learn for yourself, you usually stay safe.
Where can I find more beginner projects?
You can search YouTube for “hardware reverse engineering for beginners.” Many makers share step-by-step guides. Forums like Tinker Different and Tuts 4 You also have project ideas. Try asking in these communities if you want more suggestions.