When you start using diodes in your led circuit, you need to pay close attention to polarity and current flow. Diodes only let electricity move one way, so if you connect them backward, your LED will not light up or might even get damaged. Always add a resistor in series to keep the current safe for your LED. Skipping this step can lead to problems like open circuits or even short circuits, often caused by too much voltage or current. If you want your LEDs to last, make sure you double-check your connections and avoid pushing the parts past their limits.
Using diodes with LEDs
Polarity in LED circuits
When you start using diodes in your LED circuit, you need to pay attention to polarity. Diodes only let electricity move in one direction. If you connect a light emitting diode the wrong way, it will not light up. You might even damage it.
Diodes allow electric current to pass in one direction, called the forward direction.
They block current in the opposite direction, which is the reverse direction.
This unidirectional behavior is important for light emitting diodes to work.
The p-n junction inside the diode creates a barrier. It lets current flow in one direction only.
You need to connect the anode of the light emitting diode to the positive side of the power supply. The cathode goes to the negative side.
If you get the polarity wrong, your LEDs will not glow. You might see nothing happen, or the LED could fail. Always check the markings on the LED before you build your circuit.
Reverse voltage protection
You want your LEDs to last a long time. Reverse voltage can damage them quickly. Using diodes in your circuit helps protect your light emitting diodes from this problem. Diodes, especially Schottky diodes, act like a shield. They let current flow in one direction and block it in the other. This keeps your LEDs safe from reverse voltage.
When you pick a diode for reverse polarity protection, look for one with a Peak Inverse Voltage (PIV) rating that matches your system. For example, if you use a 12V power supply, choose a diode with a PIV of at least 20V. In cars, voltage spikes can happen, so you might need a diode with a PIV of 50V or more. Schottky diodes work well because they have a low forward voltage drop and switch quickly. This makes them perfect for protecting sensitive light emitting diodes.
Current limiting with resistors
You need to control the amount of current flowing through your LEDs. If you skip the current limiting resistor, your LEDs can burn out fast. The resistor keeps the forward current at a safe level. Without it, LEDs might flicker, get too hot, or stop working. Power supplies can send a surge of current when you turn them on. This surge can destroy your light emitting diode if you do not use a resistor.
Here is a quick guide for choosing the right resistor for common LED colors:
LED Color | Voltage Drop (V) | Recommended Resistor Value (Ohms) |
|---|---|---|
Red | 2.0 – 2.2 | 155 |
White | 3.0 – 3.2 | 110 |
Yellow | ~2.0 | N/A |
Blue | ~3.0 | N/A |
Green | N/A | N/A |
Tip: Always use a current limiting resistor in your LED circuit. This simple step saves your light emitting diodes from damage and keeps your project working longer.
When you use diodes and resistors together, you control the forward current and protect your LEDs. You make sure the light emitting diode only gets the right amount of electricity. This keeps your circuit safe and your LEDs shining bright.
Light emitting diode basics
How light-emitting diodes work
You might wonder how light emitting diodes actually glow. When you connect LEDs to a power source, electricity flows through the p-n junction inside each light emitting diode. Electrons and holes meet at this junction. Their interaction releases energy as visible light. The materials inside LEDs decide the color and brightness. Some LEDs use special compounds to create blue, green, or even ultraviolet light. The way the p-n junction is built affects how much light you get and how efficiently it shines. If you want high-intensity leds, you need designs that let more light escape from the diode.
Here’s a quick look at what happens inside light emitting diodes:
Electrons move across the p-n junction.
Holes wait on the other side of the junction.
When electrons and holes meet, they release energy as light.
The type of semiconductor decides the color and led brightness.
Anode and cathode identification
You need to connect your LEDs the right way in your circuit. If you mix up the anode and cathode, your light emitting diode will not work. You can spot the anode and cathode by looking at the legs and the body of the LED. The longer leg is the anode, which connects to the positive side. The shorter leg is the cathode, which goes to the negative side. Sometimes, you see a flat notch on the LED’s edge. That notch marks the cathode. Inside the LED, the larger piece is also the cathode. Surface mount LEDs often have tiny marks to show polarity. Always check these signs before you add light emitting diodes to your circuit.
Here’s how you can identify the leads:
Longer lead = anode (+)
Shorter lead = cathode (-)
Flat notch on the side = cathode
Larger end inside the LED = cathode
LED vs. standard diode
You might think all diodes work the same, but light emitting diodes have special features. Regular diodes only control current direction. LEDs do that too, but they also make light. The materials inside light emitting diodes are different from standard silicon diodes. LEDs use compounds that can glow when electricity passes through. Standard diodes do not emit light. Another big difference is how much reverse voltage each can handle. Most LEDs have lower reverse voltage ratings than regular diodes. If you apply too much reverse voltage to light emitting diodes, they can break easily.
Check out this table showing typical forward voltage for different colors of LEDs:
Color | Forward Voltage |
|---|---|
Infrared | < 1.9 V |
Red | 1.7 to 2.2 V |
Orange | 2.0 to 2.2 V |
Yellow | 2.1 to 2.4 V |
Green | 2.0 to 2.3 V |
Blue | 3.2 to 4.0 V |
Ultraviolet | 2.1 to 3.8 V |
White | 3.3 to 3.6 V |
Most light emitting diodes run at 20, 40, 60, or 80 mA. You need to check these ratings before you add LEDs to your circuit. If you use too much current, your LEDs will burn out. If you use too little, you will not get enough led brightness.
Tip: Always check the specs for your LEDs before you build your circuit. This helps you avoid mistakes and keeps your light emitting diodes working longer.
Connecting LEDs in circuits
Choosing the right diode
When you make a led circuit, picking the right diode is important. You want your leds to last and be bright. You should check a few things before you choose. Diodes have ratings for current and voltage. These ratings show how much they can handle. If the diode cannot handle enough forward current, your light emitting diode might break. You also need to look at the reverse voltage rating. If the voltage goes too high in the wrong way, the diode can stop working.
Here’s a table to help you know what to check when picking a diode for your leds:
Criteria | Description |
|---|---|
Forward Current (IF) | Highest current the diode can take before breaking. |
Non-repetitive Peak Forward Current (IFSM) | One-time surge current the diode can take in special cases. |
Repetitive Peak Forward Current (IFRM) | Current rating for repeated pulses, good for start-up surges. |
Repetitive Peak Reverse Voltage (VRRM) | Highest reverse voltage the diode can take; too much can break it. |
Power Dissipation | Total power lost as heat; must not go over the diode’s limit. |
Junction and Storage Temperature | Temperature range for the diode; too hot can cause failure. |
Thermal Resistance | Used to figure out how much heat the diode can handle; shown in K/W or °C/W. |
Reverse Recovery Time (trr) | Important for switching; shorter times mean less loss. |
Current Stress | Shows the most current allowed through the diode. |
Voltage Stress | Shows the most voltage allowed across the diode; safe levels are 50%-70%. |
Power Stress | Shows the most power lost as heat; usually set at 50%. |
Thermal Stress | Shows the highest temperature allowed; safe values are 50%-80%. |
Match the diode’s forward current rating with your leds. If your light emitting diodes use high forward current, pick a diode that can handle it. Always check the datasheet for your diode and leds. Think about temperature too. If your circuit gets hot, make sure your diode can work in those conditions.
Tip: Use a diode with a reverse voltage rating higher than your power supply. This keeps your light emitting diode safe from voltage spikes.
Calculating resistor values
You need a current limiting resistor to keep your leds safe. If you skip this, your light emitting diode can burn out. To find the right resistor, you need three things: supply voltage, forward voltage of your leds, and forward current.
Here’s how you can figure out the resistor value:
Find your supply voltage (V_s). This is from your battery or power supply.
Check the forward voltage (V_f) for your leds. Look in the datasheet.
Find the forward current (I_f) for your light emitting diode. Most leds use 20mA to 80mA.
Use this formula:
R = (V_s - V_f) / I_f
Use amps for current. If your led uses 25mA, use 0.025A in the formula.
Let’s try an example. You have a 12V battery and a light emitting diode with a forward voltage of 3.5V. The forward current is 25mA.R = (12 - 3.5) / 0.025 = 340 ohms
Pick a resistor close to this number. If you cannot find the exact value, round up to the next standard resistor.
Note: Always round up to keep your leds safe. Too much current can hurt your light emitting diodes.
Here’s a checklist for calculating resistor values:
Find the supply voltage and forward voltage of your leds.
Find the forward current for your light emitting diode.
Use the formula to get the resistance.
Adjust for tolerance and pick the closest standard resistor.
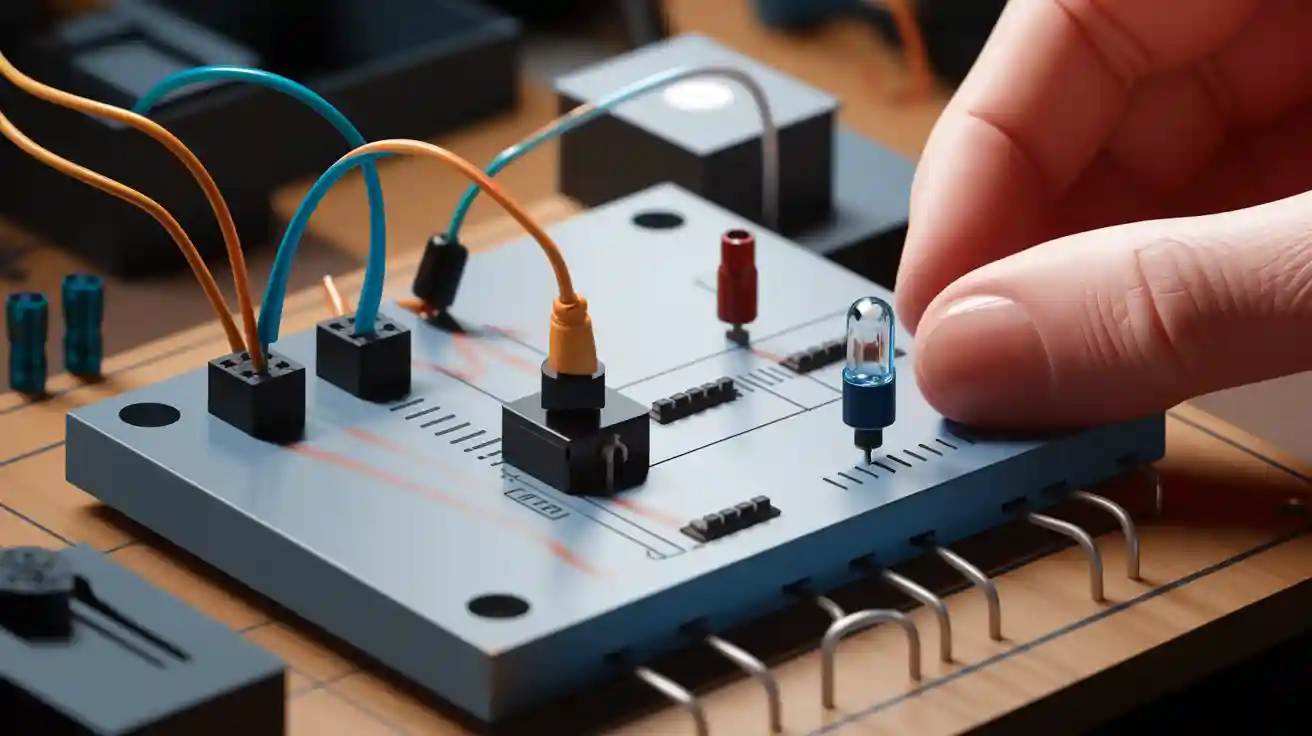
Wiring steps
You want your leds to work every time you turn them on. Follow these steps to wire your circuit safely:
Connect the positive side of your light emitting diode to the positive terminal of your battery or power supply.
Connect the negative side of your light emitting diode to the negative terminal.
Put a current limiting resistor in series with your leds. This keeps the forward current safe.
If you use a diode for protection, connect it in series with your leds. Make sure the polarity matches the current flow.
Strip the insulation from your wires. Tin the ends with solder. Solder the wires to the legs of your leds and the resistor.
For more than one led, wire them in parallel. Give each light emitting diode its own resistor. This helps balance the forward current and keeps all your leds bright.
Double-check your connections before you turn on the circuit.
Safety Tip: Never add or remove a diode when the circuit has power. Be careful when soldering. Too much heat can hurt your leds and diodes. Always put new diodes in the right direction.
Keep your led circuit safe and working well. Use good connectors and make sure your wiring is strong. If you use high-intensity light emitting diodes, wear eye protection. Keep your workspace neat and clean.
Callout: If you use a transformer, make sure it matches your leds. Using diodes with the right ratings and a current limiting resistor helps stop overvoltage and keeps your light emitting diodes working longer.
When you follow these steps, your circuit works well. Your leds will be bright, and you avoid problems like overheating or burning out your light emitting diode. Using diodes in your led circuit gives extra protection and helps your project last.
Troubleshooting light-emitting diodes
Common mistakes
When you build a circuit with leds, you might run into some common mistakes. These errors can stop your leds from working or even cause damage. Here’s a table to help you spot what might go wrong:
Error Type | Description |
|---|---|
Insufficient power supply | Leds need the right voltage and forward current. Not enough power means failure. |
Circuit wiring error | If you wire your leds backward, they will not light up. |
Circuit component damage | Broken resistors or diodes can stop leds from working. |
LED damage | Too much forward current or static can break leds. |
LED aging | Leds get dimmer over time. |
High temperature | Heat can lower led performance or cause failure. |
Excessive ambient light | Bright rooms can make it hard to see if leds are on. |
Production process issues | Poor assembly can lead to bad leds. |
Material defects | Bad materials can cause leds to fail early. |
Tip: Always double-check your wiring and use the right resistor to control forward current. This helps your leds last longer.
Diagnosing circuit issues
If your leds do not light up, you can follow these steps to find the problem in your circuit:
Make sure the power is on and your leds have power.
Look at the socket and wires for damage or corrosion.
Check all connections. Make sure you did not cross wires and that polarity is correct.
Try a different power supply to see if your leds need more voltage or forward current.
Use a multimeter to check polarity. If the voltage is wrong, your leds will not work.
Test for short circuits with a multimeter by measuring resistance.
You can also use these quick checks for polarity:
Look at the leads. The longer one is positive, the shorter is negative.
Use a multimeter in diode mode. If the leds do not light, switch the probes.
Try a coin cell battery. If the leds light up, you have the right polarity.
Find the flat side on the led base. That marks the negative side.
Note: A simple voltage multimeter can help you check voltage, continuity, and forward current in your circuit.
Preventing LED failure
You want your leds to shine bright and last a long time. Here are some ways to keep your leds safe in your circuit:
Method | Description |
|---|---|
Use power supplies with limited peaks | Stops too much forward current from reaching your leds. |
Add reverse polarity protection | Diodes in parallel with leds keep them safe from wrong connections. |
Test for hot plug current | Checks for sudden forward current spikes during assembly. |
Follow good assembly steps | Only connect power after your leds are in place. |
Use high-quality connectors | Good connectors keep forward current steady and prevent stress. |
High temperatures can hurt your leds. When leds get too hot, they need more power for less light. Over time, heat makes leds dimmer and can cause them to fail. Sudden changes in temperature can also break leds. Always keep your circuit cool and use heat sinks if needed.
Callout: Too much forward current, reverse voltage, or heat are the main reasons leds fail. Always use the right resistor and diode to protect your leds.
If you follow these tips, your leds will work well in your circuit. You will avoid most problems and keep your leds glowing for a long time.
You can make LED circuits that work well by following easy steps. Always check which way the LED goes. Look for the mark or the bigger metal plate to find the negative side. Use a resistor to keep the forward current safe. This helps your LEDs stay bright and last longer. Make sure your wires are tight. Use good connectors so your circuit is safe.
Best Practice | Description |
|---|---|
Stable Resistor Mounting | Stop damage from shaking by holding resistors tightly. |
Circuit Integrity Check | Look at your circuit after adding resistors to find mistakes. |
Remember these tips when you build your next LED project. Clean your circuit often. Check for loose wires. Watch for too much heat. These steps help your LEDs glow for a long time.
FAQ
Can I use any diode with my LED circuit?
You need to pick a diode that matches your LED’s voltage and current. Check the datasheet for both parts. If you use the wrong diode, your LED might not work or could get damaged.
Why does my LED not light up even though everything looks connected?
Check the polarity first. The longer leg goes to positive. Make sure you have a resistor in series. If you skip the resistor, your LED can burn out quickly.
How do I know what resistor to use with my LED?
Use this formula:Resistor = (Supply Voltage - LED Voltage) / LED Current
Look at your LED’s datasheet for voltage and current. Round up to the nearest standard resistor value.
What happens if I connect my LED backward?
Your LED will not light up. Sometimes, it can get damaged. Always check the anode and cathode before you power up your circuit.
Do I need a diode for every LED in my project?
You do not need a separate diode for each LED. One protection diode for the whole circuit works in most cases. If you use many LEDs, make sure each has its own resistor.