You can hack a headphone jack by understanding its wiring and making a few simple tweaks. Different jack types have different pin layouts, so you need to spot which one you have.
Tip: Grab some basic tools like a small screwdriver, wire cutters, and a soldering iron. You’ll get better results if you work slowly and double-check each connection.
Jack Types
When you look at a headphone jack, you might think they all work the same way. That’s not true! You’ll find a few different types, and knowing which one you have makes a big difference when you want to hack or fix it.
TRS vs. TRRS
You’ll see two main types of headphone jacks: TRS and TRRS. These names sound technical, but they just describe the number of metal sections on the plug.
TRS stands for Tip-Ring-Sleeve. You’ll spot three metal parts separated by two black bands. This type usually handles stereo sound—left and right audio channels.
TRRS stands for Tip-Ring-Ring-Sleeve. You’ll see four metal parts with three black bands. This type adds an extra channel, often for a microphone or video.
Tip: Count the black bands on your plug. Two bands mean TRS. Three bands mean TRRS. This quick check helps you pick the right wiring diagram.
Here’s a simple table to help you compare:
Type | Bands | Channels | Common Use |
|---|---|---|---|
TRS | 2 | Stereo (L/R) | Headphones, speakers |
TRRS | 3 | Stereo + Mic | Headsets, smartphones |
Pinout Basics
Each section of the jack connects to a different wire. If you want to hack a 3.5 mm stereo audio jack, you need to know what each part does.
Tip: Left audio
Ring(s): Right audio (and microphone for TRRS)
Sleeve: Ground
You can use a multimeter to test which wire goes to each part. If you mix up the wires, you might only hear sound from one side or lose the mic. Always double-check before you solder anything.
Remember: A good pinout diagram saves you time and frustration. Print one out or keep it on your phone while you work!
Hack a Headphone Jack: Tools
Essential Tools
Before you start hacking a headphone jack, you need the right tools. These tools help you work safely and make clean connections. You probably have some of them at home already.
Small Phillips screwdriver 🪛
You use this to open up headphone cases or unscrew jacks.Wire cutters/strippers
These help you cut and strip the wires without damaging them.Soldering iron and solder
You need these to make strong, lasting connections between wires and the jack.Multimeter
This tool lets you check if your connections work. It also helps you find which wire goes where.Tweezers or needle-nose pliers
These help you hold tiny wires or parts in place.Heat shrink tubing or electrical tape
You use these to cover and protect your soldered joints.
Tip: If you don’t have a soldering iron, you can try twisting wires together and using tape. Soldering gives you a better, more reliable connection, though.
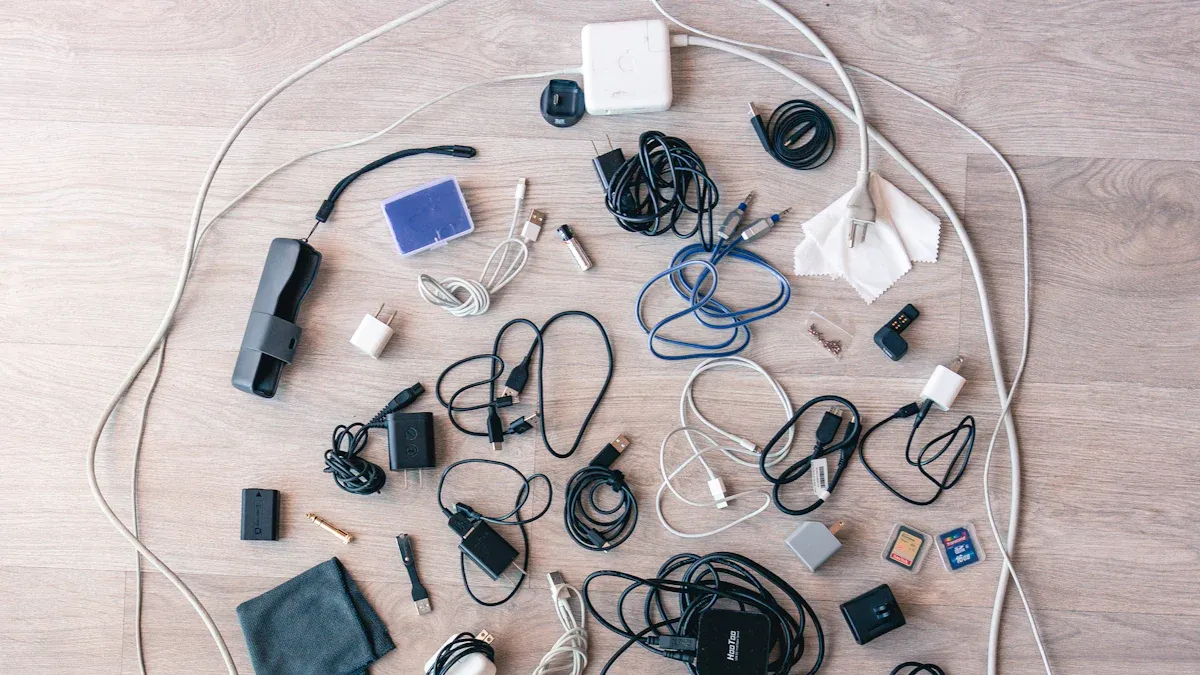
Materials List
You also need a few materials to get started. Here’s a quick checklist:
Material | Why You Need It |
|---|---|
3.5mm headphone jack | The main part you’ll hack or replace |
Audio cable (old or new) | For practice or replacement |
Extra wires | Useful for testing or extending reach |
Heat shrink tubing | To insulate and protect connections |
Electrical tape | For quick fixes and extra safety |
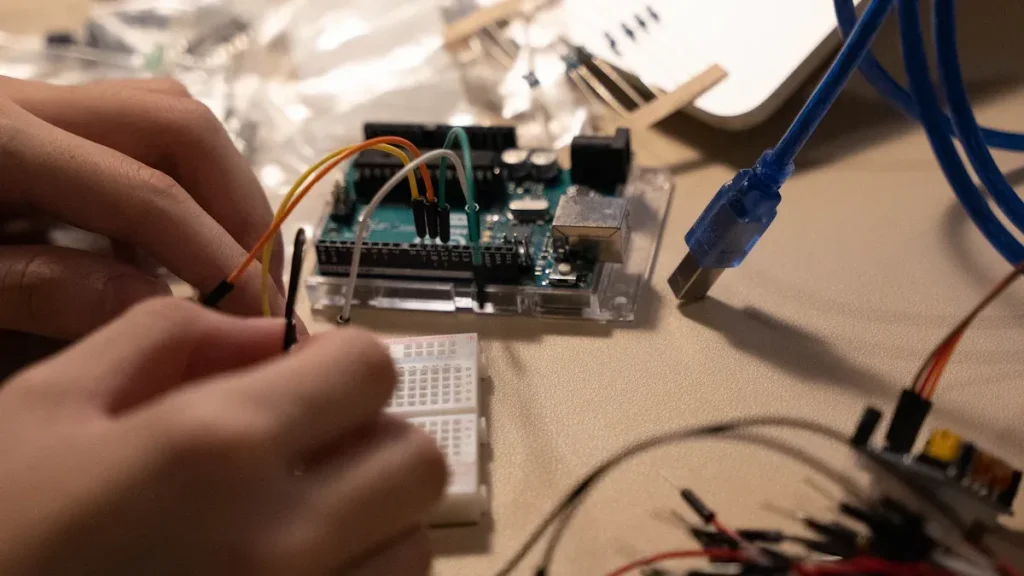
Sometimes you want to hack a jack from an old pair of headphones. You can also buy new jacks online or at electronics stores. If you plan to connect your jack to a circuit or a breadboard, grab some jumper wires, too.
Note: Always check your workspace for good lighting and a clean surface. This makes your project easier and safer.
With these tools and materials, you’re ready to start hacking your headphone jack. Take your time, and double-check each step. You’ll get better results and avoid common mistakes.
Hacking the Headphone Jack
Preparation Steps
Before you start to hack a headphone jack, you need to get everything ready. This helps you avoid mistakes and makes the project go smoothly. Here’s what you should do:
Pick your project. Decide what you want to do. Maybe you want to fix a broken jack, connect your phone to a car stereo, or use a headphone jack as a switch for a DIY gadget.
Gather your tools and materials. Lay out your screwdriver, wire cutters, soldering iron, and other supplies. Make sure you have a clean, well-lit workspace.
Check your jack type. Look at your plug and count the black bands. Remember, TRS has two bands, and TRRS has three. This tells you how many wires you’ll work with.
Plan your wiring. Find a pinout diagram for your jack. You can draw one on paper or keep it on your phone. This helps you know which wire goes where.
Test the old jack. If you’re fixing or reusing a jack, plug it in and see what works. Use a multimeter to check for broken wires or loose connections.
Tip: Take a photo of your jack and wires before you start. This makes it easier to remember where everything goes.
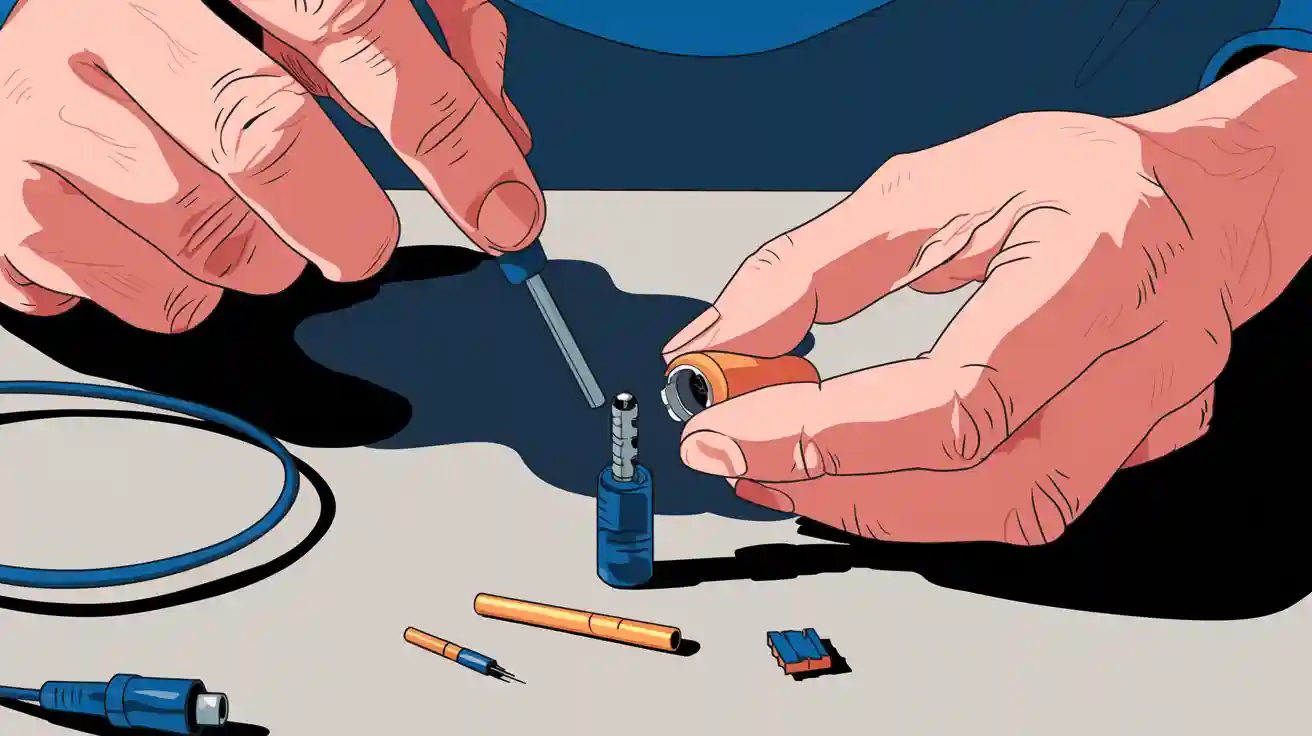
Wiring and Soldering
Now you’re ready to hack a headphone jack. This part takes patience, but you can do it if you go step by step.
Strip the wires. Use wire strippers to remove a small bit of insulation from each wire. You should see copper strands inside.
Tin the wires. Heat your soldering iron and touch a little solder to each wire. This coats them and makes soldering easier.
Match the wires to the jack. Use your pinout diagram. Usually, the tip is left audio, the first ring is right audio, and the sleeve is ground. For TRRS, the extra ring is for the mic.
Solder the wires. Hold each wire to the right pin on the jack. Touch the soldering iron and add a bit of solder. The wire should stick to the pin.
Check your work. Use a multimeter to test each connection. Make sure there are no shorts between pins.
Insulate the joints. Slide heat shrink tubing over each soldered joint. Use a lighter or heat gun to shrink it. If you don’t have tubing, wrap the joints with electrical tape.
Here’s a simple wiring diagram for a TRS jack:
Tip   ---- Left Audio (White)
Ring  ---- Right Audio (Red)
Sleeve---- Ground (Copper)
Note: If you want to use the headphone jack as a switch, you can wire the sleeve and ring to act like an on/off button when you plug something in. This trick works for simple circuits or DIY projects.
Connecting to Circuits
You can do a lot once you finish wiring and soldering. Here are some cool ways to use your hacked jack:
Connect to a car stereo. Plug your new jack into the AUX port. Solder the other end to your device or use an adapter. Now you can play music from your phone or MP3 player.
Fix a loose jack. If your headphones only work in one ear, open the plug and check the wires. Solder any loose wires back to the right pins. Test with a multimeter before closing it up.
Airplane headphone trick. Airplane seats sometimes use two-prong jacks. You can hack a headphone jack by soldering both left and right wires together. This way, you get sound in both ears from a single plug.
DIY audio projects. Connect your jack to a small amplifier or speaker. You can also use jumper wires to plug it into a breadboard for testing circuits.
Alert: Always unplug your devices before soldering or connecting wires. This keeps you safe and protects your gear.
If you want to boost the sound, you can add a simple amplifier circuit. Many small amps use the same wiring as a headphone jack. Just match the left, right, and ground wires to the amp’s input.
Here’s a quick table for common hacks:
Hack | What You Need | Result |
|---|---|---|
Car stereo connection | AUX cable, soldering | Play music in your car |
Fixing loose jack | Soldering iron, tape | Both sides work again |
Airplane headphone trick | Solder both channels | Stereo sound on planes |
DIY amp or speaker | Breadboard, amp chip | Custom audio projects |
You just learned the basics of hacking the headphone jack. Try these hacks, and you’ll see how easy it is to make your own audio gear work better!
Troubleshooting
Common Issues
You might run into a few problems when you hack a headphone jack. Sometimes, you hear sound from only one side. Other times, the microphone does not work. Loose wires or bad solder joints cause most problems. You may also notice static or crackling noises. If your device does not detect the jack, check the plug and the wiring first.
Here are some common issues you might face:
Only one ear works
No sound at all
Static or buzzing noise
Microphone does not pick up sound
Device does not recognize the jack
Tip: If you see frayed wires or melted insulation, you should redo those connections.
Testing Connections
You want to make sure your headphone jack works before you close everything up. Start by plugging it into your device and listening for clear sound. Try moving the plug around to see if the sound cuts out. If you have a multimeter, use it to check each wire. Touch one probe to the tip, ring, or sleeve, and the other to the matching wire. You should get a beep or a reading if the connection is good.
Here’s a quick table for testing basic headphone jack functions:
Test | What to Do | What You Should Hear/See |
|---|---|---|
Left channel | Play sound, check left ear | Clear audio in left ear |
Right channel | Play sound, check right ear | Clear audio in right ear |
Microphone | Record voice, play back | Your voice is clear |
Multimeter test | Probe pins and wires | Steady reading or beep |
Note: If you do not hear sound or get a reading, check your solder joints and make sure wires are not touching each other.
Safety Tips
You want to stay safe while working on headphone jacks. Always unplug your devices before you start. Never touch the tip of a hot soldering iron. Work in a well-lit area so you can see small wires. Use heat shrink tubing or electrical tape to cover exposed wires. If you smell burning plastic, stop and check your work.
Unplug devices before soldering 🔌
Keep your workspace clean and dry
Let solder joints cool before touching
Use safety glasses if you have them
Wash your hands after handling wires
Alert: Rushing can lead to mistakes or burns. Take your time and double-check each step.
You just learned how to hack a headphone jack step by step. Here’s a quick recap:
Gather your tools and materials
Identify your jack type and wiring
Solder connections with care
Test and troubleshoot your work
Tip: Always double-check your wiring and stay safe. Try new hacks and experiment with audio circuits. You might build your own custom headphones or speakers next!
FAQ
Can I hack a headphone jack without a soldering iron?
Yes, you can twist wires together and use electrical tape. Soldering gives you a stronger connection, but twisting works for quick fixes or testing. Just make sure the wires do not touch each other.
Why does my headphone only play sound in one ear after hacking?
You probably mixed up the wires or missed a connection. Double-check your wiring with a pinout diagram. Test each channel with a multimeter. Fix any loose or broken wires.
Is it safe to use hacked headphone jacks with my phone?
Usually, yes. If you connect the wires correctly and insulate them, your phone should work fine. Avoid letting wires touch each other. Always unplug your phone before making changes.
What can I do if my microphone does not work after rewiring?
Check the TRRS pinout. The mic wire may be on the wrong ring. Use a multimeter to test the connection. Try swapping the mic and ground wires if you still have trouble.