You can make your own digital photo frame. You can use smart features like new devices have. Many digital photo frames let you connect to Wi-Fi, use touch screens, and control them with your voice. Look at some popular features below:
Feature | Description |
|---|---|
Wi-Fi Connectivity | You can upload pictures from far away and use cloud storage. |
Touch Screens | You can easily touch and move your photos. |
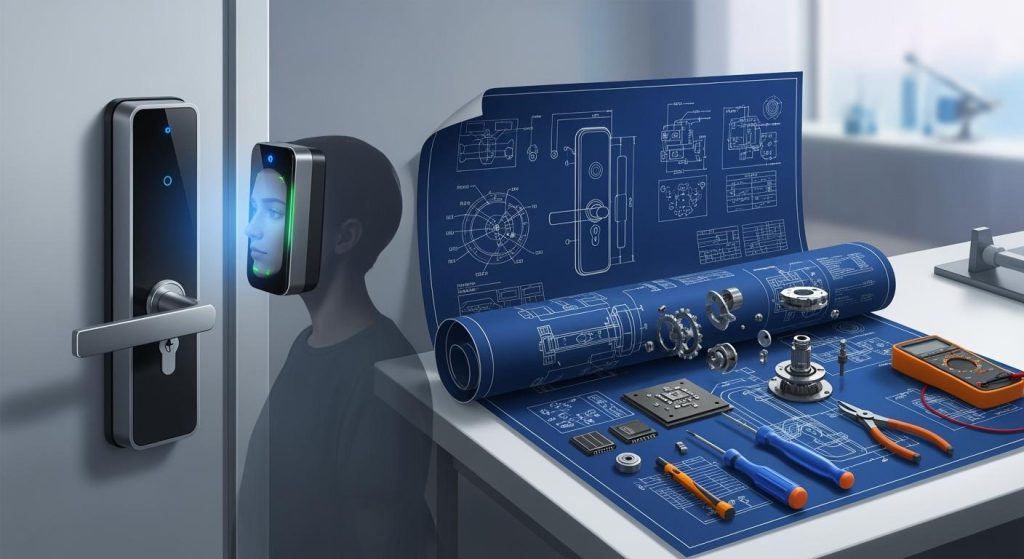
Motion Sensor Activation | The frame turns on when you walk close to it. |
High Resolution Screens | You can see pictures with very clear details. |
You can make your project special by picking your hardware, frame style, and other options. You will feel proud because you made a display that matches what you like and need.
Key Takeaways
Set your project goals before you begin. Think about if you want to show only photos or add videos and sound too.
Pick the best hardware and display type for your digital photo frame. Look at choices like TFT LCD or IPS LCD for better pictures.
Add special features like video playback, clocks, or cool transition effects. This makes your frame more personal and fun.
Check all parts and connections before you put everything together. This stops problems and makes sure your frame works well.
Try online tools to design and change your frame. These tools help you see your project and make it special.
Planning Your Digital Photo Frame
Setting Project Goals
Think about what you want your digital photo frame to do. Clear goals help you stay on track and excited.
Choose if you want to show only photos or add videos and sound.
Get all your supplies before you start building.
Imagine how your finished frame will look and work.
Use your imagination to keep your excitement up while you build.
Many people find that picturing the final product helps them focus. You can use the Law of Attraction to help you stay motivated and creative.
Choosing Display & Hardware
Modern digital photo frames use smart screens and hardware. You can pick from different display types. Here is a simple guide:
Display Type | Description |
|---|---|
TFT LCD | Thin-film-transistor LCD with bright colors and quick response. |
IPS LCD | In-plane switching LCD with wide viewing angles and great color. |
You need to choose the right hardware for your frame. Most digital photo frames have a CPU, memory, and sometimes a modem for internet. Many people use a raspberry pi digital picture frame because it is cheap and flexible. You can connect USB drives or SD cards to store your photos. This makes it easy to add new pictures to your frame.
Exploring Customization Options
You can make your digital photo frame special by adding cool features.
Add video playback or sound for short clips.
Put a clock or calendar on the screen.
Try different transition effects, layouts, or holiday borders.
Use timing controls to change how often photos switch.
A raspberry pi digital picture frame lets you control these features. You can design the software and pick the look you like best. Many frames now have touch screens or simple remotes, so they are easy to use. When you plan your project, think about how these choices will make your frame more fun and personal.
Digital Photo Frame Electronics

PCB Design & Manufacturing
You have to make a printed circuit board for your project. The PCB links all the parts of your digital photo frame. Here are the steps to see how a PCB is made:
The factory makes the base with epoxy resin and glass fiber. They heat it in an oven to form the substrate.
The design is printed on a laminate board. A special film covers the board.
The board and film get UV light. This light hardens the photoresist and forms copper paths.
A chemical washes away extra copper. Only the needed circuit pattern stays.
Machines check the layers for mistakes or problems.
All layers are pressed together to make one strong board.
Tip: Check your design files for errors before you start. This helps you avoid problems later.
You can use online tools to design your PCB. Many people start with a raspberry pi digital picture frame. You can learn by looking at open-source designs.
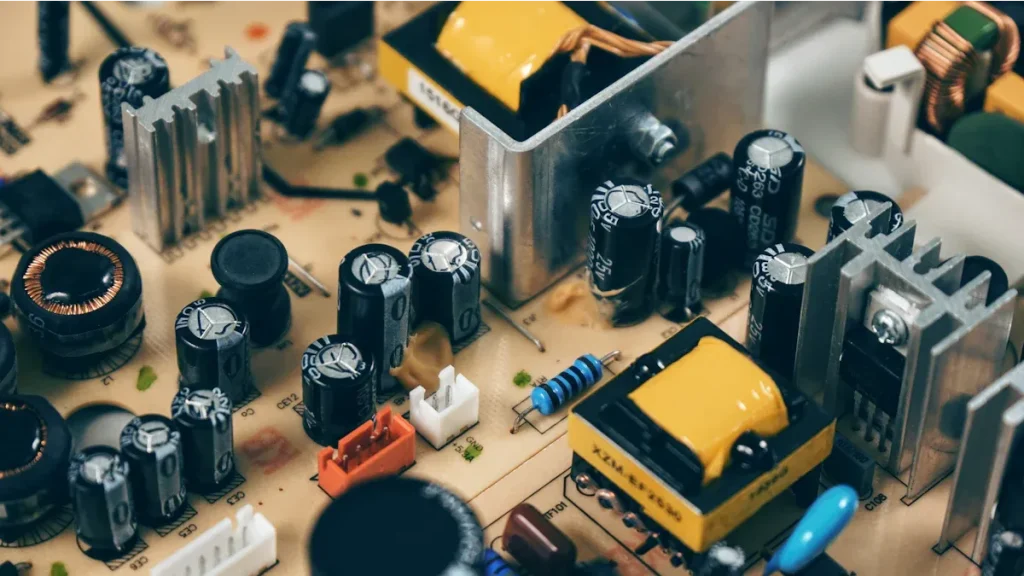
Sourcing Components
You need to find good parts for your digital picture frame. Good suppliers help your project last longer and work well. Here are some trusted suppliers:
Top digital photo frame companies focus on quality and have clear supply chains.
SHENZHEN ELECTRON TECHNOLOGY makes many digital photo frames for big clients.
SUNGALE ELECTRONICS (SHENZHEN) LTD. has many choices and strong partnerships.
GIINII GLOBAL LIMITED gives digital photo frames to famous tech brands.
SHENZHEN JOYHONG TECHNOLOGY CO.,LTD. sells parts for brands like ALURATEK.
You can also buy parts from local stores or online shops. Pick parts that fit your design and support high display resolution.
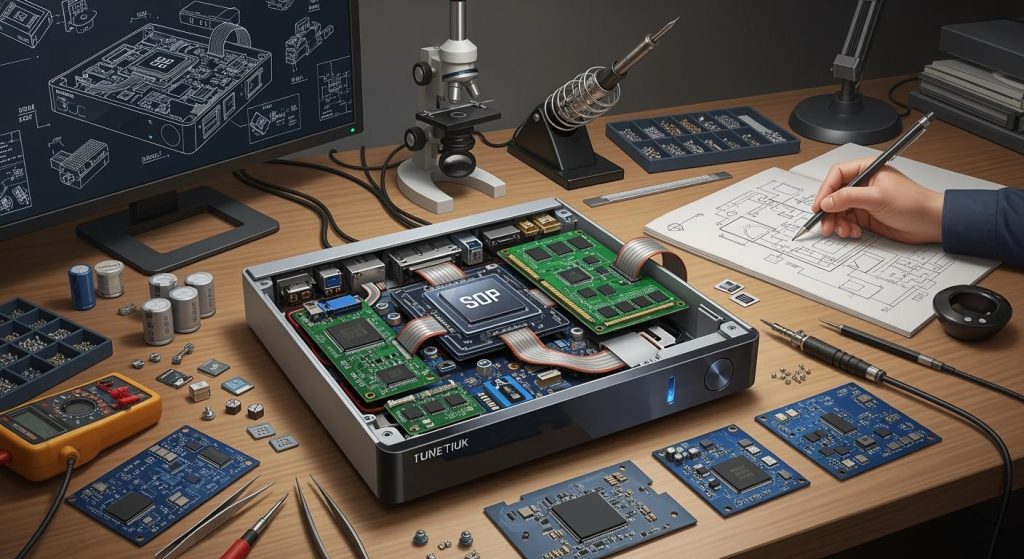
Hardware Integration
You need to connect all the hardware for your digital picture frame. This step makes your project work. First, put the PCB inside the frame. Connect the display, CPU, memory, and power supply. Use labels and diagrams to remember where each wire goes.
Attach the display to the PCB.
Connect the power supply and check the voltage.
Add storage like a USB drive or SD card.
Test each part before you close the frame.
Note: Always check your connections before turning on the power. This keeps your parts safe.
You can add features like Wi-Fi or speakers. Many digital photo frames now have smart options. If you want a sharp screen, pick one with high display resolution. Your project will look modern and work well if you follow these steps.
Frame Construction & Assembly

Selecting Frame Materials
First, you pick what your digital picture frame will be made of. Wood, metal, and acrylic are all good choices. Wood looks classic and feels warm in any room. Metal frames look new and last a long time. Acrylic is shiny and easy to shape. You can choose what fits your home or office best. Many people use online tools to help pick the right style and size. These tools let you try out different shapes, colors, and finishes before you start building your digital picture frame.
Tip: Try a free online frame design tool to see your frame before you build it. You can change the size, pick colors, and see how your project will look.
Feature | Details |
|---|---|
Standard Ratios | 1:1, 3:4, 4:3 |
Widescreen Ratios | 16:9, 9:16 |
Special Ratios | 2:3, 3:2, film size |
Custom Sizes | Custom-fit for unique or irregular dimensions |
Resource Library | Vintage, floral, and more styles for any occasion |
Platform Availability | Free online tool, mobile app, and desktop software |
Customization Options | Adjust dimensions, colors, proportions, and angles |
Watermark Policy | No watermark during editing and downloading |
Building the Frame
Start by measuring your display and cutting your materials to fit. Make sure the opening is just right for your screen. Use glue, screws, or brackets to put the sides together. Sand the edges so they feel smooth. If you want your digital picture frame to look great, pay close attention to these steps. You can add your name or a logo to make your frame special. Many companies can engrave names, messages, or logos for you. This makes your frame a nice gift or something special for your business.
Custom printed frames are good for advertising.
You can put them in nice boxes for gifts.
Engraved plaques make your frame personal and last longer.
Adding a logo makes your frame a cool gift for clients or workers.
You can order custom frames in small amounts, even just ten. This helps you make a digital picture frame that is different from others.
Wiring & Power Setup
You need to set up the wires and power for your digital picture frame. Put the printed circuit board inside the frame first. Connect the display, CPU, and memory with labeled wires. Solder the power switch wires and move them to a spot you can reach. Cut a hole for the power cord so it looks neat. Make sure all wires are tight before you plug in the power.
Note: Test every part before you close the frame. This helps you find problems early.
If you use a raspberry pi digital picture frame, you can add Wi-Fi or speakers now. Many new digital photo frames have these smart features.
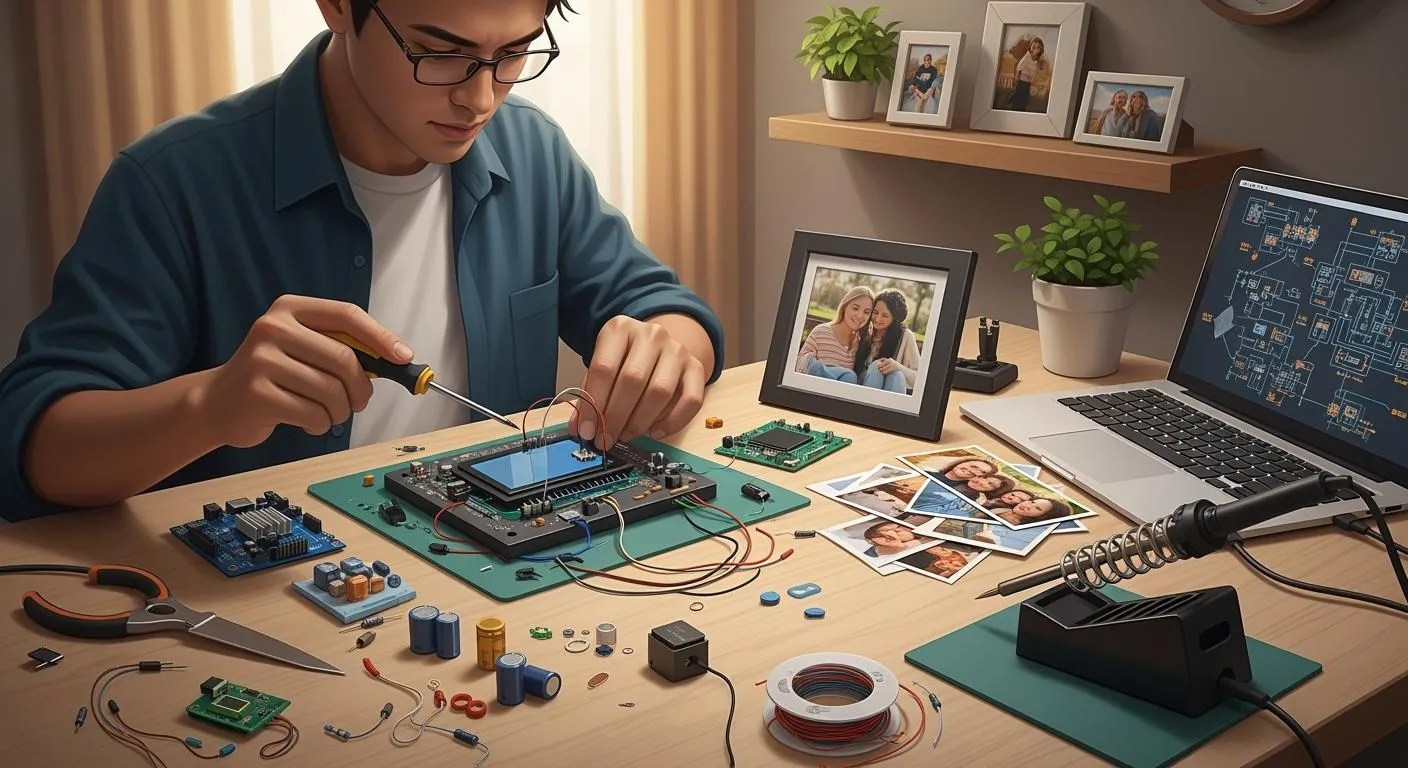
Assembling the Digital Picture Frame
Finish your project by putting all the parts together. Here are the steps to build your digital picture frame:
Take apart any old device you use, like a laptop, and remove extra pieces.
Test the display to see if it works.
Attach the LCD to a mat and hold it with glue or tape.
Connect the motherboard with the ribbon cable and lay it on the LCD.
Use wood or Velcro to keep everything in place and make changes easy.
Solder wires to the power switch and move them to the frame.
Cut a hole for the power cord and put it in a good spot.
You can add pictures or special transitions to make your frame fun. Many people in the USA use local companies for custom frames. This helps local businesses and gets your frame to you faster. You can use online tools to design your frame and order it from a trusted store.
Callout: Custom digital photo frames mix old style with new technology. You can make them special for any event, so they are great for home or work.
When you build your own digital picture frame, you control everything. You pick the materials, design, and features. Your project becomes a one-of-a-kind display that fits what you like and need.
Personalizing Modern Digital Photo Frames
Mounting & Final Setup
You want your digital photo frame to look great and work well in your space. Pick a spot with little direct sunlight to avoid glare. Many people place frames in hallways or above mantels for the best view. Most smart picture frames come with mounting kits, making installation easy—just like hanging a TV. Use wall studs or strong drywall anchors for heavy frames.
Here are some tips for mounting:
Choose a VESA mount if you want to change the frame’s direction.
Make sure you can reach the USB or SD card slots after mounting.
Use a display size of at least 10 inches for clear photos.
Keep the remote control handy for easy changes.
Tip: Always check that the frame is level before you finish mounting.
Software Customization
You can make your diy frame unique with software tools. Programs like Image Framer let you pick from hundreds of frame styles, adjust brightness, and even edit your own frames. Other platforms, such as FrameVue and SimulArt, help you upload photos, add captions, and use cloud storage.
Feature | What You Can Do |
|---|---|
Editable Templates | Pick and change frame designs for any occasion. |
Photo Editing | Crop, resize, and fix your pictures. |
Smart Effects | Add filters or change backgrounds for fun looks. |
Caption Tools | Write messages or dates on your photos. |
Live Preview | See changes before you save them. |
Personalization makes your frame special. You can create playlists, add captions, and choose how photos switch. Some frames even show photos sent by family in real time, helping you feel close to loved ones.
Display Settings & Testing
You need to test your frame before you use it every day. Try custom slideshows, connect to Wi-Fi, and check if you can download photos from the cloud. Set up user profiles if you share the frame. Adjust the brightness and contrast for the best view.
Common issues include black screens or missing photos. If this happens, check the file format, memory card, or update the software. Place your images in the right folder and use simple names. If you still have problems, try a factory reset.
Setting | Why It Matters |
|---|---|
Display Type | IPS screens show bright, clear colors. |
Viewing Angle | Wide angles let everyone see the photos. |
Screen Finish | Matte screens cut glare, glossy ones look vivid. |
Note: Testing helps you fix problems early and enjoy your project without stress.
You now know how to make a digital photo frame. First, choose your display screen. Next, build the frame and connect your device. Add your photos and set up your slideshow. You can try smart features like voice control or cloud sharing. Share your finished frame by email, apps, or social media. Change colors or add interactive features to make it fun. You can use seasonal themes too. If you have trouble, look for help online or join forums. Your project can grow as you add new ideas.
FAQ
How do you update photos on your digital photo frame?
You can update photos by using a USB drive, SD card, or Wi-Fi. Many frames let you upload pictures from your phone or computer. Some frames use cloud storage for easy sharing.
What tools do you need to build a digital photo frame?
You need a screwdriver, soldering iron, wire cutters, and glue. You may also use a ruler, sandpaper, and a small saw for the frame. Online frame design tools help you plan your project.
Can you add smart features like voice control?
Yes, you can add smart features. You can use a Raspberry Pi or similar device. Many open-source projects show you how to add voice control, Wi-Fi, or even motion sensors.
What should you do if your frame does not turn on?
First, check the power cord and switch. Make sure all wires connect tightly. Test the outlet with another device. If it still does not work, check the circuit board for loose parts.