Proper PCB cleaning is important to keep electronics working well. Dirt, oil, and leftover flux can mess up connections. This can cause devices to act strangely or stop working. Smaller electronic parts make cleaning even more important to avoid problems.
Clean PCBs help devices work better and last longer. Industries like cars and gadgets need clean PCBs to meet strict rules. By cleaning PCBs properly, you can save money on repairs and keep devices working great for a long time.
Key Takeaways
Cleaning PCBs often stops dirt from breaking your devices. Clean boards work better and last longer.
Use safe cleaning products like pure isopropyl alcohol to avoid damage. Stay away from strong chemicals that can harm the board.
Rinse PCBs after cleaning to wash off leftover dirt. This helps stop rust and keeps moisture away.
Be gentle when cleaning. Use soft brushes and don’t press too hard to protect small parts.
Follow the maker’s cleaning rules. Each PCB is different, and ignoring these rules can break it or cancel its warranty.
The Importance of PCB Cleaning
Risks of Contaminants on PCBs
Dirt and residue on PCBs can cause big problems. Leftover solder, dust, and oils often stick to the board. These can block electrical connections, causing errors or device failure. For delicate devices like medical tools or space electronics, even tiny dirt can harm parts.
Fact: Studies show solder paste residue can cause major issues like smearing. Cleaning removes this residue, improving device function and quality.
A clean PCB keeps electrical paths clear and working. Without cleaning, contamination levels can go beyond safe limits, as shown below:
Parameter | Value |
|---|---|
Ionic contamination level | < 10.06 ug NaCl/sq |
Fail point | 10.06 ug/in² |
Cleanliness criteria | 0.00156 mg/cm² |
Temperature range | Set range |
IPA % | Around 75% |
Skipping cleaning can lead to corrosion or short circuits. This makes cleaning a key step to keep devices reliable.
Benefits of Proper PCB Cleaning
Cleaning PCBs has many benefits for your devices. First, it clears residue that can mess up electrical signals. This helps the board work as it should. Second, it stops corrosion, which can ruin the board over time. Third, it prevents tiny metal growths that cause unwanted connections.
Industries like cars and telecom need clean PCBs to meet strict rules. Clean boards lower repair costs and improve device quality. By cleaning well, you protect your devices and make them last longer.
How Clean PCBs Improve Electronics Longevity
Clean PCBs help devices last longer. Residue can trap moisture, causing rust or electrical leaks. Over time, this weakens the device and shortens its life. Regular cleaning stops these problems, keeping electronics working for years.
Cleaning also shields PCBs from dust and humidity. This is vital for sensitive devices where small failures matter. Clean boards reduce risks like overheating or short circuits caused by dirt.
Cleaning your PCB is simple but very important. It keeps your devices strong and avoids breakdowns. By keeping boards clean, your electronics will work better and last longer.
Myths of PCB Cleaning
Myth: PCBs Don’t Need Cleaning if They Look Clean
Some people think clean-looking PCBs don’t need cleaning. But looks can be misleading. Tiny residues like flux or ionic dirt may still be there. These hidden residues can attract water, causing rust or electrical problems later. Even small dust particles can mess up sensitive parts and cause errors.
Cleaning removes these invisible contaminants, even if the PCB looks fine. This helps protect electronics from breaking and makes them last longer. Don’t judge a PCB’s cleanliness just by how it looks.
Myth: No-Clean Fluxes Eliminate the Need for Cleaning
No-clean fluxes are often misunderstood by many. They leave less residue, but cleaning may still be needed. In critical fields like medical or space devices, even small residues can be risky. For example:
No-clean flux residues might cause rust if not fully removed.
Partial cleaning can damage protective layers, exposing the PCB to dirt.
Skipping cleaning due to no-clean flux can lead to mistakes. Always check your device’s needs before deciding not to clean.
Myth: Water Alone is Sufficient for Cleaning
Using only water to clean PCBs seems cheap and eco-friendly. But water isn’t always enough to clean tough dirt like flux or oil. Studies show water is better for the environment but less effective for cleaning.
Chemical cleaners are made to remove stubborn residues. Water can help, but using it alone might leave dirt behind. For better cleaning, use water with special cleaning solutions.
Myth: Ultrasonic Cleaning is Always Safe
Ultrasonic cleaning sounds like a great way to clean PCBs, but it’s not always safe. It can clean dirt well but might harm delicate parts. You should know the risks before using this method.
Fact Check: Ultrasonic cleaning can damage quartz crystals and resonating parts. Fixed frequency cleaners are riskier than swept frequency ones. AT-cut quartz crystals and tuning fork crystals are especially at risk because their frequencies match ultrasonic waves.
Here’s why ultrasonic cleaning isn’t always safe:
Quartz Crystals: AT-cut quartz crystals can crack or break due to vibrations.
Tuning Fork Crystals: These fragile parts should never be cleaned with ultrasonic methods.
Fixed Frequency Cleaners: These cleaners use one frequency, which can harm sensitive components.
If you use ultrasonic cleaning, pick swept frequency cleaners. They change frequencies to lower the chance of damage. Always check your PCB parts and follow manufacturer advice before cleaning.
Myth: Mixing Cleaning Products is Harmless
Mixing cleaning products might seem like a good idea, but it can cause big problems. Different cleaners have chemicals that may react badly together. These reactions can hurt your PCB or create dangerous fumes.
Tip: Don’t mix cleaning products unless you fully understand their ingredients and how they work together.
Here’s what can happen when you mix cleaners:
Chemical Reactions: Some mixtures can damage the PCB or leave hard-to-remove dirt.
Safety Hazards: Mixing can release harmful gases or irritate your skin.
Less Effective Cleaning: Combining cleaners can make them weaker, leaving dirt behind.
Use one cleaning product at a time. Follow the instructions for each cleaner to stay safe and clean well. If unsure, ask an expert or use ready-made solutions for PCBs.
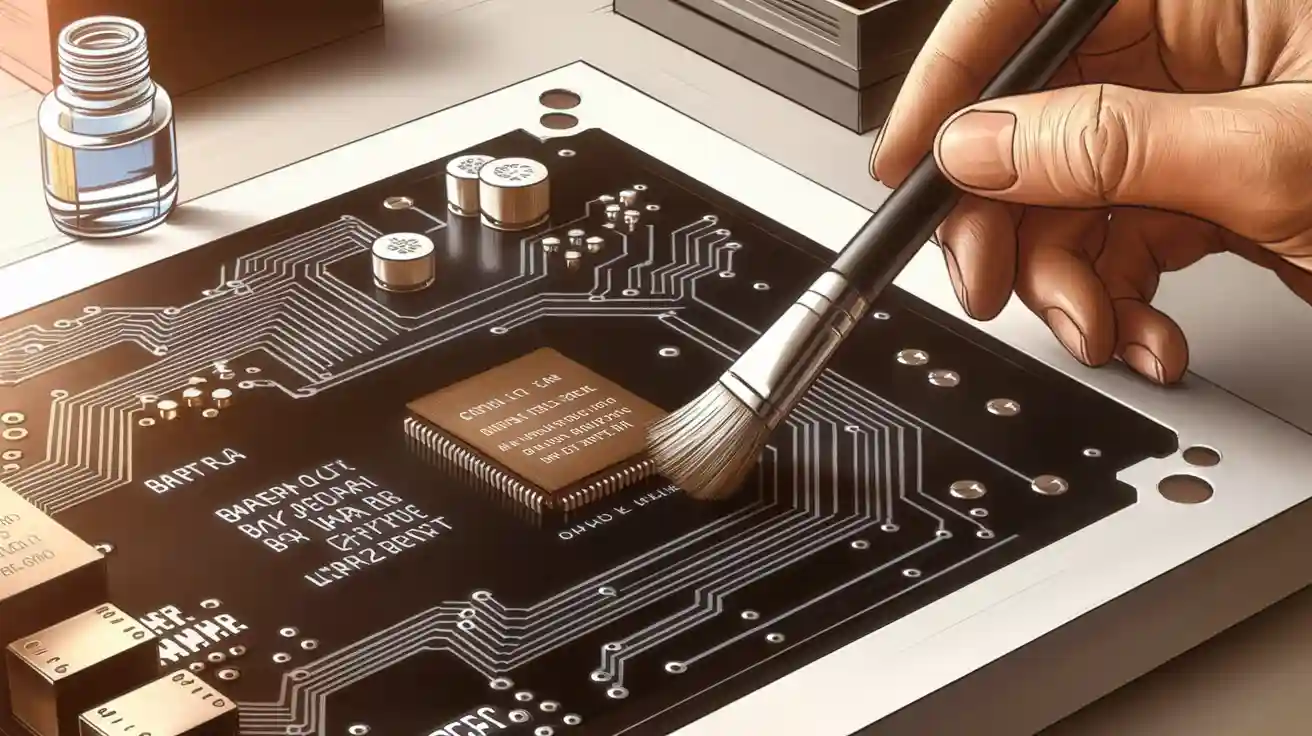
How to Properly Clean PCBs

Tools and Materials for PCB Cleaning
Using the right tools helps clean PCBs safely and well. You need items made for cleaning circuit boards to avoid damage. Here are some important tools and materials:
Non-conductive cleaners: Pick a cleaner that won’t harm electronic parts.
High-purity isopropyl alcohol (IPA): It removes dirt fast and dries quickly.
Soft brushes: Use gentle brushes to clean without scratching the board.
Lint-free cloths or paper towels: These stop fibers from sticking to the board.
Static-free tools: Choose tools that don’t create static to protect parts.
Spray systems: These work well for cleaning big boards or tricky designs.
Tip: Always rinse the board after cleaning to remove leftover dirt. This keeps contaminants from sticking back onto the board.
Step-by-Step Guide to Clean PCBs
Cleaning a PCB needs careful steps to remove dirt completely. Follow these steps for good cleaning results:
Check the PCB: Look for dirt, flux, or rust. Spot areas needing extra care.
Make the cleaning solution: Use IPA or a special PCB cleaner. Don’t mix cleaners.
Apply the cleaner: Gently use a brush or cloth to spread the solution. Focus on tough spots.
Scrub gently: Use a soft brush to clean small areas without harming the board.
Rinse well: Wash the board again with the cleaner to remove all dirt.
Dry the PCB: Let it air dry or use a safe drying tool. Make sure it’s fully dry before using.
Case Study | Cleaning Method | Outcome |
|---|---|---|
Example 1: Better Gold Plating Adhesion | Low-pressure aluminum oxide | Created a smooth surface for plating without damage. |
Example 2: Safe Flux Removal | Plastic media blasting | Removed residue completely while keeping the board safe. |
Fact: Good cleaning methods make PCBs work better and last longer, as shown in these examples.
Best Practices for Effective PCB Cleaning
Using smart practices makes cleaning PCBs easier and safer. Follow these tips for the best results:
Decide carefully: Check the dirt type and board sensitivity before cleaning.
Skip harsh chemicals: Use cleaners made for circuit boards to avoid harm.
Be gentle: Use soft tools like brushes and cloths to protect the board.
Keep it clean: Work in a tidy space to stop new dirt from getting on the board.
Follow instructions: Check the board’s cleaning rules from the manufacturer.
Note: Regular cleaning stops dirt buildup and keeps your PCB working well for a long time.
Mistakes to Avoid When Cleaning PCBs
Cleaning a PCB needs care and attention. Mistakes can harm the board or lower its performance. Here are common errors to avoid:
Using the Wrong Cleaning Products
Some cleaners are unsafe for PCBs. Strong chemicals may corrode the board or leave harmful residues. Always use cleaners made for PCBs, like high-purity isopropyl alcohol. It removes dirt and flux safely without damage.Tip: Don’t use household cleaners. They often have water or harsh chemicals that can harm delicate parts.
Skipping the Rinse Step
Forgetting to rinse after cleaning leaves residues behind. These can attract moisture or cause rust. Always rinse with a proper solvent to remove all contaminants.Applying Excessive Force
Scrubbing too hard can scratch the board or break small parts. Use soft brushes and gentle pressure to clean carefully. The goal is to clean, not damage the board.Overlooking No-Clean Flux Residues
Some think no-clean flux doesn’t need removal. But it can still cause problems, especially in sensitive devices. Moisture can mix with the residue, leading to rust. Check if cleaning is needed based on the device’s use.Neglecting Proper Drying
A damp PCB can cause short circuits or rust. Make sure the board is fully dry before turning it on. Use compressed air or a low-heat dryer to speed up drying.Using Improper Tools
Sharp or rough tools can scratch the board or harm parts. Use soft, non-conductive brushes and lint-free cloths. These tools clean well without causing damage.Ignoring Manufacturer Guidelines
Each PCB has specific cleaning needs. Ignoring the manufacturer’s instructions can damage the board or void its warranty. Always check the guidelines before cleaning.Fact: Cleaning your PCB properly keeps it safe and makes it last longer.
Avoiding these mistakes helps keep your PCB in great shape. Proper cleaning ensures the board works well and stays reliable for years.
Cleaning PCBs is key to keeping electronics working well and lasting longer. Removing dirt and harmful residues helps devices work properly. This is especially important for fields like space technology, where reliability is critical. Cleaning also stops problems like electrochemical migration caused by dirt on tiny parts.
Using safe cleaning methods protects your devices from expensive fixes. Techniques like vapor degreasing clean quickly and effectively, avoiding delays. Clean PCBs lead to better performance and longer-lasting electronics.
Tip: Clean your electronics often to keep them ready for action!
FAQ
What is the best cleaner for PCBs?
The right cleaner depends on the dirt type. High-purity isopropyl alcohol (IPA) removes most dirt easily. For stubborn residues, use special PCB cleaning products. Always follow the maker’s advice for safe cleaning.
Tip: Don’t use home cleaners. They might harm delicate parts.
How often should you clean a PCB?
Clean your PCB when you see dirt or problems. Devices in tough places need regular cleaning. Routine care stops dirt buildup and keeps devices working well.
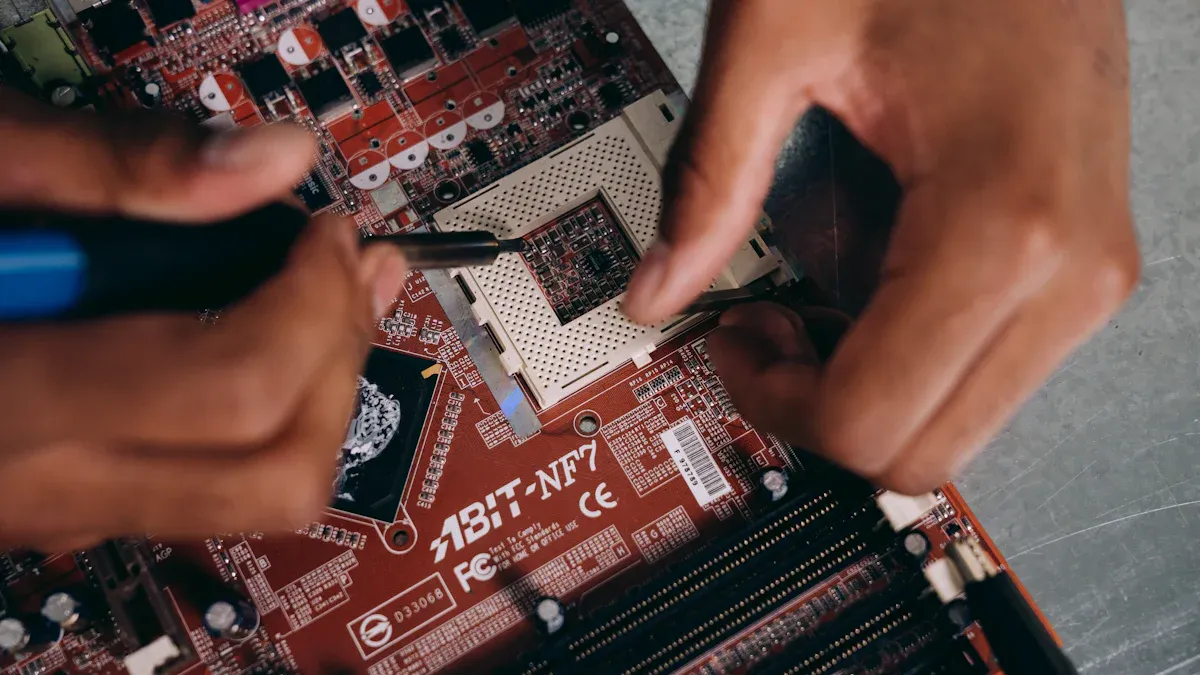
Can you clean a PCB without removing components?
Yes, you can clean without taking parts off. Use a soft brush and safe cleaner to clean specific spots. Don’t soak the board to avoid harming fragile parts.
Is it safe to use compressed air for PCB cleaning?
Compressed air works if used gently. It clears dust without touching the board. Keep the nozzle far enough to protect small parts.
Note: Don’t use strong air pressure. It might loosen tiny pieces.
What should you do if a PCB gets wet?
Turn off the device and unplug it right away. Dry the PCB fully with air or a low-heat dryer. Check for dirt or rust before turning it back on.
Warning: Never use a wet PCB. It can cause damage or short circuits.