Printed circuit boards (PCBs) are key parts of electronics today. Cleaning PCBs the wrong way can harm their tiny parts. This can also make them wear out faster. For example, bad soldering, like cold solder joints, makes weak connections. Burnt solder joints can ruin the board forever. Problems like lifted pads or not enough solder can cause short circuits. These issues can also make the device work poorly. Avoiding common PCB mistakes helps your device work well and last longer. Fixing these errors saves time, money, and keeps your electronics safe.
Key Takeaways
Use cleaning products made for PCBs. Don’t use home cleaners to avoid harm.
Clean carefully to keep parts safe. Use soft brushes or air, not hard scrubbing.
Dry the PCB completely after cleaning. Water left behind can cause rust or problems.
Read and follow the maker’s cleaning rules. This keeps the board working well and safe.
Work in a space with good airflow. This keeps you safe from bad fumes while cleaning.
Using Incorrect Cleaning Materials
Problems with Wrong Cleaning Agents
Using bad cleaning products can hurt circuit boards. Some cleaners have strong chemicals that harm small parts or leave dirt behind. For example, brushing one spot can push dirt to other areas instead of cleaning it. This can make the board dirty and work poorly. One customer had trouble because leftover dirt spread due to bad rinsing. Another mistake is using unknown flux or paste, which leaves hard-to-clean dirt. This dirt can mess up how the board works and cause big problems later.
To stop these problems, always check if cleaners are safe for your board. Don’t use home cleaners or random chemicals. These might seem easy to use but can ruin fragile parts forever.
Picking the Right Tools and Cleaners
Choosing good tools and cleaners helps keep your board working well. Special tools like anti-static brushes and cloths without lint clean safely. Approved cleaners remove dirt without leaving harmful stuff behind. For example, tests show that local ionic checks are better at finding dirt in sensitive spots than other methods. This shows why picking the right cleaning way is important.
Also, tests show that some fluxes leave dirt that regular cleaning can’t remove. This proves you need tools and cleaners made for your board’s needs. By using the right products, you can avoid damage and make your circuit boards last longer.
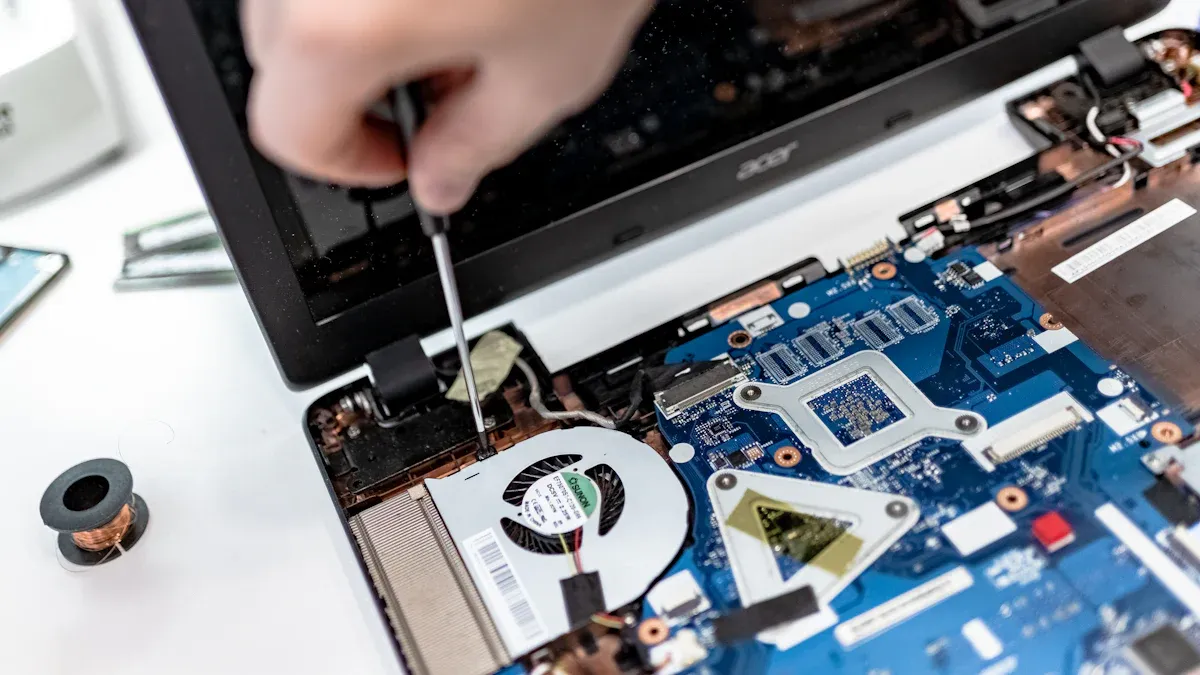
Applying Too Much Pressure
Risks of Breaking Fragile Parts
Using too much pressure can harm a PCB. Circuit boards have tiny parts like resistors and microchips. Pressing hard can move or break these parts. Scrubbing hard might scratch the board or loosen connections. This can make the board stop working.
Sharp tools can also damage the board. Scraping dirt with sharp objects can cut the board’s layers. Even pressing hard with a cloth can bend the board. Fixing a broken PCB costs a lot of time and money. To avoid this, clean gently and use safe methods.
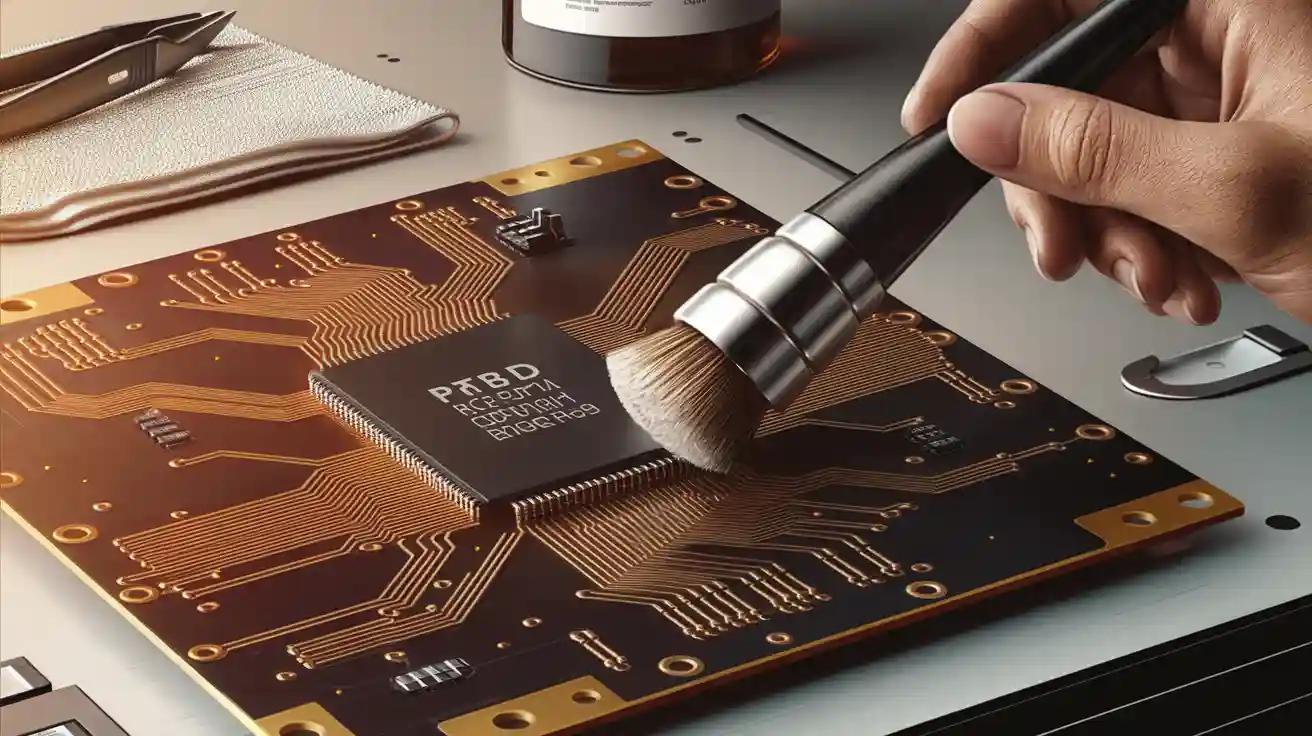
Safe Ways to Clean
Gentle cleaning keeps your PCB safe while removing dirt. Use a soft brush to clean lightly without pressing hard. Compressed air can blow dirt away from small spaces. Keep the air tool far enough to avoid damage. Special vacuums for electronics can also help clean safely.
For sticky dirt, use isopropyl alcohol (IPA) with a soft brush or Q-tip. IPA dries fast and doesn’t leave marks. You can also use clean water but dry the board well after. Test cleaners on a small part first to check safety. These tips help clean your PCB and make it last longer.
Skipping Proper Drying
Problems from Leftover Moisture
Leftover water on circuit boards can cause big issues. Water can rust metal parts and solder joints, making them weaker. This can make the board less reliable. Moisture can also create unwanted electrical paths, leading to short circuits. These shorts might harm the device. Dampness can cause electricity to leak, wasting power and making the device act strangely.
Moisture can ruin the board’s insulating layers, increasing electrical risks. Over time, wetness can break parts and cause failures. Mold and fungus can grow in damp spots, damaging the board’s materials. Water can even stress the board, causing tiny cracks that weaken it more.
Not drying your board properly is a big mistake. It makes the board less safe and shortens its life. Keeping moisture away helps the board work well, even in tough conditions. It also stops signal problems caused by changes in the board’s materials.
How to Dry Your PCB
Drying your board well after cleaning is very important. First, wipe off extra water with a soft, lint-free cloth. Use compressed air to blow water out of small spaces. Keep the air tool far enough to avoid breaking parts.
For deeper drying, put the board in a warm, dry place. A low-heat oven set to 100°F–120°F can help dry it faster. Don’t use high heat, as it can bend the board or harm parts. You can also use a moisture-absorbing box instead of heat.
If you live in a humid area, use a dehumidifier in your workspace. This lowers the chance of moisture staying on the board. Always check for leftover water before putting the board back together. Good drying stops rust, electrical problems, and mold, keeping your board strong and working well.
Skipping Protective Measures
Anti-Static Precautions
Static electricity can harm your PCB without you noticing. Even small static shocks can ruin tiny parts and make the board useless. To stop this, use tools that lower static risks. Anti-static mats and wrist straps help keep you and your workspace safe. These tools stop static from reaching the PCB.
Wear clothes made of cotton to avoid static buildup. Don’t wear synthetic fabrics because they can create static charges. Keep your workspace clear of items like plastic bags or foam that increase static risks. If cleaning more than one board, clean them one at a time to avoid accidental damage.
Shielding Sensitive Components During Cleaning
Delicate parts on your PCB need extra care when cleaning. Strong chemicals or rough handling can break these parts forever. Protect these areas with masking tape or special covers to keep them safe.
Don’t spray cleaner directly on the board. Put the cleaner on a soft cloth or brush first, then wipe gently. This stops liquid from gathering near fragile parts. If using compressed air, hold the nozzle far away to avoid moving parts.
Experts say cleaning should be done in a safe area. Set up a space just for cleaning to avoid dirt and damage. Use tools like vacuums to remove dust from the air. Wear gloves, safety glasses, and masks to protect yourself and the PCB. These steps make cleaning safer and better for your board.
Ignoring Manufacturer Guidelines
Why Following Instructions Matters
Not following manufacturer guidelines when cleaning PCBs is a big mistake. These rules are made to keep the board safe and working well. Ignoring them can damage the board and shorten its life.
Cleaning the right way makes the board more reliable. This is very important for things like medical devices. It helps the PCB work without breaking. Leftover dirt, like acidic flux, can rust parts and connections. Rust makes the board weaker and can cause it to fail. Also, clean boards help coatings stick better. If not cleaned, coatings can peel off, leaving the board open to damage.
A clean PCB also looks better, which builds customer trust. Even if it works fine, dirty spots can make people doubt its quality. By following the maker’s instructions, you can avoid these problems and keep the board strong.
Tip: Always check the maker’s cleaning rules before starting. This simple step can save you money and trouble later.
How to Find and Use Cleaning Guidelines
Finding and using cleaning rules from manufacturers is very important. Look in the product manual or datasheet first. These often have clear steps for cleaning your board.
Checking the board by eye is a quick way to spot dirt. This works well for simple devices where looks don’t matter much. For better checks, try ROSE testing. This uses a liquid to find ions on the board. It measures how clean the board is by testing the liquid’s resistance. While not perfect, it gives a good idea of cleanliness.
For more exact results, use SIR testing. This checks how well the board resists electricity leaks caused by dirt. It takes longer and needs special tools but gives detailed results.
By using these methods and following the maker’s rules, you can clean your PCB safely and effectively.
Cleaning Without Ventilation
Health Risks of Chemical Exposure
Cleaning PCBs without airflow can be dangerous for your health. Many cleaners release fumes that bother your eyes, nose, and throat. Breathing these fumes for a long time can hurt your lungs and body.
Studies show polychlorinated biphenyls (PCBs) can cause cancer and harm your immune system. These chemicals, made during some industrial work, stay in the environment and are bad for people. One study looked at PCB exposure in a Native American group. It didn’t find a clear link to mental health problems but showed how chemical effects can be tricky to predict.
Skipping ventilation while cleaning is risky for your health. You might not feel sick right away, but breathing toxic fumes often can cause big problems later.
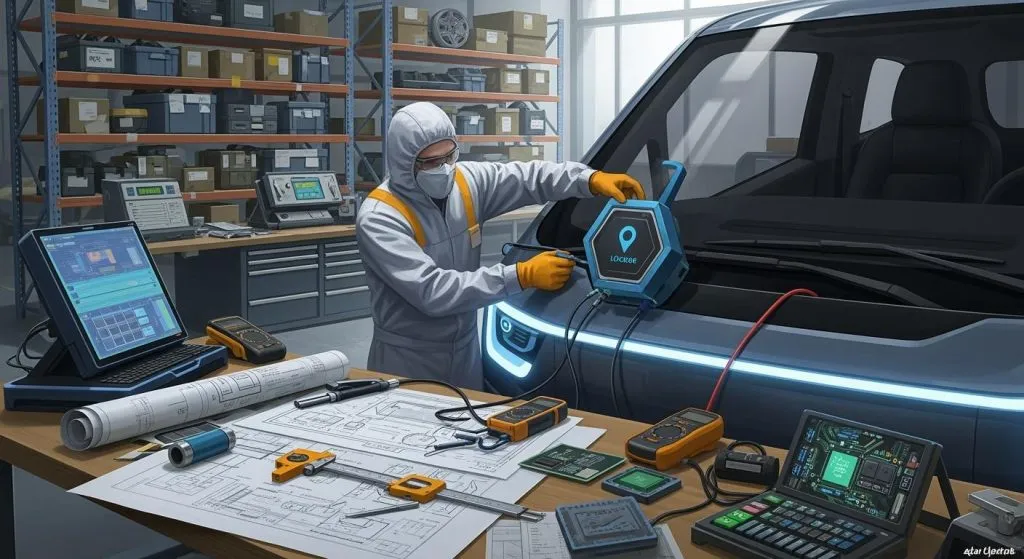
Setting Up a Safe Workspace
A safe workspace helps protect you when cleaning PCBs. Pick a place with good airflow, like a room with open windows or a fan. If fresh air isn’t possible, use a fume extractor to clear harmful vapors.
Wear safety gear to avoid touching chemicals. Use gloves for your hands and goggles for your eyes. A mask or respirator stops you from breathing bad fumes. Keep your tools and cleaners neat to avoid spills or messes.
Don’t clean PCBs near food, drinks, or personal items. This stops chemicals from getting on things you use often. By following these steps, you can clean safely and stay healthy.
Rushing the Cleaning Process
Mistakes from Rushing
Cleaning too quickly can cause expensive problems. If you rush, you might miss dirt or leftover grime that can harm the PCB later. Skipping steps or using the wrong tools often leaves the board dirty. For instance, not checking the board carefully can leave behind things that cause rust or short circuits.
Rushing can also break parts. Pressing too hard or using bad cleaners in a hurry can damage tiny components. You might also miss signs of problems like lifted pads or broken traces that need fixing right away. Trying to save time by rushing often leads to more repairs and higher costs later.
Steps for Careful Cleaning
Cleaning slowly and carefully keeps your PCB safe and clean. Follow these steps to avoid mistakes:
Set Up Your Workspace: Get your tools ready and clean the area to avoid dirt. Good lighting helps you see small details better.
Check the PCB First: Use a magnifying glass to find damage like broken traces or bad solder joints. Fix these before cleaning.
Pick the Right Tools and Cleaners: Use soft brushes, compressed air, or isopropyl alcohol. Stay away from strong chemicals that can hurt the board.
Clean One Part at a Time: Focus on one area to clean it well. Be gentle to avoid breaking anything.
Inspect After Cleaning: Look at the board again with a magnifier to make sure all dirt is gone. Check for any new damage caused during cleaning.
Regular checks and cleaning stop dust, rust, and wear from building up. By following these steps, you can keep your PCB working well for a long time.
Tip: Take your time when cleaning. Being careful avoids costly fixes and keeps your PCB in great shape.
Cleaning PCBs needs care and the right steps. Avoid mistakes like using bad cleaners or skipping safety steps to keep your electronics working well. Always pick tools and cleaners made for PCBs. Follow a careful process to avoid harm.
Problem | Solution |
|---|---|
Dirt left on a PCB can cause problems over time. | Use special cleaners to remove all dirt completely. Clean off solder paste and flux without harming the PCB or its parts. |
By following these tips, you can make your PCBs last longer and work better. Take your time, use proper tools, and follow maker instructions to save money and avoid repairs.
FAQ
What is the safest cleaning solution for PCBs?
Use isopropyl alcohol (IPA) with 90% or higher concentration. It cleans dirt well and dries fast without leaving marks. Don’t use home cleaners; they might have chemicals that harm small parts.
Can I use water to clean my PCB?
Yes, but only use distilled water. Tap water has minerals that can cause rust or leave spots. After cleaning, dry the board completely to stop problems like rust or short circuits.
How often should I clean my PCB?
Clean your PCB when you see dust or dirt building up. If your device is in a dusty or wet place, check and clean it more often to keep it working well.
Why is anti-static protection important during cleaning?
Static electricity can hurt tiny parts on your PCB. Anti-static tools like wrist straps and mats stop static shocks and keep the board safe while cleaning.
Can I use a hairdryer to dry my PCB?
Don’t use a hairdryer. Its heat can bend the board or break parts. Use compressed air or put the board in a warm place (100°F–120°F) to dry it safely.
Tip: Test cleaning methods on a small part of the PCB first to make sure they’re safe.