Cleaning a circuit board is important to keep it working well. Dirt, grease, and rust can mess up soldering and cause bad connections. This might even make the device stop working. For example, lead-free solder uses more energy and makes weaker joints if the board is dirty. Additionally, leftover flux after soldering can damage parts over time. This can make your board last a shorter time. To ensure optimal performance, it is essential to clean PCBs before and after soldering, as this helps protect parts and keeps them working their best.
Key Takeaways
Cleaning PCBs before and after soldering is very important. It stops dirt and grime from causing bad connections or failures.
Use rubbing alcohol and soft, lint-free cloths to clean safely. These tools remove grease and dirt without harming delicate parts.
Always look for dust or rust before soldering. Finding these problems early helps solder stick better and last longer.
Clean step by step: pre-wash, wipe with alcohol, rinse, and dry. This keeps your board working well and in great shape.
Keep your workspace clean to avoid dirt. A neat area helps with proper cleaning and building of PCBs.
Why Clean PCBs Before and After Soldering
How dirt affects soldering quality
Dirt on a circuit board can ruin soldering. Dust, grease, and leftover chemicals stop solder from sticking well. This creates weak spots that might break under pressure. Some residues, like ionic ones, are especially harmful. They can cause metal to move and create unwanted paths for electricity. This might lead to short circuits. When these residues mix with water, they speed up rusting and damage the board more. Tests like IPC TM 650-2.3.25 check for these problems. Cleaning your board before soldering helps solder stick better and prevents issues.
Why removing flux is important for PCBs
Flux left after soldering can hurt how your board works. It might cause bad connections or poor electricity flow, especially in delicate parts. Over time, flux can build up and cause rust or short circuits. This makes the board less reliable. Cleaning off flux stops harmful residues and keeps parts working longer. A clean board is also easier to check for mistakes, so you can fix them faster and meet quality rules.
Keeping PCBs reliable with proper cleaning
Cleaning PCBs the right way helps them last longer. Dirt and residues can wear down circuits and cause failures over time. By cleaning before and after soldering, you remove things that might cause leaks or rust. This not only makes the board look better but also keeps it working well for a long time. A clean board works better, lasts longer, and saves money by avoiding repairs or replacements.
How to Clean PCBs Before Soldering
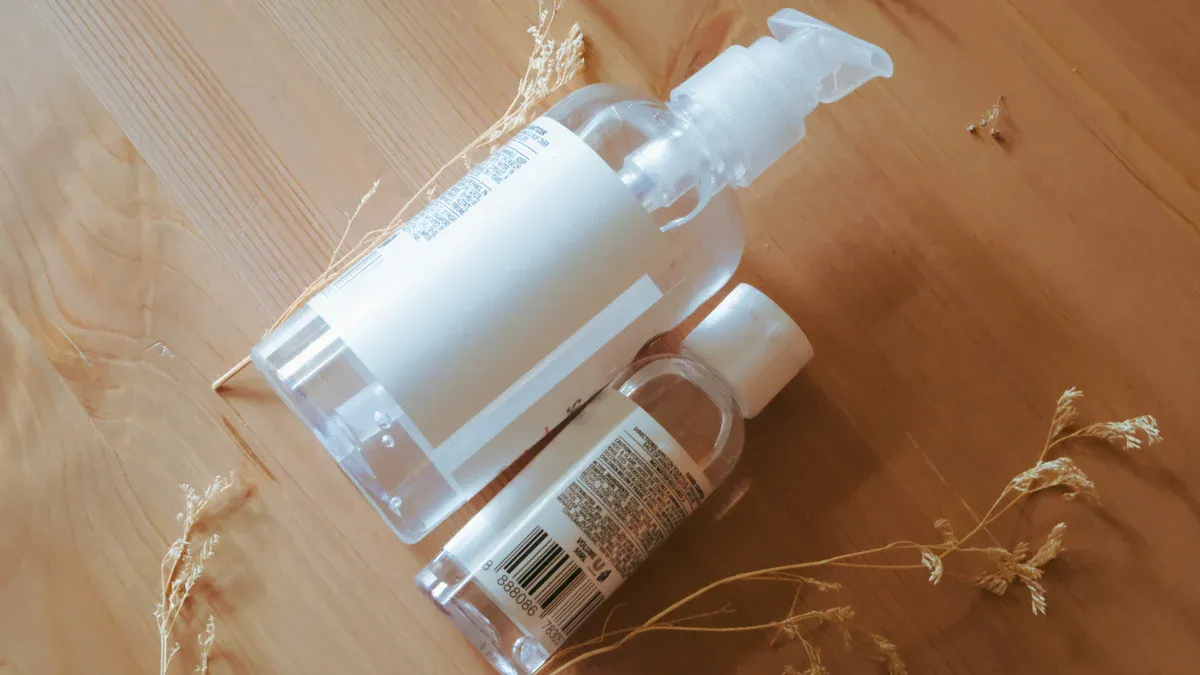
Identifying common contaminants (dust, oils, oxidation)
Before soldering, check for dirt that can cause problems. Dust gathers on boards during storage or handling. Fingerprints or tools leave oils that block solder from sticking. Oxidation forms on metal over time and weakens connections. These issues make soldering less effective and unreliable. Spotting these problems early helps you clean the board properly.
Tools and materials for PCB cleaning (isopropyl alcohol, lint-free cloth, brushes)
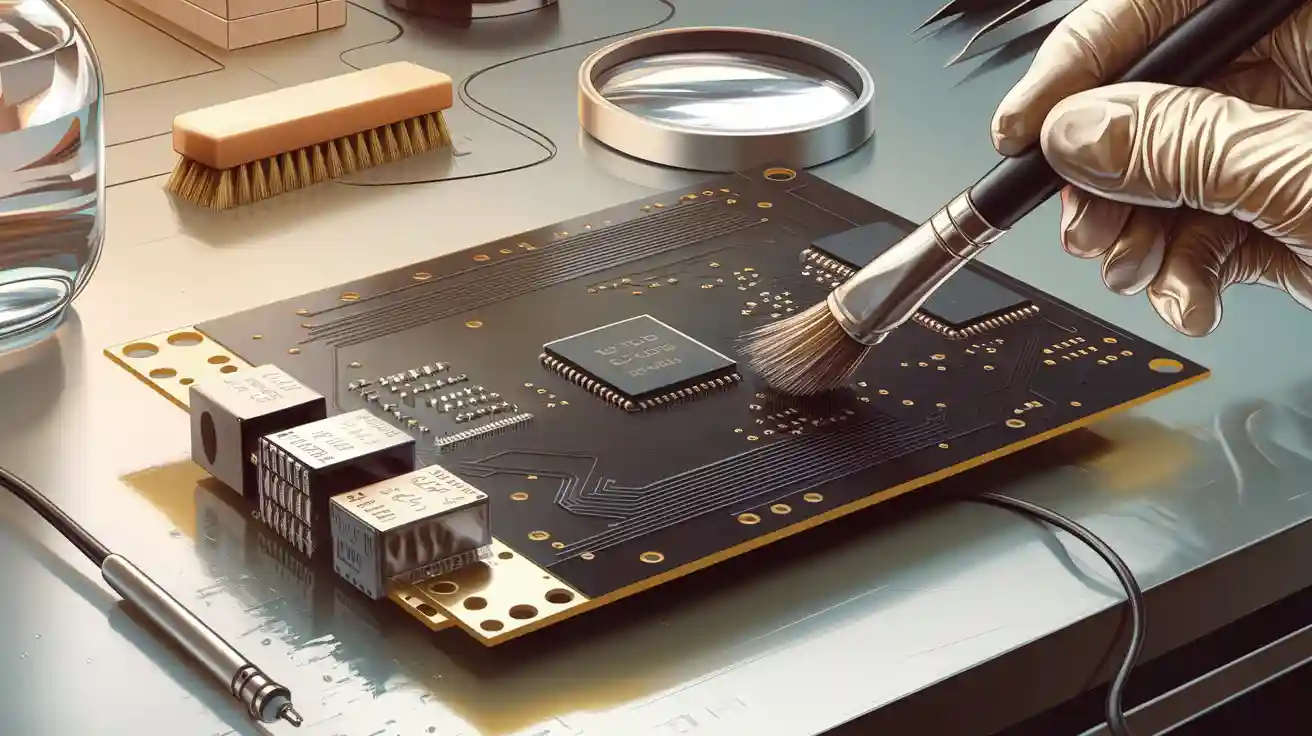
Using the right tools makes cleaning easier and safer. Isopropyl alcohol (IPA) removes oils and dirt without harming parts. A lint-free cloth leaves no fibers behind. Soft brushes help clean small spaces and tough spots. Ultrasonic cleaners can remove dirt more thoroughly. Always pick tools that are safe for your board to avoid damage.
Step-by-step process for cleaning PCBs before soldering
Follow these steps to clean your board before soldering:
Pre-washing: Wipe the board gently with a lint-free cloth to remove dust.
Specialized Cleaning: Use isopropyl alcohol and a soft brush to clean oils or oxidation.
Rinsing: Wash the board with deionized water to remove leftover cleaner.
Drying: Dry the board with compressed air to remove all moisture.
For small jobs, use handheld tools for each step. To clean many boards, use machines that clean in batches or inline systems. Gas phase cleaning, which uses steam, is another option for deep cleaning. Pick the method that works best for your board type and needs.
Tips for handling sensitive components during cleaning
Cleaning sensitive components on a PCB needs gentle care to avoid harm. Parts like microchips, capacitors, and connectors can break easily if handled wrong. Using the right methods keeps them safe and working well during cleaning.
Handle Components with Care
Use tools made for small parts. Anti-static tweezers help hold tiny components without causing electrical problems. Don’t press too hard when cleaning, as it can crack or move fragile pieces. Work in a clean space free of static to avoid damage or dirt buildup.
Control Moisture Levels
Moisture can hurt sensitive components during cleaning. Follow these steps to keep moisture under control:
Keep moisture between 0.1% and 0.5% of resin weight.
Preheat the PCB to remove trapped moisture before assembly.
Set baking heat between 100°C and 125°C, staying below the board’s glass transition temperature (Tg).
Use a forced-air oven for even heating across the board.
These steps dry the board safely without harming its parts.
Tip: Don’t stack boards too high in the oven. Keep stacks under 25.4mm for good airflow and even heat.
Prevent Contamination
Dirt during cleaning can harm sensitive components. Keep your workspace clean and free of dust. Use lint-free cloths and brushes to avoid leaving fibers behind. Apply cleaning solutions like isopropyl alcohol lightly to prevent soaking the board.
Customize Cleaning Profiles
Each PCB is different. Adjust cleaning methods based on the board’s size, design, and finish. Thicker boards may need longer drying times. Boards with detailed designs might need softer cleaning tools.
Cool and Store Properly
After cleaning, let the PCB cool in a dry place. Humid air can undo your cleaning and damage parts. Assemble the board soon after cleaning to keep it in good shape.
Note: Make sure ovens are clean and vented well during baking to avoid adding dirt to the board.
By following these tips, you can clean sensitive components carefully while keeping them reliable and functional.
How to Remove Flux Residues After Soldering
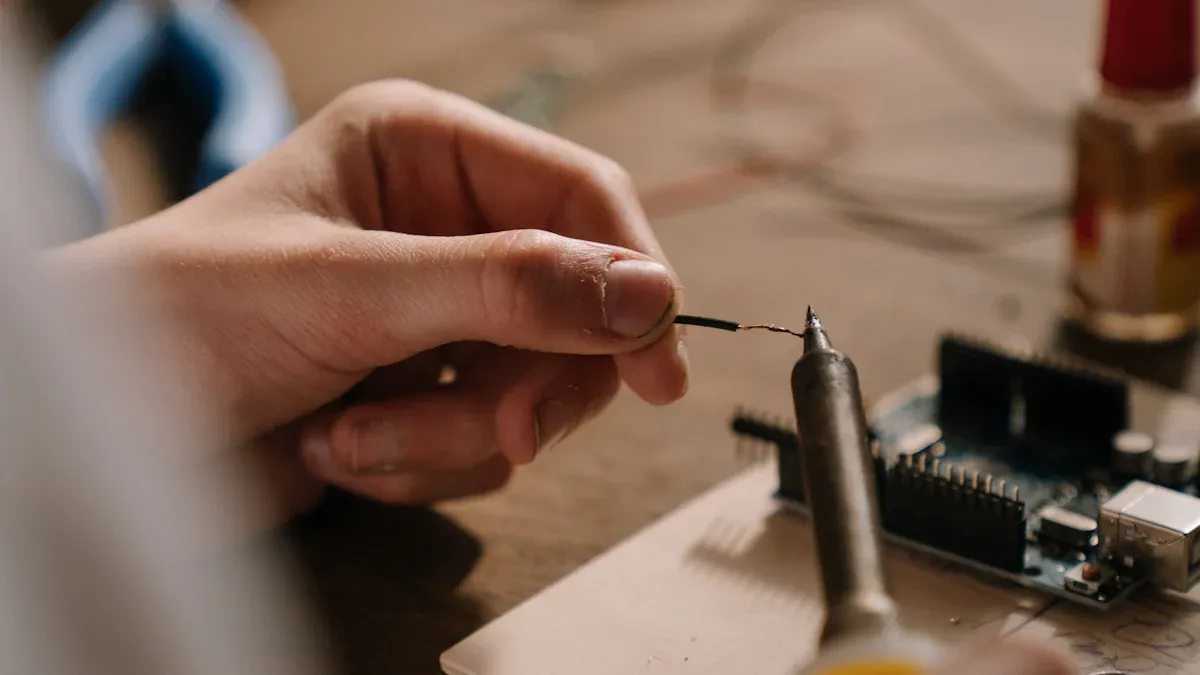
Why flux residues need to be removed
Leftover flux on a circuit board can cause problems. It might weaken electrical connections or attract water, leading to rust. In industries like aerospace or medical devices, clean boards are very important. Dirty boards can fail and cause safety risks. Flux can also stop protective coatings from sticking well. Cleaning off flux makes the board work better and last longer.
Manual cleaning methods (isopropyl alcohol, cotton swabs, brushes)
Manual cleaning is great for small projects or fragile boards. Use isopropyl alcohol (IPA), cotton swabs, or soft brushes to clean flux. Put a little IPA on a swab or toothbrush. Gently scrub the flux until it loosens and comes off. Stronger IPA, like 90% or more, works best for tough spots. After cleaning, rinse with distilled water and dry with air or a lint-free cloth.
Be careful not to press too hard when scrubbing. Too much pressure can harm delicate parts. A toothbrush with IPA is a safe and effective tool. Manual cleaning takes time and focus but works well for most boards.
Advanced cleaning methods (ultrasonic cleaning, acetone soaking)
For deeper cleaning, try ultrasonic cleaners or acetone soaking. Ultrasonic cleaners use sound waves to make tiny bubbles in a liquid. These bubbles clean every part of the board, even hard-to-reach spots. This method is gentle and good for cleaning many boards at once.
Acetone soaking is another strong option for heavy flux. Soak the board in acetone for a few minutes. Then, use a soft brush to remove leftover flux. Rinse with distilled water and dry completely before using the board.
These advanced methods need safety steps. Work in a ventilated area and wear gloves when using acetone or ultrasonic cleaners. These techniques are best for experts or those with experience in PCB cleaning.
Comparing manual vs. ultrasonic cleaning methods
When cleaning your PCB after soldering, you can pick manual or ultrasonic methods. Each has its own benefits and works better in certain situations. Knowing the differences helps you choose the best method for your project.
Manual Cleaning
Manual cleaning means doing it by hand. Use tools like cotton swabs, brushes, and isopropyl alcohol to clean off flux. This method is good for small projects or boards with fragile parts. It lets you focus on specific spots that need cleaning.
But manual cleaning takes time and care. You need patience to clean tough residues. Pressing too hard can harm delicate parts. This method is great for hobbyists or fixing one or two boards.
Ultrasonic Cleaning
Ultrasonic cleaning uses sound waves to make tiny bubbles in a liquid. These bubbles clean flux and dirt from all parts of the PCB, even tricky areas. It’s fast and works well for cleaning many boards or detailed designs.
This method is best for big projects or industrial use. It cleans thoroughly without much effort. But you need special equipment and must handle it properly. Use the right cleaning liquid and follow safety rules to protect the board.
Which Method Should You Choose?
Your choice depends on your needs. For small projects or careful cleaning, manual cleaning works well. For bigger jobs or deep cleaning, ultrasonic cleaning is better. Think about your project size, residue type, and budget before deciding.
Tip: Try your cleaning method on a spare board first. This prevents damage and ensures the method works for your PCB.
Safety precautions when cleaning PCBs after soldering
Cleaning PCBs after soldering needs careful handling to stay safe and protect the board. Following these steps helps avoid accidents and keeps your PCB working well.
Work in a Ventilated Area
Clean your PCB in a place with good airflow. Cleaning liquids like isopropyl alcohol or acetone can release harmful fumes. Fresh air reduces the chance of breathing in these fumes.
Wear Protective Gear
Wear gloves and safety glasses to stay safe. Gloves protect your skin from chemicals, and glasses keep splashes away from your eyes. This is extra important when using strong liquids like acetone.
Use the Right Tools
Pick tools that won’t harm your PCB. Soft brushes and lint-free cloths avoid scratches. Don’t use metal tools, as they can damage the board or cause short circuits.
Handle Chemicals Carefully
Keep cleaning liquids in labeled containers, away from heat or flames. Follow instructions for use and disposal. Never mix cleaning liquids, as this can cause dangerous reactions.
Avoid Overheating
If drying your PCB with an oven or air, watch the temperature. Too much heat can bend the board or ruin parts. Stay below the board’s heat limit.
Test Before Reassembly
After cleaning, check the board for leftover dirt or damage. Use a magnifying glass to inspect small areas. Testing makes sure the board is clean and ready to use.
Note: Always unplug your PCB and remove stored electricity before cleaning. This stops shocks and protects the board from harm.
By following these safety tips, you can clean your PCB safely and keep it working well.
Best Practices for PCB Cleaning
Picking the right cleaning tools
Using the right tools is key to cleaning PCBs well. Choose materials that clean without harming the board. Isopropyl alcohol (IPA) is great for removing dirt and oils safely. Lint-free cloths stop fibers from sticking to the board. Soft brushes help clean small or hard-to-reach areas. For advanced cleaning, ultrasonic cleaners are very useful:
Efficiency: They clean complex boards completely and quickly.
Gentle Cleaning: They protect fragile parts from damage.
Environmentally Friendly: They use safe solutions that are good for the planet.
Consistency: They give steady results, lowering the chance of errors.
Versatility: They work with many types and sizes of PCBs.
Choosing the right tools keeps your board clean and working properly.
Avoiding common errors during PCB cleaning
Mistakes in cleaning can damage boards or leave dirt behind. Knowing what to avoid helps keep your board in good shape. Here’s a simple guide:
Common PCB Cleaning Errors | How to Avoid Them |
|---|---|
Residues causing contamination | Test cleanliness with ion chromatography or resistivity tests. |
Dirt from drilling processes | Clean debris and drill smear during manufacturing. |
Avoiding these errors helps your board last longer and work better.
Keeping your workspace clean for PCB assembly
A clean workspace is important for cleaning and assembling PCBs. Dust and dirt can ruin boards and lower their performance. Wipe surfaces often and use anti-static mats to keep the area clean. Store tools and cleaning supplies in their proper places to avoid mixing them up.
Tip: Use air filters to cut down on dust and keep the air clean.
A clean workspace makes it easier to assemble and clean your boards properly.
Cleaning PCBs before and after soldering is very important. Dirt and grease can make solder connections weak and shorten the board’s life. Use tools like isopropyl alcohol and lint-free cloths to clean safely without harm.
Always clean PCBs in a clean area without dust. Be gentle with fragile parts to avoid damage. Regular cleaning helps your board work better and prevents expensive fixes. Follow these steps to keep your PCBs working well for a long time.
FAQ
How can I clean PCBs without harming them?
Use isopropyl alcohol (IPA) with a soft brush or lint-free cloth. Wipe gently to remove dirt and residue. Don’t use strong chemicals or press too hard, as this can damage delicate parts.
Is it okay to clean PCBs with water?
Yes, but only use distilled or deionized water. Tap water has minerals that can leave marks or cause rust. Always dry the board completely with air or a clean cloth to avoid moisture problems.
How often should PCBs be cleaned?
Clean PCBs before soldering and after removing flux. For upkeep, clean them when you see dust, dirt, or residue. Regular cleaning helps the board work better and last longer.
Is ultrasonic cleaning safe for all types of PCBs?
Ultrasonic cleaning works for most PCBs but not fragile ones. Test it on a spare board first. Use the right cleaning liquid to avoid harming sensitive parts.
What if flux stays on the PCB after cleaning?
Apply more isopropyl alcohol and scrub gently with a soft brush. For tough flux, try acetone soaking or ultrasonic cleaning. Make sure the board is fully dry before using it again.