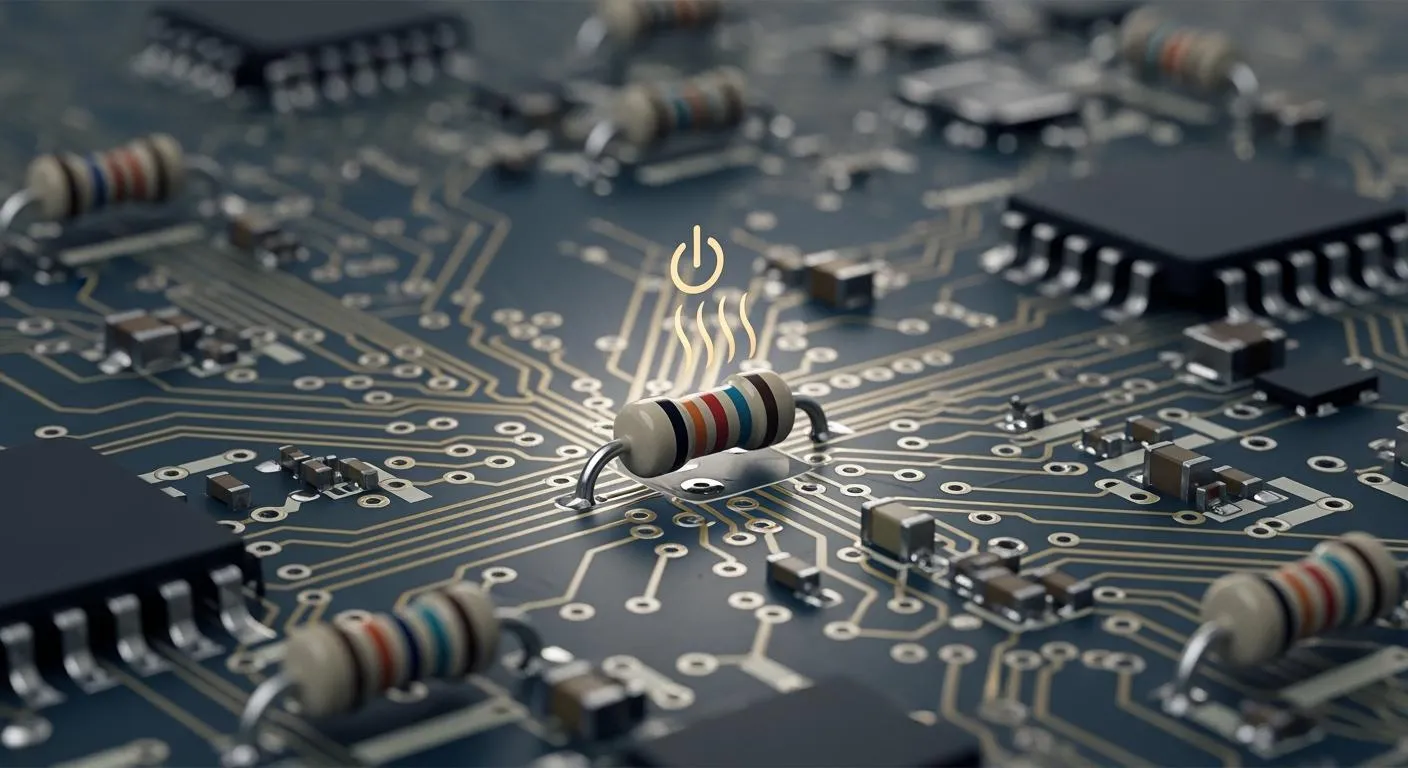
Imagine you build a circuit, but after running it for a short time, you notice a burning smell. You touch the board and find a resistor too hot to handle. This happens when you ignore power dissipation in resistors. When you choose the wrong resistor or skip heat management, you risk failure. Always check your calculations and design steps. Pay attention to how you place parts on your PCB to help control heat.
Key Takeaways
Know what power dissipation means in resistors. It happens when current goes through a resistor and turns electrical energy into heat.
Always look at the power rating of resistors. Make sure it is higher than the power you expect. This helps stop overheating and keeps your circuit working.
Use the right math to find power dissipation. Use formulas like P = I² × R or P = V² ÷ R. These help keep your circuit safe.
Use good ways to manage heat. Put high-power parts apart from each other. Use thermal vias or heat sinks to move heat away.
Think about your PCB design before you start. Use wide traces and materials that move heat well. This helps get rid of heat and makes your circuit last longer.
Power Dissipation in Resistors Explained

What Is Power Dissipation?
Power dissipation happens when current moves through a resistor. The resistor takes in electrical energy and changes it into heat. Electrical engineering books say power dissipation is when a resistor uses power. You can find this with formulas like (P = frac{v^{2}}{R}) or (P = i^{2}R). The heat comes from current flowing through the resistor. It is important to know about this because it affects how hot the resistor gets.
Why It Matters for Circuit Reliability
Power dissipation is important for making circuits work well. If you do not check how much power a resistor can take, your circuit can get damaged. Here are some key things to remember:
Power dissipation can make resistors get too hot.
Each resistor has a power rating that tells you the most power it can handle.
If you use more power than the rating, the resistor can break and your circuit might stop.
If you use too much power, the resistor can get very hot. It might break, smoke, burn, or even get ruined forever. Your circuit could stop working or even catch fire. You need to control power dissipation to keep your electronics safe and working right.
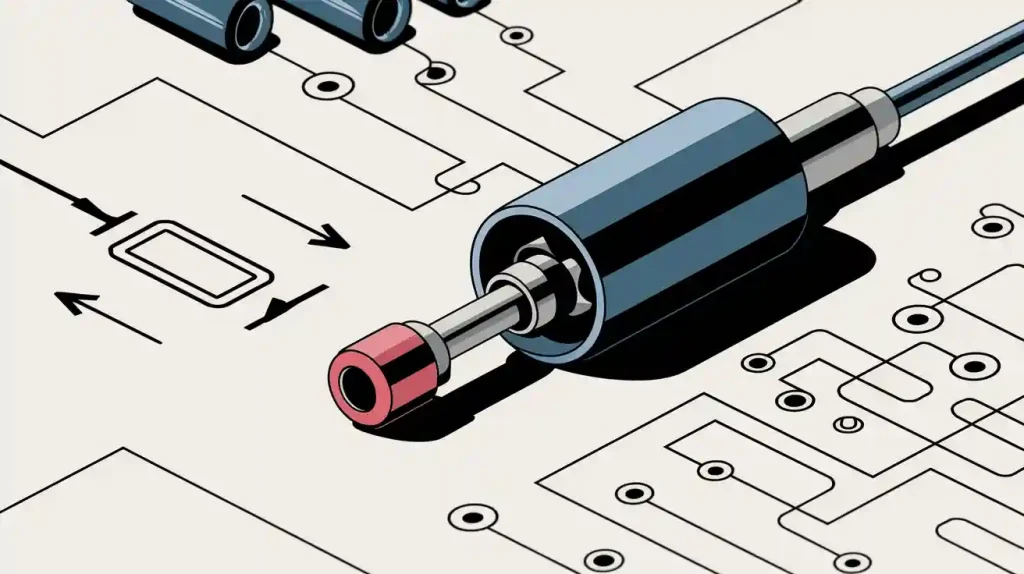
Resistor Power Ratings
When you pick a resistor, you need to look at its power rating. Most resistors are made to handle a set amount of power without getting too hot, usually up to about +70ºC. The power rating depends on the size and type of the resistor. Surface mount resistors can handle less than 100 milliwatts to a few watts. Bigger through-hole resistors can handle more power. Large resistors can get rid of more heat and sometimes need extra cooling, like heat sinks. In electronics, picking the right power rating stops damage and keeps your circuit safe. Always make sure the resistor’s power rating is more than the power you expect in your design.
Power Dissipation Calculations
Ohm’s Law and Key Formulas
You need to know how to find power in a resistor. This helps keep your circuit safe. Ohm’s Law lets you figure out the current and voltage for the resistor. You can use these formulas to work out power dissipation:
Formula | When to Use |
|---|---|
P = I² × R | Use this if you know the current and resistance. |
P = V² ÷ R | Use this if you know the voltage and resistance. |
P = V × I | Use this if you know both voltage and current. |
These formulas help you see how much power turns into heat.
Step-by-Step Calculation
Here are the steps to find power dissipation in a resistor:
Find the voltage across the resistor and the resistance.
Use Ohm’s Law to get the current: I = V ÷ R.
Pick a formula based on what you know. If you have current, use P = I² × R. If you have voltage, use P = V² ÷ R.
Put your numbers into the formula to get the power.
Make sure the power is less than the resistor’s rating.
Tip: Always add a safety margin when you do your power math. This stops overheating and keeps your circuit working well.
Example Calculations for Circuits
Here are some real examples to help you learn about power dissipation:
LDO Regulator Example:
Input voltage: 5V
Output voltage: 3.6V
Output current: 140mA
Power loss: 5V × 0.14A – 3.6V × 0.14A = 0.7W – 0.504W = 0.196W
Buck-Boost Converter Example:
Input voltage range: 10V to 20V
Output voltage: 13.5V
Output current: 80mA
Power loss: 0.064A × 20V – 0.08A × 13.5V = 1.28W – 1.08W = 0.2W
Some mistakes are not following derating rules, guessing power dissipation, and putting resistors too close together. You should always use real numbers and plan your layout to help with heat.
Managing Power Dissipation in Circuit Design
Choosing the Right Resistor
You must pick a resistor that fits your circuit. The right resistor helps control heat and keeps things safe. Before you choose, look at some important things. The table below shows what to check:
Factor | Description |
|---|---|
Power Rating | This is the most power the resistor can handle. Make sure it is more than what your circuit uses. |
Resistance Value | This controls how much current flows. Pick a value that matches your needs for voltage or current. |
Tolerance | This shows how much the value can change. Choose a small tolerance for better accuracy. |
Temperature Coefficient | This tells how much resistance changes with heat. Use a low value if your circuit is sensitive to temperature. |
Construction Type | Ceramic, thick film, or wirewound resistors are different. Pick the type that works best for your design. |
Environmental Conditions | Think about heat, wetness, and shaking. Pick a resistor that works well in your space. |
Mounting and Packaging | Make sure the resistor fits your board. Use SMD for small spaces or through-hole for more power. |
Special Features | Some resistors can handle big pulses or have coatings that stop flames. Use these if you need special features. |
Always add extra room to the power rating. For very reliable circuits, use twice the power you expect. For cheaper designs, add at least half more. This helps stop overheating and makes your circuit last longer.
Design Tips for Heat Management
Smart choices can help lower heat and make your circuit work better. Here are some tips for handling heat in your design:
Make sure your resistor’s power rating is enough.
Check if your ICs need heat sinks to stay cool.
Use wide PCB traces to lower resistance and heat.
Keep switching times short to cut down power loss.
Tip: Spread out parts that use lots of power. This helps heat move away and keeps your board cool.
You can use computer tools like SPICE or NI Multisim. These tools let you see how much heat your circuit will make before you build it. You can run tests to guess how hot your design will get.
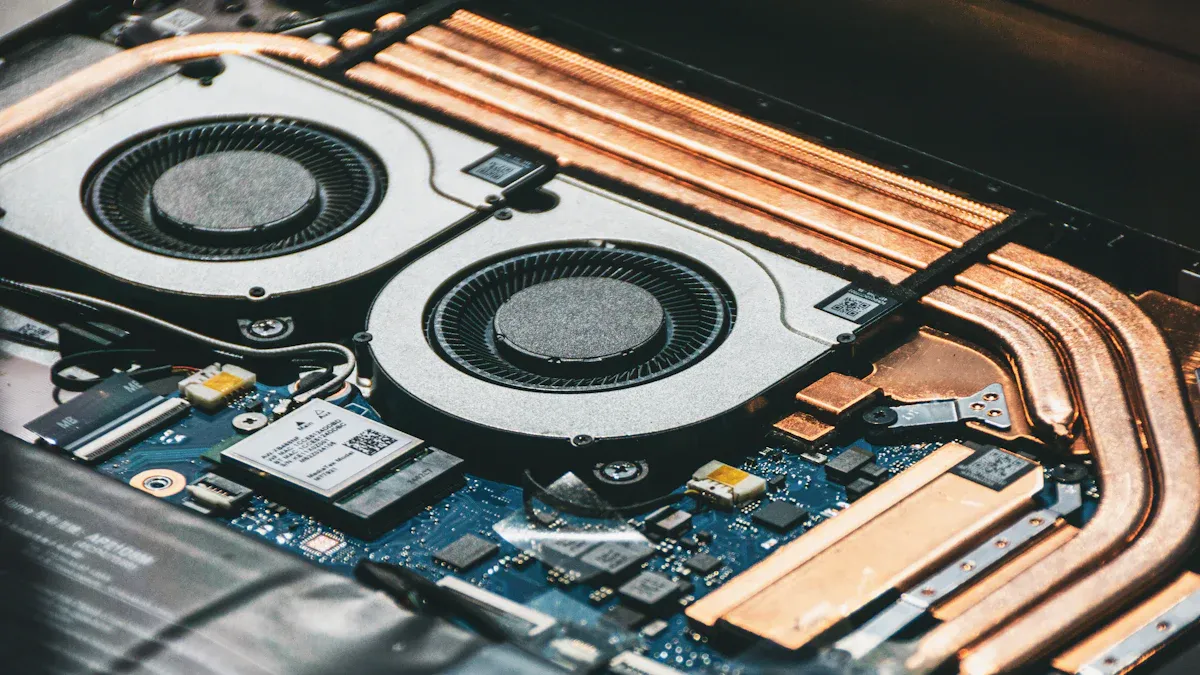
PCB Design and Assembly Strategies
You can help heat move away by using smart PCB design. Start by picking materials that carry heat well, like FR-4 with more copper or metal-core PCBs. Put resistors so heat spreads out. Do not put high-power resistors close together.
Use thermal vias near resistors to move heat to other layers. Add heat sinks or spreaders to pull heat off the board. Big copper planes can help spread heat and lower power use. Make sure traces are thick and wide to stop heat from building up. Put high-power parts near the middle of the PCB to help heat scatter.
When you build your circuit, use air flow or fans to help cool things down. Add radiators or plates for parts that make lots of heat. Place parts so air can move easily and cool your board. You can also use special materials to help heat move better.
Note: Watching resistor temperature is important for tough jobs. Put sensors in key spots and set alarms for high heat. This helps you find problems before they hurt your circuit.
Minimizing Switching Losses
Switching circuits can waste power if you do not keep switching times short. Fast switching means less heat and less wasted power. Use parts that lose little power when switching. Run tests with computer tools to see how much power your circuit uses when switching.
You can use resistors with non-inductive designs for high-speed circuits. These help lower power use and keep heat down. Precision resistors with low temperature coefficients are good for circuits that need steady performance.
Tip: Always check the data sheets for stress ratio tips. This helps you pick the best resistor for your circuit.
You can use new materials like thin film resistors for better heat control and reliability. These work well in small designs and help lower power use. New resistor materials also help your circuit stay stable for a long time, which is important for electronics.
Beneficial Heat Dissipation Applications
Electric Heaters and Nichrome Wire
Resistors can make heat on purpose in some designs. Electric heaters use nichrome wire because it works well at high heat and does not rust. When you pick nichrome wire, think about the wire’s thickness, voltage, and how much current it can take. Thin wire gets hot fast because it has more resistance, but it can break easily. Thick wire is stronger and lasts longer, but it needs more power to get hot. You must pick the right voltage for your circuit. More voltage means more power, but it can also make things too hot. Your power supply must give enough current to keep things safe. If your supply is too weak, the wire can get too hot and break. Good planning helps you control heat and keep your circuit safe.
Incandescent Bulbs in Circuits
Incandescent bulbs use heat to make light. The filament inside gets hot when current goes through it. You need to control heat so the filament does not wear out too fast. If it gets too hot, the bulb will stop working soon. Most bulbs last from 1,000 to 2,000 hours. Gases like argon and nitrogen slow down how fast the filament wears out, but they also take heat away. This changes how bright the bulb is and how long it lasts. When you design a circuit with bulbs, you must balance power, heat, and how long the bulb will work. Good design helps bulbs last longer and saves energy.
Tip: Always check the bulb’s rating before you use it in your circuit. This helps you stop overheating and wasting power.
Controlled Heat in Specialized Designs
Some circuits need heat for special jobs. You might use resistors to warm up sensors or stop water from forming in equipment. In these cases, you must watch power and heat closely. You can use temperature sensors to check heat and change power if needed. Smart design lets you use heat without hurting your circuit. You can add heat sinks or fans to move heat away and keep things cool. When you plan your circuit, think about how much power you need and where the heat will go. This helps you make safe and reliable systems that use heat the right way.
Application | Purpose of Heat | Key Design Consideration |
|---|---|---|
Electric Heaters | Warming spaces | Wire gauge, power supply |
Incandescent Bulbs | Producing light | Filament temperature |
Sensor Warmers | Prevent moisture | Controlled power |
You can make your circuit work better if you know how resistors deal with power and heat.
Power dissipation makes heat, and this can change how your circuit works.
Always look at the power rating for each resistor and use the right math to find power.
If you use more power than allowed, you could break parts or start a fire.
Put hot parts close to thermal vias or heatsinks and spread them out to cool them down.
Use bigger traces and more copper to help get rid of heat.
Check your design again and use thermal tests to keep your circuit safe for a long time.
Tip: Good planning and smart PCB building stop overheating and help your electronics last longer.
FAQ
What happens if you exceed a resistor’s power rating?
If you use a resistor with too much power, it gets very hot. The resistor might burn, break, or change how it works. Your circuit could stop working or even become dangerous.
How do you choose the right resistor for heat management?
Pick a resistor with a power rating higher than what you need. Always add extra room for safety. Look at the resistor’s size, type, and where you put it on your PCB.
Can you use multiple resistors to share power?
Yes! You can use more than one resistor to split the power. Connect them in parallel or series to help each one stay cooler. For example:
Setup | Benefit |
|---|---|
Parallel | Shares current |
Series | Shares voltage |
Why do resistors get hot even at low voltages?
Resistors turn electricity into heat. Even with low voltage, heat can build up if the current is high or the resistor value is small. Always check both voltage and current.
What is derating, and why should you use it?
Derating means using a resistor with less power than its limit. This keeps it cooler and helps it last longer. Always add a safety margin to make your circuit more reliable.