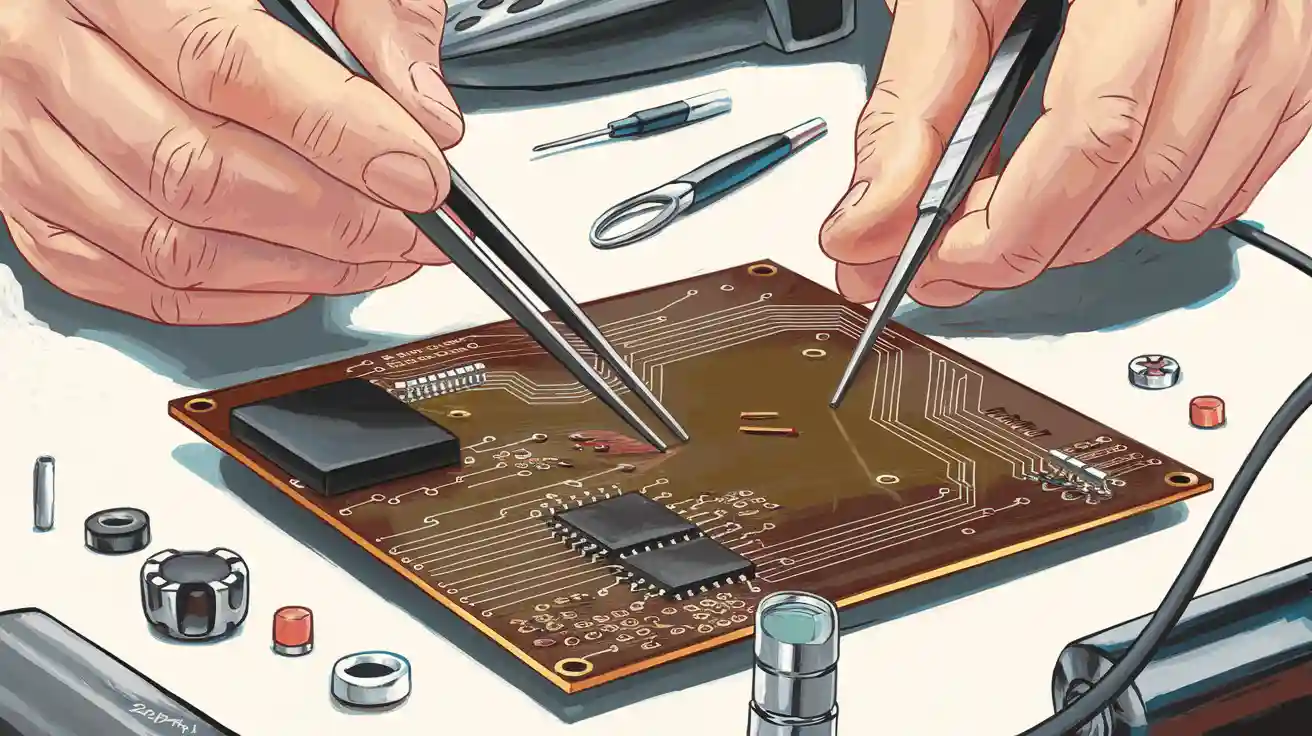
To assemble a PCB, you need to start by getting your workspace ready. Before you begin, check the board thoroughly. Place each part where it belongs and solder the parts to the board. It’s crucial to test every connection to ensure it works properly. Make sure you have the right tools and materials before you start, as problems can arise if you use too much heat during the soldering process. Additionally, you can easily mess up if you mix up the part directions. Missing a solder joint can lead to issues as well, and you may encounter burnt components or solder bridges. Mistakes often occur due to human error, so being careful during the assembly process is essential. Environmental factors and age can also affect the performance of your PCB. By preparing carefully, you can prevent most problems and keep your project functioning smoothly.
Preparation
Get your workspace ready before you start. Gather all tools and materials you need. Careful planning helps you avoid mistakes. It also keeps your project safe.
Tools
You need different tools for PCB assembly. Work in a clean area with good light. Make sure the room has fresh air. Collect your tools before you begin. Here is a table that lists common tools and what they do:
Tool Type | Benefits | Drawbacks |
|---|---|---|
SMT Tweezers | Very precise, stops static, not expensive | Hands get tired, not good for tiny parts |
Vacuum Pick Tools | Less damage, good for small pieces, suction can change | Hard to learn, costs more than tweezers |
Manual Pick and Place Systems | Comfortable to use, has cameras, works for big boards | Costs a lot, needs setup and tuning |
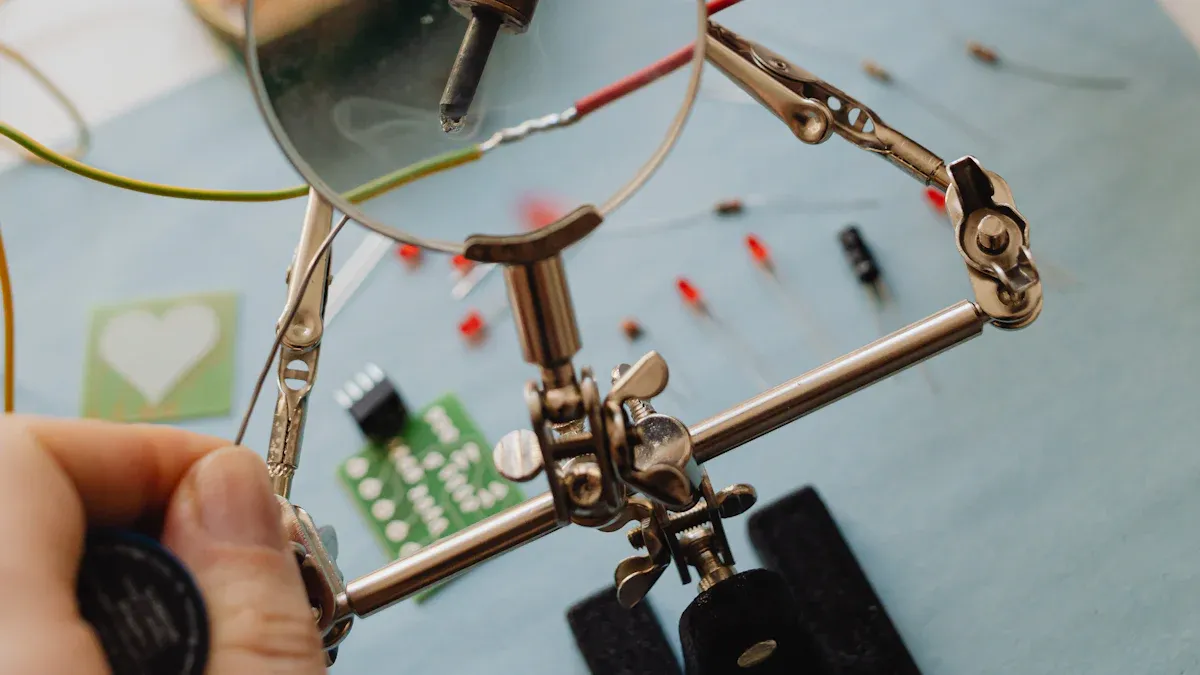
You also need a soldering iron, solder wire, flux, and a magnifier. Check that everything works before you use it.
Materials
Pick the right materials for your PCB job. Look at each part to see if it is broken. Make sure every part matches your plan. Here is a table of common materials:
Material Type | Description |
|---|---|
Copper-clad epoxy glass | Main PCB material, lets electricity flow. |
FR4 | Stops fire, strong, and not expensive. |
High-frequency materials | Used for fast circuits, like Rogers’ RO4000 series. |
Aluminum | Used in LED PCBs for lights. |
Ceramic substrates | Used for special needs. |
Always check the PCB before you build it. Look for shorts and broken lines. Check the solder mask. Clean the board to get rid of dust and dirt.
Safety
Safety matters when you assemble a PCB. Protect yourself and your space by following these tips:
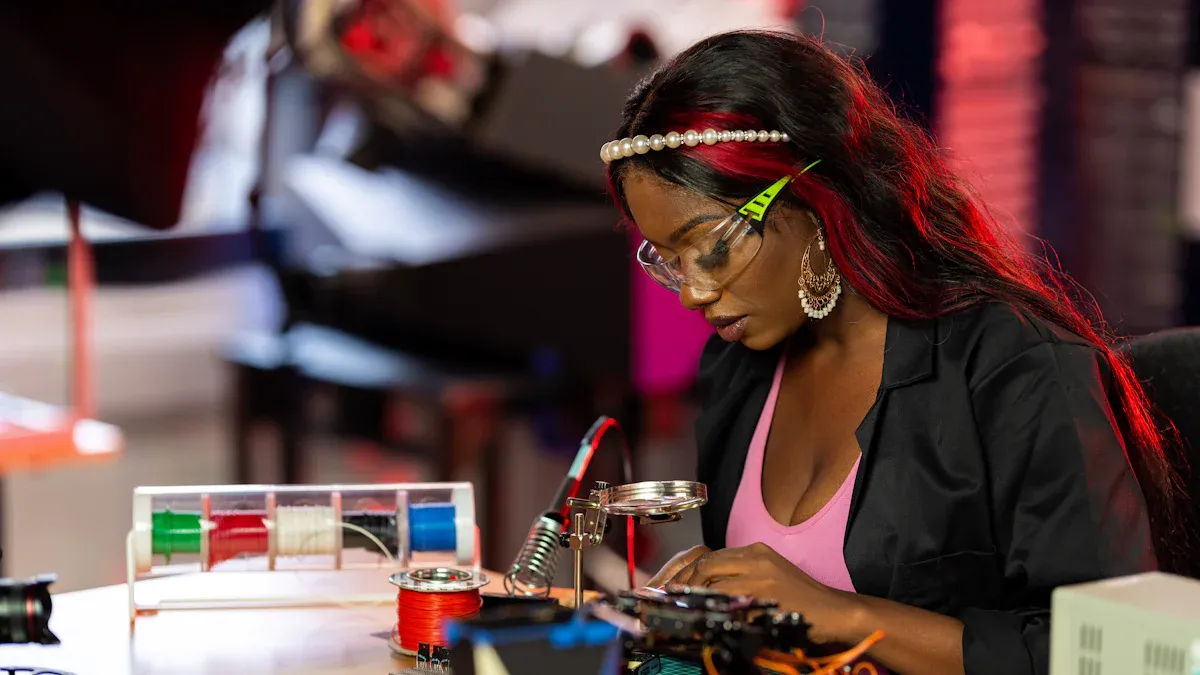
Wear glasses or goggles to protect your eyes.
Put on gloves when using chemicals or solder.
Work under a hood to clear away fumes.
Keep dangerous stuff in closed boxes.
Clean your area with wipes made for heavy metals.
Use wrist straps and mats to stop static shocks.
Do not eat or drink near your work area.
Tip: Always touch ground before you handle sensitive parts. Static shocks can hurt your PCB and its parts.
Make sure the room has good airflow to stop overheating. Bad heat control can break parts. Use heat sinks and thermal vias if you need them.
Soldering Basics
Solder Types
You will find several types of solder when you assemble a PCB. Each type has a different melting point and use. Here are the main types:
Tin-Lead Solder (Sn-Pb): Melts at 183°C. This type is easy to work with but contains lead, which is toxic.
Lead-Free Solder (SAC305): Melts at about 217°C. Most electronics use this type now because it is safer for you and the environment.
Silver Solder: Has a higher melting point than tin-lead solder. You use it for strong joints and special applications.
Low-Temperature Solder (Sn42/Bi58): Melts at lower temperatures. It helps protect sensitive parts from heat.
High-Temperature Solder: Works in extreme environments where heat is a problem.
Lead-free solder is safer for you and the planet. It does not contain hazardous materials, but you need to use higher temperatures when working with it.
Soldering Techniques
You need to follow basic soldering steps to get strong, clean joints. Here is a simple process:
Prepare your workspace. Set up a clean table with good light and keep your tools close.
Tin the tip of your soldering iron. Put a thin layer of solder on the tip to help transfer heat.
Heat the joint, not the solder. Touch the iron to the pad and lead for 2-3 seconds before adding solder.
Apply solder. Feed the solder into the joint until it flows and covers the pad.
Inspect the joint. Look for a shiny, smooth finish. Avoid cracks, gaps, or dull spots.
Common soldering problems include cold joints, solder bridges, and lifted pads. You can prevent these by using the right amount of heat and keeping your workspace clean.
Cleaning
Cleaning your board after soldering removes flux and keeps your project reliable. You can use different methods:
Cleaning Method | Description | Tools/Solvents Used | Advantages/Notes |
|---|---|---|---|
Manual Cleaning | Good for small jobs and prototypes. | Soft brushes, lint-free wipes, isopropyl alcohol | Precise, but takes time. |
Ultrasonic Cleaning | Uses sound waves to clean complex boards. | Aqueous or semi-aqueous cleaners | Fast, but may harm sensitive parts. |
Automated Cleaning Systems | Best for large batches. | Engineered fluids, spray-in-air or immersion systems | Consistent, saves labor, improves reliability. |
Always clean leftover flux. If you leave residue, it can cause short circuits or weak connections. Use isopropyl alcohol and a soft brush for most jobs. Make sure your tools stay clean to avoid defects.
Assemble a PCB: Step-by-Step
Solder Paste Application
You start the process by applying solder paste to the PCB pads. This step is important because it helps the components stick and ensures good electrical connections. Most people use the screen-printing method for this task. Here is how you do it:
Place a stencil over your PCB. The stencil has holes that match the pads on your board.
Use a squeegee blade to spread solder paste across the stencil. The paste goes through the holes and lands on the pads.
Control the squeegee speed, pressure, and angle. These settings help you get a clean and even layer of paste.
Press the squeegee firmly to wipe the stencil clean. This prevents extra paste from smearing.
Keep the stencil in contact with the PCB for best results. This is called “on-contact” printing.
Clean the stencil often. This keeps the holes clear and avoids defects.
Tip: Check the solder paste after printing. Use a magnifier or a 2D/3D inspection tool to spot any problems early.
Surface Mount Components
Next, you place the surface mount components (SMT) onto the solder paste. This step needs care and attention. Follow these best practices:
Leave enough space between each part. This stops them from touching or causing problems during soldering.
Line up all parts in the same direction. This makes it easier to place them and helps if you use a pick-and-place machine.
Keep heat-sensitive parts away from hot areas or power parts.
Add fiducial markers to your PCB. These small marks help machines place parts in the right spot.
Pick the right stencil thickness for your parts. Thicker stencils work for big parts, while thin ones suit small parts.
Match the stencil holes to the pad sizes. This helps the paste release cleanly.
Leave a small gap (at least 0.1 mm) between the solder mask and the pads.
Use stainless steel stencils with laser-cut edges for sharp, clean prints.
After placing the parts, you need to solder them. Most people use a reflow oven for this. The process has four main phases:
Preheat: Warm the board slowly. This activates the flux and removes moisture.
Soak: Hold the board at a steady temperature. This spreads the heat evenly.
Reflow: Raise the heat to melt the solder paste. The solder flows and connects the parts to the board.
Cooling: Let the board cool down at a steady rate. This hardens the solder joints.
Note: Always inspect the board after reflow. Look for misplaced parts, solder bridges, or cold joints.
Through-Hole Components
After you finish with SMT parts, you move on to through-hole components. These parts have leads that go through holes in the PCB. Here are some tips to help you:
Set your soldering iron to the right temperature. Too much heat can damage parts, while too little can cause weak joints.
Solder each lead one at a time. Heat the pad and the lead, then add solder until it flows around the joint.
Check each joint by eye. Look for shiny, smooth connections. Wiggle the part gently to make sure it is secure.
Use lead-free solder if possible. Remember, it melts at a higher temperature than leaded solder.
Protect sensitive parts from static electricity. Wear a wrist strap and work on an anti-static mat.
Tip: Take your time with through-hole parts. Rushing can lead to mistakes or damaged boards.
Power Supply First
When you assemble a pcb, always start with the power supply section. This step is important for several reasons:
You can find defects early, before you add more parts.
You save time and money by fixing problems before the board is full.
You can test for short circuits and make sure the power works as planned.
After you solder the power supply parts, connect power and measure the output. Make sure the voltage and current match your design. If you find a problem, fix it before moving on.
Inspection and Testing
Once you finish assembly, you must check your work. Inspection and testing help you catch mistakes and make sure your board works. Here are common methods:
Inspection/Testing Method | Description |
|---|---|
Visual Inspection | Look for errors like misplaced parts or bad solder joints. |
Automated Optical Inspection (AOI) | Use cameras to spot defects quickly and accurately. |
X-ray Inspection | Check hidden joints and inside layers, useful for complex boards. |
In-Circuit Testing (ICT) | Test each part and connection to make sure they work and are in the right place. |
Functional Testing | Run the board as it would work in real life to see if it does its job. |
Burn-in Testing | Stress the board with heavy use to find early failures. |
Note: Many companies follow IPC standards for inspection. These standards help you make sure your boards are safe and reliable.
You should always inspect and test after you assemble a pcb. Careful checks help you find problems before they cause bigger issues.
Troubleshooting and Rework
Common Issues
You might run into problems when you build a PCB. If you know what to look for, you can fix things fast. Some common problems are:
Supply chain shortages can slow your project or make you use other parts.
Design and production mistakes may make your board stop working or act strangely.
Bad thermal management can make things too hot and break them.
Solder quality problems can cause weak joints or bridges.
PCB size, shape, and complexity can make building harder and lead to more mistakes.
To fix problems, start with easy checks. Use a multimeter to look for shorts or open circuits. An oscilloscope lets you see if signals look right. A thermal camera shows you which parts get too hot. Special testers and in-circuit tools help you find faults without taking out parts.
Tip: Always look for signs of trouble, like burnt spots, lifted pads, or missing parts.
Desoldering
Sometimes you have to take out a part. If you do this carefully, you will not hurt your PCB. Here are safe ways to do it:
Use a soldering iron and a solder sucker together. Heat the joint and pull out the solder while you gently move the part’s leg.
Cut each leg of the part with side cutters, then desolder the legs one at a time. This keeps the holes safe.
For big parts, use a hot-air tool to heat all the legs at once. If you do not need the part, cut it off first and then take out the legs.
Use desoldering braid to soak up extra solder. This helps you lift out the part.
Go slow and do not pull on parts. If you rush, you can lift pads or break traces.
Final Checks
After you finish fixing or building, always check your board one last time. Follow these steps to make sure your board works:
Look at the board for shorts, broken lines, or parts in the wrong place.
Turn on the board and check the voltage.
Test the power supply with a load to make sure it stays steady.
Build and test each part of the circuit, starting with passive parts.
Use a signal maker or power supply to pretend missing parts if you need to.
Run full load and environmental tests to see if the board is reliable.
You can use this table to help with your final tests:
Test | Process | Purpose |
|---|---|---|
Power-on self-test | Turn on power and check voltages | Make sure the board starts and works |
Functional verification | Pretend real use with signals | Make sure everything works right |
Environmental stress test | Test in different places | See if the board works under stress |
Communication interface | Connect devices and check data flow | Make sure data moves as it should |
Firmware/software test | Load and run software | Make sure the software works right |
Note: Careful final checks help you find problems before your board is used. This step saves your time and effort.
You can put together a PCB by getting your workspace ready. Solder the parts onto the board. Test each connection to make sure it works. Take your time and keep practicing to avoid errors. Check your board closely so it works right. If you have a big project, you might want help from a professional PCB house. These are some good reasons:
Benefit | Description |
|---|---|
Time Savings | You finish faster and get to market sooner. |
Access to Expertise | Experts use special tools and know a lot. |
Reduced Inventory | Turnkey services find parts and cut down on waste. |
Comprehensive Testing | Quality checks make sure your board works well. |
Scalability | You can make more boards if you need to. |
You can get better by labeling every part so you know what it is. Look over your design before you start. Pick suppliers you trust for your parts. Find more advanced guides to learn about PCB assembly and how to make them.
FAQ
What should I do if I make a soldering mistake?
Stop and let the board cool. Use a solder sucker or desoldering braid to remove the extra solder. Try again with less solder and steady hands. Always check your work with a magnifier.
Can I assemble a PCB without special machines?
Yes, you can build a PCB by hand using basic tools like a soldering iron, tweezers, and a magnifier. Machines help with speed and accuracy, but you can finish small projects without them.
How do I know if my PCB works after assembly?
Test each section with a multimeter. Check for correct voltage and no shorts. Power the board and see if it runs as planned. If you see errors, inspect the board and fix any problems.
What is the best way to avoid static damage?
Wear an anti-static wrist strap and work on an anti-static mat. Touch a grounded object before handling parts. Keep your workspace clean and dry to protect sensitive components.
Do I need to clean my PCB after soldering?
Yes, you should clean off any leftover flux. Use isopropyl alcohol and a soft brush. Cleaning helps prevent corrosion and keeps your board working well.