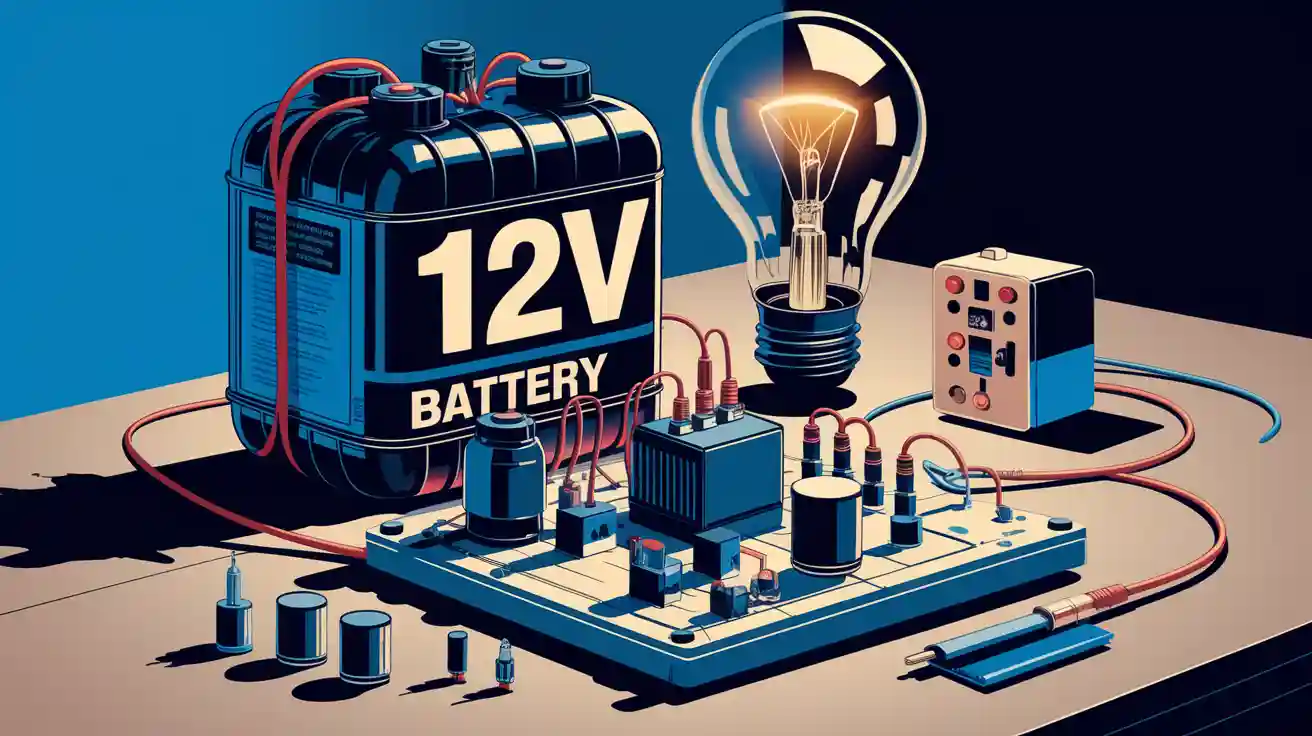
Yes, you can build a simple dc to ac power inverter with a 12v battery. You start by learning how an inverter works, then gather the right parts, design your circuit, run a few calculations, and keep safety in mind. Picking the correct components matters a lot, since you want reliable results. You might use a power inverter for these things:
Home backup power during outages
Outdoor and camping power supply
Solar energy systems
Powering tools off-grid
Supporting small businesses
Power Inverter Basics
What Is a Power Inverter
Have you ever wanted to use your TV or charge your laptop with a battery? That is what a power inverter helps you do. A power inverter takes direct current (DC) from a battery and turns it into alternating current (AC). Most things in your house need AC to work.
A power inverter, inverter, or invertor is a power electronic device or circuitry that changes direct current (DC) to alternating current (AC).
You use a power inverter when you want to run AC devices from something like a car battery or solar panel. The power inverter does more than just change the current. It also helps control the frequency, keeps the voltage steady, and makes the power better. This lets you use your favorite gadgets and appliances even if you are not near a wall outlet.
Applications
You can find power inverters in many places because they are useful for lots of things. Here are some common ways people use them:
In solar energy setups, power inverters turn DC power from solar panels into AC power for your home. These uses help you get clean energy for your daily life.
In backup power systems, power inverters change battery DC power into AC power when the power goes out. These uses keep your lights and appliances working during outages.
UPS systems use power inverters to give instant power when the electricity stops. These uses protect important electronics and systems from losing power suddenly.
Many people use power inverters for camping, outdoor events, and in cars to run small appliances.
You will also see power inverters used by small businesses, in workshops, and in cabins that are off the grid. These uses make sure you have power wherever you need it.
As you can see, there are many ways to use power inverters. You might use one for backup power, solar energy, or to charge your phone on a camping trip. No matter what, these uses make life easier and more comfortable.
DC to AC Power Inverter Working Principle
Signal Generation
When you want to turn direct current from a 12V battery into alternating current, you need a way to make the current change direction. That’s where signal generation comes in. You start with a 555 timer IC. This little chip acts like a heartbeat for your dc to ac inverter. It creates a steady pulse, switching on and off very quickly. You can adjust the speed of this pulse with a knob called a potentiometer. If you want your alternating current to match the power in your house, you set the frequency to 50Hz or 60Hz.
The 555 timer works as an astable multivibrator. It sends out a square-wave signal. This signal is not smooth like the alternating current from the wall, but it’s good enough for many simple devices. You use this square-wave to control other parts of your circuit. The signal goes to transistors, which act like gates, letting current flow in bursts. If you want a smoother waveform, you can add an RLC filter. This filter helps shape the square-wave into a more rounded, sinusoidal waveform, which is better for sensitive electronics.
Tip: If you want to power things like radios or TVs, try to make your waveform as close to a sine wave as possible. This helps prevent buzzing or damage.
Phase Shift and Switching
Now, you need to make the direct current switch back and forth, just like alternating current does. You use MOSFETs and transistors for this job. MOSFETs are special switches that can turn on and off very fast. They take the square-wave signal from the 555 timer and use it to control the flow of direct current through your circuit.
Here’s what happens step by step:
The MOSFETs receive the signal from the timer.
They switch the direct current on and off, creating a square-wave output.
The gate voltage on the MOSFETs lets you control exactly when they switch, which is important for making a clean waveform.
The switching action creates two paths for current, making the current alternate direction.
This process is called phase shifting. It helps your dc to ac inverter create a waveform that looks like alternating current. The phase shift depends on how you set up your circuit and the type of load you connect. If you use an inductive load, like a motor, the waveform can shift even more. You want your waveform to be as close to a sine wave as possible, with minimal harmonics. Harmonics are extra bumps in the waveform that can cause problems for some devices.
Note: Good switching and phase control help your power conversion stay efficient and keep your devices safe.
Voltage Transformation
You have a square-wave alternating current now, but it’s still at the same voltage as your battery. Most household devices need a higher voltage, like 110V or 220V. This is where the transformer comes in. The transformer uses electromagnetic induction to step up the voltage. It takes the low-voltage direct current pulses and turns them into high-voltage alternating current.
The transformer has two coils. The first coil gets the pulsing current from your circuit. The second coil creates a new alternating current at a higher voltage. This process is called voltage transformation. You need a transformer that matches your output needs. For example, if you want to run a lamp, you pick a transformer that steps up 12V direct current to 220V alternating current.
Transformers in a dc to ac inverter usually work at 85% to 95% efficiency. The efficiency depends on the design of the coils and the core material. If you use a good transformer, you lose less energy as heat. This means your power conversion is better, and you get more usable alternating current for your devices.
Here’s a quick look at the basic steps in power conversion from direct current to alternating current using a dc to ac inverter:
The inverter receives 12V direct current from the battery.
The circuit switches the direct current on and off at high speed, creating an alternating signal.
The transformer steps up the voltage, turning the low-voltage direct current into high-voltage alternating current for your devices.
Remember: Always choose a transformer that matches your needs. A good transformer makes your dc to ac inverter safer and more efficient.
If you follow these steps, you can build a simple dc to ac inverter that changes direct current from a battery into alternating current for your home or outdoor use. You get reliable power conversion, a usable waveform, and the right voltage for your devices.
Build a DC to AC Converter
Materials and Components
Before you start building your dc to ac converter, you need to gather all the right parts. Here’s a list to help you get started:
12v battery (your main power source)
Wires (for connections)
5-terminal relay
Single-phase transformer (to step up voltage)
Load bulb (for testing)
You also need some electronic components to make your dc to ac converter work smoothly:
555 timer chip (creates the switching signal)
MOSFETs (act as fast electronic switches)
Diodes (protect your circuit)
Relay (helps with switching)
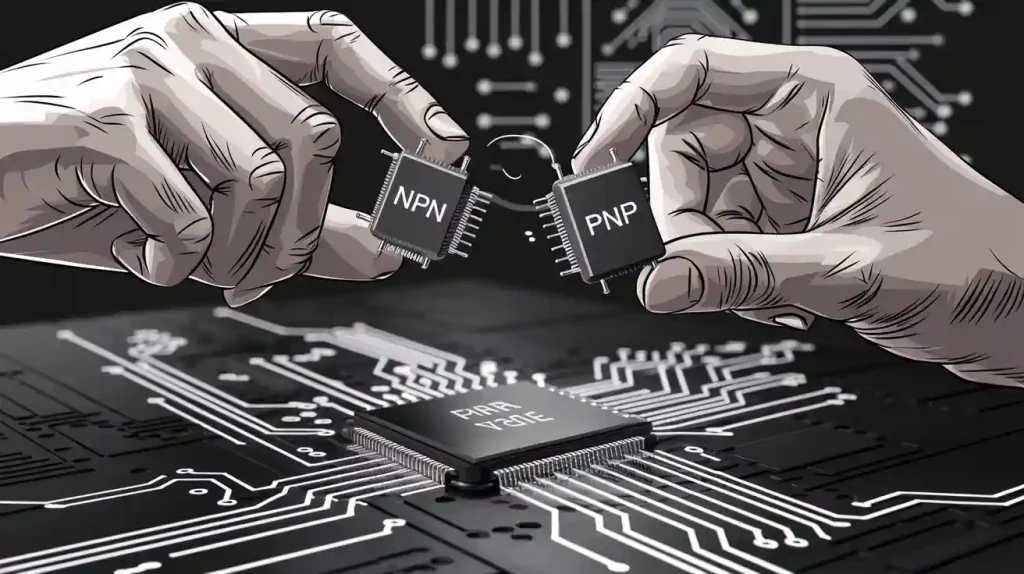
Transistors (like BC549 or 2N2222)
Capacitors and resistors (for timing and filtering)
Heatsink (keeps things cool)
Here’s a table with some recommended specs for your dc to ac converter project:
Component | Specification |
|---|---|
NE555 timer IC | 1 pcs |
BC549 NPN transistor | 40V, 0.5A, 1 pcs |
IRF540 N-channel MOSFET | 100V, 27A, TO-220, 2 pcs |
Mylar capacitors | 0.1uF, 100V, 2 pcs |
Resistors | 4.7K (1), 120K (1), 1K (2), 5.6K (1) |
Transformer | 2A, 12V CT 12V, 1 pcs |
Heatsink | N/A |
💡 The total cost for all these parts is usually around $30. You can find most of them at your local electronics store or online.
Circuit Design
Now, let’s talk about the design of your dc to ac converter. You want a simple and reliable setup. The heart of your converter is the 555 timer. This chip creates a 50Hz or 60Hz square wave signal. That signal goes to the MOSFETs, which switch the current from your battery on and off very quickly.
Here’s a basic overview of the design:
The 555 timer generates a square wave.
The signal from the timer drives two MOSFETs.
The MOSFETs switch the current from the battery through the primary winding of the transformer.
The transformer steps up the voltage to the level you need for your AC devices.
Here’s a table that shows the main parts in your dc to ac converter design and what they do:
Component | Quantity | Purpose |
|---|---|---|
12V Battery | 1 | Power source for the converter |
MOSFET IRF 630 | 2 | Switches to control the output |
2N2222 Transistor | 2 | Used in the oscillator circuit |
2.2uF Capacitor | 2 | Filters and stabilizes the circuit |
Resistor (680 ohms) | 2 | Sets the current in the circuit |
Resistor (12K) | 2 | Used in the oscillator circuit |
12V to 220V Center Tap Transformer | 1 | Steps up voltage from 12V to 220V AC |
📝 The 555 timer chip generates the oscillating signal that drives the MOSFETs. The MOSFETs toggle on and off, letting the converter change DC from the battery into AC power.
Assembly Steps
Ready to build your dc to ac converter? Follow these steps:
Place the 555 timer on your breadboard or PCB.
Connect the resistors and capacitors to set the timer’s frequency to 50Hz or 60Hz.
Attach the output pins of the timer to the bases of the transistors.
Connect the transistors to the gates of the MOSFETs.
Wire the MOSFETs so they switch the current from the battery through the transformer’s primary winding.
Connect the center tap of the transformer to the positive terminal of the battery.
Attach the load bulb to the secondary side of the transformer.
Double-check all wiring for tight connections and correct placement.
Add the heatsink to the MOSFETs to prevent overheating.
Make sure your dc to ac converter is in a cool, dry, and well-ventilated spot.
⚠️ Common mistakes include using the wrong size converter, poor wiring, or overloading the converter. Always match the converter’s input voltage to your battery and never exceed its rated load.
Calculations
You need to do a few calculations to make sure your dc to ac converter works safely and efficiently. Here’s how you can figure out the right transformer size and output current:
Calculate the core area (CA) for your transformer:
CA = 1.152 × √(24 × 10) = 18 sq.cm.Find the turns per volt (TPV):
TPV = 1 / (4.44 × 10–4 × 18 × 1.3 × 50) = 1.96Calculate the secondary current:
Secondary Current = (24 × 10) / (230 × 0.9) = 1.15 AmpsFind the number of turns for the secondary winding:
Number of Turns = 1.96 × 230 = 450Calculate the primary number of turns:
Primary Turns = 1.04 × (1.96 × 24) = 49
You can also use these formulas to check your power and transformer size:
Formula | Description |
|---|---|
P = V * I | Calculates real power in watts |
P = V * I * PF | Adjusts power calculation for power factor |
S = V * I | Calculates apparent power in kVA |
S = P / PF | Determines required transformer size |
🔢 Always check your calculations before you power up your dc to ac converter. This helps you avoid overloads and keeps your converter safe.
Testing the Inverter
After you finish building your dc to ac converter, you need to test it. Here’s how you can do it safely:
Procedure | Description |
|---|---|
Voltage test | Use a multimeter to measure input and output voltage. Make sure both are within the rated range. |
Current regulation | Connect different loads and see if the converter keeps the output current steady. |
Waveform quality | Use an oscilloscope to check the output waveform. A smooth sine wave is best. |
Maximum power output | Test the converter with its maximum rated load. Make sure it stays stable and does not overheat. |
Safety precautions | Wear safety glasses and gloves. Never touch live wires. Avoid overloading the converter. |
If your dc to ac converter does not produce the expected AC output, try these troubleshooting steps:
Check the battery voltage. A fully charged 12v battery should read about 12.6 to 12.8 volts.
Inspect all wiring and connections for loose spots or corrosion.
Check fuses and circuit breakers. Replace any that are blown.
Make sure the total wattage of your devices does not exceed the converter’s capacity.
Adjust the output voltage and frequency settings if needed.
Make sure the converter has good airflow and is not overheating.
Look at the user manual for error codes or messages.
If you still have problems, ask a professional for help.
🛠️ If you see issues like no output, overvoltage, or overcurrent, check for damaged parts, loose wires, or wrong settings. Fix these before using your converter again.
You might run into problems like rectifier module damage, inverter module damage, or overcurrent displays. These often come from grid voltage changes, bad wiring, or faulty parts. Always check your design and connections before you power up your dc to ac converter.
Inverter Safety
High Voltage Precautions
Building an inverter means you work with high voltage. High voltage can hurt you if you are not careful. Even small mistakes can shock or burn you. You should learn safety rules before you start. Many people take safety classes or special PV training. These classes teach you how to stay safe with electricity and solar systems.
Here are some certifications you should know:
Certification | Description |
|---|---|
ANSI/UL 2200 | Safety rules for stationary generators |
UL 9540 | Safety rules for energy storage systems |
ANSI/UL 1741 | Inverter testing rules |
IEEE 1547 | Connection rules for energy resources |
You can also take utility safety classes or NABCEP PV training. These teach you basic electrical safety and building codes.
⚡ Always turn off power before touching wires. Never work on live circuits. Wear gloves and safety glasses every time.
Component Protection
Your inverter needs protection to last longer and work better. Heat is a big problem in diy circuits. MOSFETs and other parts can get very hot. If you do not keep things cool, your inverter can break.
Here are ways to keep your inverter cool:
Method | Description | Application |
|---|---|---|
Passive Cooling | Heatsinks soak up and release heat. | Good for small inverters and open spaces. |
Active Cooling | Fans blow air over heatsinks to cool parts. | Needed for bigger inverters or closed boxes. |
Advanced Methods | Use conduction, convection, and radiation for best results. | Helps keep energy efficiency high and parts safe. |
A flyback diode is another safety part. It gives current a safe path when you turn off an inductive load. It stops voltage spikes that can hurt your parts. You see flyback diodes in relays, motors, and other diy circuits. They help protect your inverter and keep it working well.
Safe Operation Tips
You want your inverter to work well and stay safe. Here are some tips to help you:
Use the right tools and wear safety gear.
Follow all instructions from the makers.
Never touch bare wires or work on live circuits.
Keep your work area clean and away from fire hazards.
Make sure you have good insulation and grounding.
Best Practice | Description |
|---|---|
Use PPE and tools | Keeps you safe from shocks and burns |
Follow manufacturer guidelines | Helps you avoid mistakes and accidents |
Never work on live circuits | Prevents electric shock |
Keep area clean and dry | Reduces risk of fire and falls |
Insulate and ground your inverter | Adds another layer of protection |
Falls and ladder accidents happen a lot in workshops. Keep floors dry and clear. Use extension poles instead of ladders when you can. If you use a ladder, do not stand on the top two steps.
🛡️ Good safety features and protection help your inverter last longer. You also save energy and keep your backup power system working well.
You now know how to make a simple DC to AC inverter using a 12V battery. First, you gather all the parts you need. Next, you design your circuit and check your math. Then, you test your inverter and always follow safety steps. This helps your inverter work well and keeps you safe.
Most homemade inverters are about 80-90% efficient. This means you get more power for your devices and waste less energy as heat.
Inverter efficiency is measured by how much energy is used. For example, if your inverter gives 100W out and uses 120W in, the efficiency is 83%. This saves energy and gives you steady results.
Here are some common ways people use inverters and what you can expect:
Application | Performance Metrics |
|---|---|
Solar Power Systems | High-efficiency inverters give more energy and less downtime; smart inverters help keep the grid steady. |
Power needs change; small cars use up to 130 kW, big trucks need over 250 kW. | |
RV, Marine, and Portable Power | Pure sine wave inverters give clean power for sensitive electronics; a 2000-watt inverter runs most RV appliances. |
You can use your inverter for backup power, solar energy, or when you need power on the go. It gives clean energy for your house, RV, or trips outside. You can run lights, appliances, and sensitive electronics with steady power.
If you want to learn more or try harder projects, check out these resources:
How to Electronics: Intermediate/Advanced – These guides teach more about energy electronics.
Homemade Circuit Projects – Find many energy circuit projects, including inverter circuits.
Do you have questions or want to share your project? Leave a comment below. Your ideas help others learn and build better energy projects.
FAQ
What is a pure sine wave and why does it matter?
A pure sine wave looks smooth and clean. You need it for electronics like laptops, TVs, and medical gear. Devices run better and last longer with pure sine wave power. You avoid buzzing, overheating, and random shutdowns.
Can I use a pure sine wave inverter for my computer or uninterruptible power supply?
Yes, you can. Pure sine wave inverters work great for computers and uninterruptible power supply systems. You get steady voltage and safe power. Sensitive electronics need pure sine wave to avoid damage and data loss.
How do I know if my inverter makes a pure sine wave?
You can check with an oscilloscope. The output should look like a smooth wave, not a square or jagged line. Some inverters say “pure sine wave” on the label. Ask the seller if you are not sure.
What devices need pure sine wave power?
Many devices need pure sine wave power. Here is a quick list:
Laptops
TVs
Audio equipment
Microwaves
Laser printers
These devices work best and stay safe with pure sine wave.
Can I build a pure sine wave inverter at home?
You can build one, but it takes skill and good parts. You need special circuits to make a pure sine wave. Most DIY kits make square waves. Pure sine wave kits cost more and need careful setup.
Tip: If you want to power sensitive electronics, always choose pure sine wave.