You can start identifying parts on a mobile phone PCB by looking for big pieces first, like the battery connector or display socket. Use the silkscreen labels on the board to help you, but always check with a schematic or look at another phone if you can. Take clear pictures and make a simple map to keep track of what you find. Watch for special marks, like plus and minus signs, especially near the top where the antenna point is often found. Learning basic electronics rules and symbols helps you not get mixed up with resistors, capacitors, or tiny chips.
Tip: Many beginners think reading electronic symbols and identifying parts is hard. Practice and patience make it easier.
Key Takeaways
Begin finding parts on a mobile PCB by looking for big pieces like the battery connector and display socket first.
Check silkscreen labels and diagrams to help you see the PCB and know what each part does.
Search for special marks on parts to make sure you put them in the right way, because putting them wrong can break the device.
Use tools like magnifying glasses and multimeters to look at tiny parts and test if the circuits work well.
Keep practicing finding parts on different mobile PCBs to get better and feel more sure about fixing electronics.
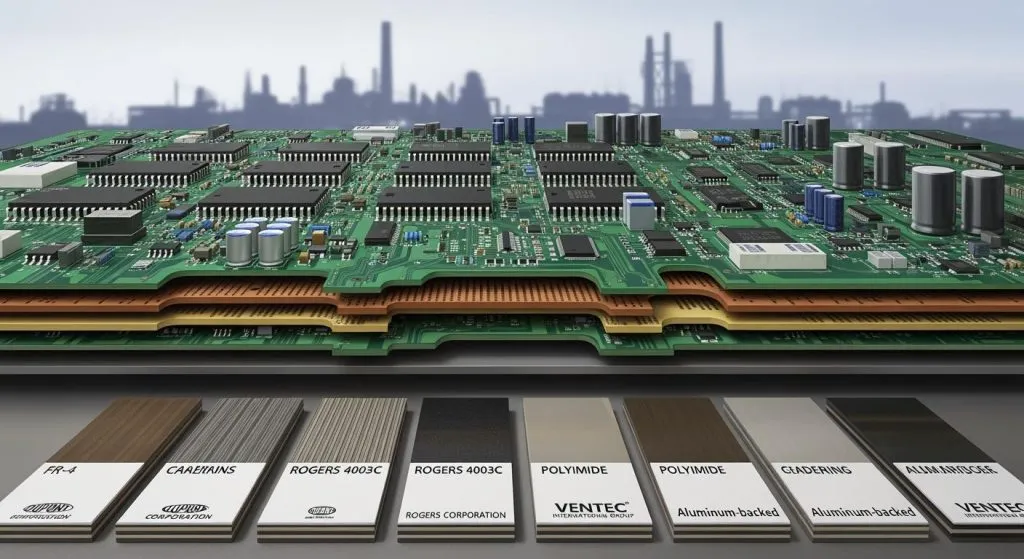
Mobile phone PCB layout
Zones and landmarks
When you look at a mobile phone pcb, you notice that it has different zones. Each zone has a special job. You find the top layer, which holds the main chips, signal lines, and sometimes the keyboard. The bottom layer connects modules like the battery and power supply. Internal layers help connect chips and move signals between parts. These layers work together to make the pcb function well.
Top Layer: Main chips, signal lines, keyboard
Bottom Layer: Battery, power supply modules
Internal Layers: Chip connections, signal transmission, display screen
You can spot landmarks on the pcb by looking for large connectors or chips. These landmarks help you understand where each part sits. If you see a big square chip, it is likely the processor. Small rectangles often mean resistors or capacitors. Landmarks make it easier to map out the pcb and find what you need.
Antenna point location
You often find the antenna point at the top of the pcb. This spot helps the phone send and receive signals. The battery usually sits near the center or bottom. Connectors can appear in different places, depending on the phone’s design. The table below shows where you can expect to find these key components:
Component | Location on PCB |
|---|---|
Antenna Point | Top of the PCB |
Battery | Typically near the center or bottom |
Connectors | Various locations depending on design |
If you want to identify the antenna point, look for a small pad or connector near the top edge. This area often has special markings or a metal shield. You should remember that the pcb layout may change from one phone model to another. Always check the top area first when searching for the antenna point.
Tip: Take your time when exploring the pcb. Use a magnifier to see small details and markings. This helps you spot the antenna point and other important parts quickly.
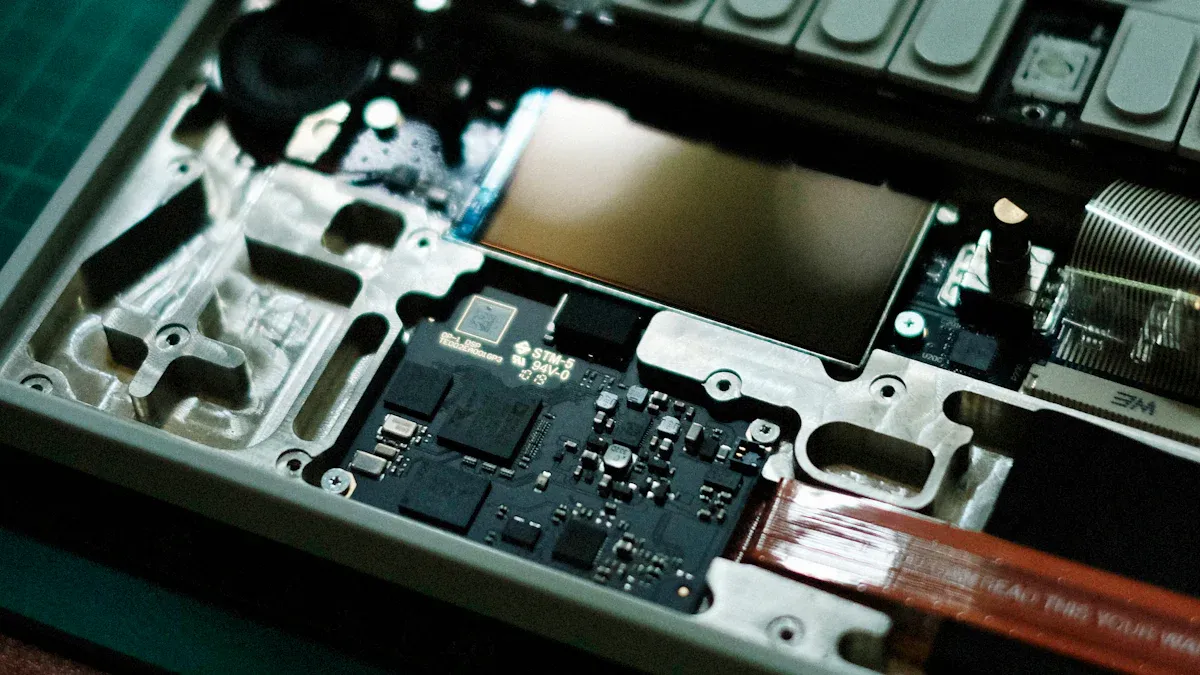
Identifying parts on a mobile phone PCB
Visual cues for common components
When you look at a mobile phone PCB, you can find clues to help you spot different electronic parts. Each part has its own shape, size, and label. These clues make it easier to tell parts apart.
Here is a table that shows how to spot some common parts:
Component Type | Primary Function | Common Sizes (SMD) | Beginner Tip |
|---|---|---|---|
Resistor | Limits current | 0603 (1.6×0.8mm), 0805 (2×1.25mm) | Color bands or numbers for value |
Capacitor | Stores charge | 0402 (1×0.5mm) to axial cans | No polarity on ceramics; watch electrolytics |
Diode | One-way valve | SOD-123 (3.7×1.6mm) | Silver band marks cathode |
Inductor | Magnetic storage | 0805 coils | Often looks like a tiny wire spool |
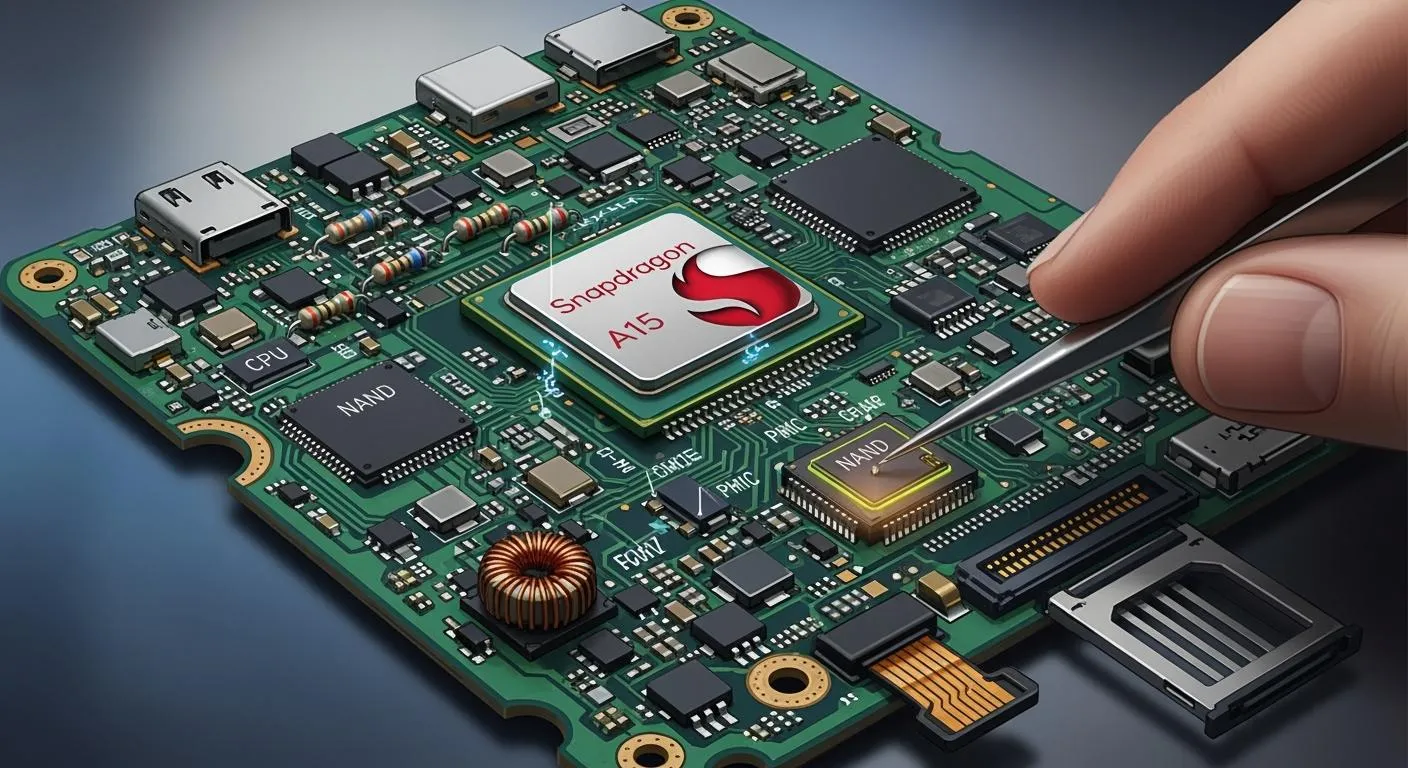
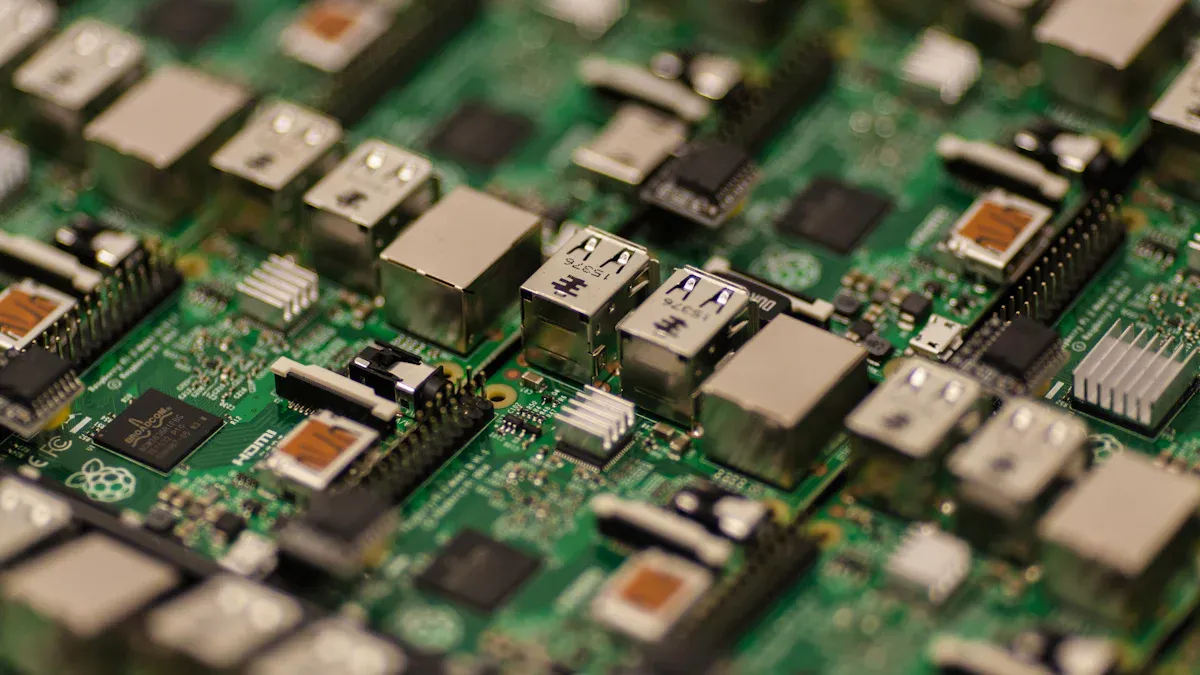
You will also see bigger chips on the PCB. The application processor, or cpu, is usually the largest ic. Memory chips, like RAM and ROM, are close to the cpu. Power management ic chips help control power on the board. Connectivity modules and sensors look different and have part numbers.
Tip: Look closely at the biggest ic near the center of the PCB. This is often the cpu, which runs most things.
Other important parts you might see are the battery connector, display connector, GSM antenna pad, flex cable, microphone, and touchpad. Each one has a special shape or label to help you know what it is.
Polarized markings and symbols
Some electronic parts have polarity, so they must go in a certain way. You need to look for special marks and symbols that show you how to put these parts in.
Polarized parts use plus (+) and minus (-) signs to show direction. For example, tantalum capacitors have a colored band for the positive side. Aluminum electrolytic capacitors show a negative mark. Diodes have a bar or color band for the negative side. Integrated circuits have grooves or dots for the first pin. Ball Grid Arrays (BGAs) have a dot or dip to show polarity.
You should always check for these marks before you put in or change any part. If you see a two-pin part, look for the plus and minus signs. Multi-pin parts often have a dot or notch near the first pin.
Note: If you do not follow the polarity marks, the parts may not work or could break.
Basic electronics rules for identification
You need to know some basic electronics rules when you find parts on a mobile phone PCB. These rules help you avoid mistakes and help you know what each part does.
Here is a table with tips for finding common parts and where to look for them:
Component Type | Identification Tips | Location Indicators |
|---|---|---|
Integrated Circuits (ICs) | Largest ICs, often near the center, may have heat spreaders | Main Processor near center |
Baseband Processor | Responsible for cellular communication, near antennas or SIM card slot | Near antennas |
Power Management IC (PMIC) | Controls power distribution, near battery connector | Near battery connector |
Resistors | Small rectangular or cylindrical, marked with color bands or numerical codes | Various locations on PCB |
Capacitors | Electrolytic (polarized) or ceramic (unmarked), identified by size and position | Various locations on PCB |
Inductors | Coil-shaped or ferrite beads, used in power circuits | Look for “L” markings nearby |
Battery Connector | Large connector with multiple pins, located on the edge of the PCB | Edge of PCB |
Voltage Regulators | Small ICs near power-hungry components, marked with “VR” | Near power-hungry components |
Wi-Fi/Bluetooth Module | Single chip for both, near antennas, often covered by a metal shield | Edge of PCB |
Cellular Modem | May be separate or integrated into SoC, near cellular antennas | Near cellular antennas |
Accelerometer and Gyroscope | Small ICs, often combined, near center for accurate readings | Center of PCB |
RAM | Often packaged with main processor, look for known manufacturers | Close to main processor |
Flash Storage | Larger IC, may use eMMC or UFS standards, located near processor | Near main processor |
Display Connector | Large connector on edge, may have nearby ICs for display driving | Edge of PCB |
Audio Codec | Handles audio processing, near headphone jack and speaker connectors | Near audio connectors |
You should remember these rules when you look for parts. The biggest ic is usually the cpu, and it is near the center. Power management ic chips are close to the battery connector. Resistors and capacitors are all over the board, but you can spot them by their size and marks. Inductors look like tiny coils and often have an “L” nearby.
Tip: Practice finding parts by looking at different mobile phone PCBs. This helps you learn what parts look like and where they go.
If you follow these rules, you will get better at finding parts and knowing what each one does. You will also make fewer mistakes and find parts faster and more easily.
PCB identification tools and techniques
If you want to find parts on a mobile phone PCB, you need special tools. These tools help you see tiny things, test circuits, and learn how the power section works. Here are some important tools you should have:
Magnifying glass or digital microscope
Multimeter for checking voltage, resistance, and continuity
Component datasheets and online databases
PCB layout or schematic software
Magnifiers and microscopes
The power section of a mobile phone PCB has very small parts. A magnifying glass or microscope helps you see these tiny parts better. High-resolution imaging lets you notice small solder spots and microchips. You can see how deep things are, which helps when working on the power ic or other parts. Many magnifiers let you look at a wide area or zoom in close. This means you can check the whole power section or just one chip.
Feature | Description |
|---|---|
High-resolution imaging | Lets you see tiny solder joints, microchips, and PCB traces with great clarity. |
Improved depth perception | Gives a 3D view, helping you judge distances and apply solder accurately. |
Versatile magnification | Lets you switch between broad inspections and detailed views, making your work faster. |
Tip: Take pictures of the power section with a digital microscope. This helps you remember where each power ic is.
Multimeter basics
A multimeter is a tool you need for checking the power section. You use it to test voltage, resistance, and continuity. Always turn off the device before you start. Set the multimeter to DC voltage mode to check the battery connector or power ic output. The battery voltage should be between 3.7V and 4.2V. Use continuity mode to see if the power section has broken lines. If you hear a beep, the circuit is good. Use resistance mode to test resistors in the power section. Compare the number you get to the number on the part or in the schematic. You can also check for shorts between power and ground.
Turn off the device.
Check voltage at the battery connector and power ic.
Test continuity in the power section.
Measure resistance of resistors.
Look for shorts between power and ground.
Using schematic diagrams
Schematic diagrams are like maps for the power section and the rest of the PCB. You use them to see how each power ic connects to other parts. The diagrams use symbols for each part, so you can match them to the board. Schematics show how power moves from the battery through the power section to the rest of the phone. They help you find the right parts and understand how power flows. When you fix problems, follow the lines in the schematic to trace the power path and find what is wrong.
Online resources
There are many online resources to help you find parts in the power section. Some websites let you search for codes on parts. Others give you guides and pictures to help you spot the power ic or other parts. Here are some helpful resources:
Resource Title | Description |
|---|---|
Finding a PCB Electronic Search Engine for Your Component Needs | Helps you find electronic parts for the power section. |
Decoding Component Codes: A Transparency Guide for PCB Hobbyists | Shows you how to read codes on power ic chips and other parts. |
How To Identify Components on Printed Circuit Boards | Gives you pictures and tips for finding parts in the power section. |
Note: Always check the power section with both online resources and your schematic. This helps you not make mistakes when working with the power ic or other important parts.
Step-by-step process for identifying parts
Visual inspection
First, look closely at the mobile phone PCB. Use a magnifying glass or microscope to see small things. Check for broken or missing parts. Your eyes and simple tools help you find problems. AOI and X-ray can show hidden issues, but you mostly use your eyes. You might see the charging ic near the battery connector. The audio ic is close to the headphone jack. Look for labels, shapes, and colors on the board. The logic ic is often in the center.
Use a magnifying glass or microscope
Check for missing or damaged parts
Look for component labels and markings
Spot the charging section and audio section by their connectors
Tip: Take your time. Compare the board with clear photos or diagrams.
Cross-referencing with schematics
Schematics help you match parts on the PCB with the design. Find reference names like “U1” or “C5” printed on the board. These names match symbols in the schematic. Check the schematic to see the type and value of each part. You can confirm where the logic ic is and what it connects to. Use datasheets and part libraries to learn more about each part.
Match reference names on the PCB with the schematic
Confirm the identity and details of each component
Use datasheets for extra information
Testing with tools
Use tools to check if parts work right. A multimeter measures voltage, resistance, and continuity. Check the charging circuit by measuring voltage at the charging ic. Test the audio circuit by checking continuity at the audio ic. PCB rework stations help fix small parts. In-circuit and flying probe tests check signal paths and values. Functional testing makes sure the board works as it should.
Use a multimeter to check voltage and continuity
Test the charging and audio sections for faults
Try functional testing to see if the board works
Confirming with online info
Check your results by searching online. Many websites have pictures and guides for finding parts. Look up part numbers to see if a chip is a logic ic or charging ic. The audio ic is near the speaker or microphone connectors. Online resources help you find RAM, flash storage, and display connectors. You also learn to spot markings and polarity signs.
Note: Always double-check your results with trusted online sources and official datasheets.
Troubleshooting and common pitfalls
Misidentification issues
Sometimes, you might think one part is another on a mobile phone PCB. This can happen because some parts look almost the same. Markings on the board can also be hard to see. If you mix up a resistor and a capacitor, you could make mistakes when fixing the phone. You might also think a power IC is a memory chip if you do not check the part number.
Common troubleshooting problems are:
Short circuits can happen if solder joins parts by accident or water gets inside.
Broken traces can come from bending the board or rust, which stops signals.
Parts like capacitors or resistors can burn out after too much heat or voltage.
Tip: Always look at a good board to compare. Check for the right part numbers and company logos.
Overlooked small parts
Tiny parts on the PCB are easy to miss. These small pieces, like micro resistors or capacitors, are very important for the phone. If you do not see them, you might not fix the real problem. Use a magnifier to find these tiny parts. Look for rough edges or size changes, which can show if a part is missing or replaced.
Small parts often hide next to bigger chips or connectors.
If small parts are missing or broken, the phone might not work.
Damaged or unreadable components
Broken parts make it harder to know what they are. You might see burnt, cracked, or rusty parts. Sometimes, the writing on the board is too light or blurry to read. Low-quality markings can also make it hard to tell parts apart. When this happens, you may need clear pictures or another board to compare.
Mobile devices often get damaged, which makes it hard to find the right part.
Fixing broken parts can help you get back important data or repair the phone.
If you cannot read the markings, it takes longer to build or test the board.
Note: Forensic jobs, like chip-off, are much harder if you cannot find or fix the right part.
Avoiding mistakes
You can stop many mistakes by being careful. Start by looking closely at the board and compare each part to a good board. Watch for changes in size, color, or markings. Use X-ray if you think there is hidden damage. Always use a multimeter to test if parts work.
Good ways to avoid mistakes:
Look closely: Check for wrong information, part numbers, and logos.
Examine carefully: Watch for rough edges or signs someone changed the part.
Use X-ray: Find hidden problems inside parts.
Test: Use electrical tests to see if a part works.
Some extra tips:
Leave enough space between lines to stop noise and cross-talk.
Do not just use the smallest space; use more space if you can.
Remember: Looking carefully and testing parts helps you avoid big mistakes and keeps your repairs safe.
You can find parts on a phone PCB by using easy steps.
First, learn about the layers and marks on a phone PCB.
Next, look for common parts like chips, sensors, and connectors.
Use the marks on the PCB to help you.
Try using tools like a magnifier or multimeter to check parts.
Begin with big parts, use the silkscreen, check with schematics, and draw a simple map.
Practicing with real boards helps you get better at finding parts.
Study Focus | Findings |
|---|---|
Phone Fault Diagnosis | You need hands-on practice to fix phone problems well. |
Curriculum Integration | Learning how to repair should be in phone classes. |
New phone PCBs need you to work with your hands. You learn more by touching and fixing boards than just reading.
Know what you can do and believe in yourself.
Take small steps when you work on each phone.
Think about what you learned and see how you improve.
Every phone you check makes you more sure of yourself. You can learn to find phone PCB parts if you keep practicing. Be patient and you will get good at it.
FAQ
How do you start identifying parts on a mobile phone PCB?
You start by looking for big parts like the battery connector or display socket. Use a magnifier to see small details. Check the silkscreen labels on the mobile phone PCB. Always compare with a schematic or another mobile phone.
Why is the antenna point important on a mobile phone PCB?
The antenna point lets your mobile phone send and receive signals. You often find the antenna at the top of the mobile phone PCB. If you miss the antenna, your mobile phone cannot connect well. Always check the top area for the antenna point.
What tools help you find parts on a mobile phone PCB?
You use a magnifying glass or microscope to see tiny parts. A multimeter helps you test voltage and continuity. Schematic diagrams show you where each part sits on the mobile phone PCB. Online guides give you pictures of mobile phone parts.
How can you tell if a part is polarized on a mobile phone PCB?
Look for plus and minus signs near the part. Diodes and capacitors often have these marks. If you put a polarized part the wrong way, your mobile phone may not work. Always check the markings before you replace any part on the mobile phone PCB.
What should you do if you cannot read a part number on a mobile phone PCB?
Take a clear photo of the mobile phone PCB. Search for the part number online or compare with another mobile phone. You can also use a schematic to match the location. If you still cannot find it, ask for help from a mobile phone repair expert.