You can start your journey into console electronics right now, even if you feel unsure. This beginner’s guide helps you learn each step, from basic graphics to advanced video and audio. You’ll see how a console works, how you can connect hardware and software, and why every component matters in development. If you love game graphics or want to see your image on a display, this guide gives you the tools. Maybe you dream about building consoles that support rgb, crt, or hdtv. With the right design, you can create gaming experiences with top quality and sound. You just need curiosity and patience to get started.
Các nội dung chính
Start your console design journey by exploring how existing consoles work. Take apart old devices or study their components to understand connections.
Set small, achievable goals for your console project. Break down the development process into milestones to track progress and avoid feeling overwhelmed.
Focus on creating a smooth user experience. Good electronic design ensures intuitive controls, seamless gameplay, and clear graphics, enhancing player satisfaction.
Prioritize reliability in your console design. Use quality components to extend the lifespan of your device and reduce the need for repairs.
Utilize available resources and tools for learning. Websites, YouTube channels, and design software can guide you through the console development process.
Essential Steps in a Beginner’s Guide to Console Design
Getting Started with Game Console Electronics
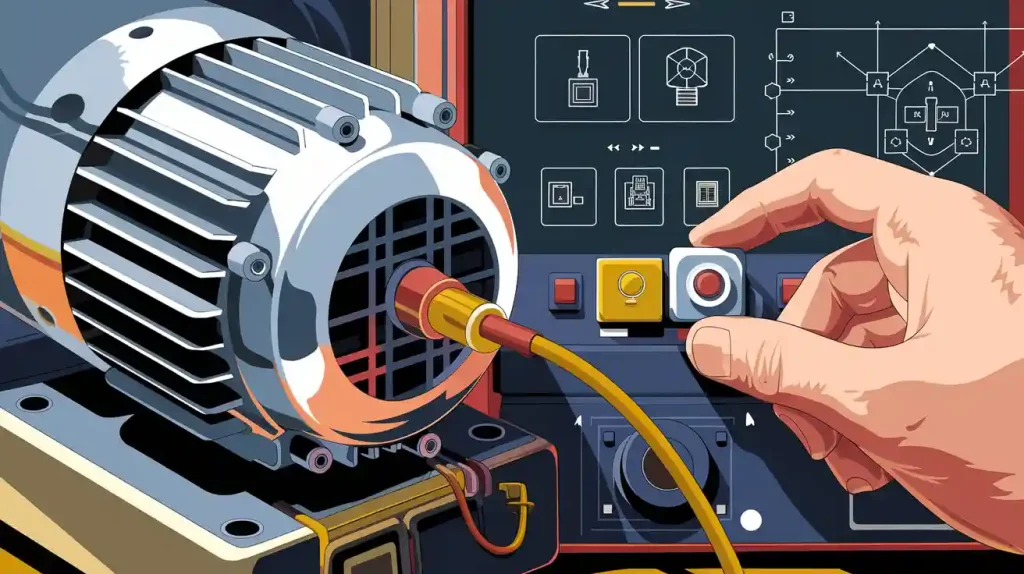
You might wonder where to begin with console electronics. The first step is to get curious about how consoles work. You do not need to know everything about circuits or programming right away. You can start small and build your skills over time.
Mẹo: Try to take apart an old console or look at pictures of the inside. You will see how each component connects and supports the system.
You can find many resources to help you learn. Some websites and channels make things easy for beginners. Here are a few you can check out:
uzebox: A platform where you can build your own console.
Ben Ryves: A place with many electronics projects.
Retroleum: A blog about retro gaming and electronics.
Z80.info: A site about the Z80 microprocessor and projects.
EEVBlog: A YouTube channel with electronics tutorials.
Retro Game Mechanics: A YouTube channel about retro gaming technology.
You can use these resources to learn about graphics, video, and audio. You will see how consoles send an image to a display, like a crt or hdtv. You will also learn about rgb and scart connections. These help you get the best quality for your gaming experience.
You do not need to rush. Take your time to understand each part. You will see how the cpu, memory, and other parts work together. This will help you when you start your own design.
Setting Realistic Project Goals
You might feel excited to build a console right away. It helps to set small goals first. You can break your project into steps. This makes the work easier and helps you see your progress.
Đây là một bảng common milestones in game console development:
Milestone | Mô tả Chi tiết |
|---|---|
Prototype | The first test of your game. It may not go further than this stage. |
First playable | You get a better idea of the look and gameplay. You use higher-quality graphics and artwork. |
Vertical slice | A small, fully playable sample. You can use this to show others how your console works. |
Pre-alpha | Most of the content is ready. You make big decisions about what to keep or change. |
Alpha | The console is feature complete. You can play from start to finish. Testing begins. |
ALPHA | All content and graphics are in place. You focus on making things run better, not adding new things. |
Gold master | The final version. Your console is ready for others to use. |
You can use this table as a guide. Try to reach each milestone before moving to the next. This keeps you from feeling overwhelmed. You can also fix problems early, which saves time later.
Lưu ý: Celebrate each step you finish. Every milestone means you are closer to your own working console.
You can use this beginner’s guide to help you plan. You will learn how to choose the right component for your console. You will see how to make your graphics and video look great on any display. You will also learn how to connect your console to a crt, hdtv, or even use rgb and scart for the best image quality.
You do not need to finish everything at once. You can enjoy the process and learn new things with each step. This makes console design fun and rewarding.
Why Console Electronic Design Matters
Hiệu suất và trải nghiệm người dùng
When you start working on a console, you want every game to feel smooth and fun. The electronic design shapes how you play and enjoy your favorite titles. If you ever played a game with laggy controls or confusing buttons, you know how frustrating that can be. Good design makes sure you get:
Điều khiển trực quan that let you move and act without thinking twice.
Seamless gameplay, so you never get stuck waiting for the next level or for your character to respond.
Clear tutorials that help you learn the game quickly, thanks to fast video processing and sharp graphics.
You might remember stories about games like E.T. The Extra-Terrestrial for Atari 2600. Players struggled with poor controls and slow response times. That happened because the console’s electronics could not keep up. When you use this beginner’s guide, you learn how to avoid those mistakes. You can focus on making your console deliver crisp graphics, vibrant video, and a great gaming experience on any display, whether it’s a crt, hdtv, or even using rgb and scart connections for top image quality.
A well-designed console keeps players happy and coming back for more.
Độ tin cậy và tuổi thọ
You want your console to last for years. Reliable electronics mean you spend more time gaming and less time fixing problems. Many people find that repairing game consoles is cheaper than buying new ones, especially for systems that are just a few years old. This extends the life of your device by over two years and helps reduce electronic waste. When you build with quality components and smart design, you make sure your console stands up to hours of video, graphics, and gaming fun.
A strong console design also means you can enjoy your favorite games and graphics on any display, from crt to hdtv, with the best image possible. You get more value from your work, and you help the environment by keeping electronics out of landfills. This beginner’s guide shows you how to create consoles that last, so your development journey is both fun and responsible.
Console Electronics Basics for Beginners
Unique Console Requirements
You might think all electronics work the same, but consoles have special needs. When you start your beginner’s guide, you see that game consoles must connect to many types of displays, like crt, hdtv, or even scart for older TVs. You want your console to show clear graphics and smooth video, so you need HDMI output for modern screens and rgb for retro setups. Controllers use USB or Bluetooth, and some consoles need WiFi for online gaming.
You also need to pick the right single-board computer. ARM-based boards, like Raspberry Pi, give you cost-effective and power-efficient processing. If you want higher performance, you can use Intel-based boards. Your console must support game controller input from Nintendo, PlayStation, or Xbox. The software needs to run an operating system that works with your game engine, like Godot, and support graphics APIs such as Vulkan or OpenGL 3.3. These requirements help you create a console that delivers high-quality video and graphics for every gaming session.
Tip: Always check if your console supports the display and controller types you want. This makes your development smoother and your gaming experience better.
Common Beginner Challenges
You face many challenges when you start console development. Memory management is tough because game consoles often have limited RAM. For example, a retro console might have only 264 KB RAM. The framebuffer alone uses 153.6 KB, leaving little space for other tasks. You must optimize your code by using smaller variable types and smart memory allocation.
Here are some common hurdles:
Figuring out how to manage memory for graphics, video, and image processing.
Writing display drivers and button interrupts for smooth gameplay.
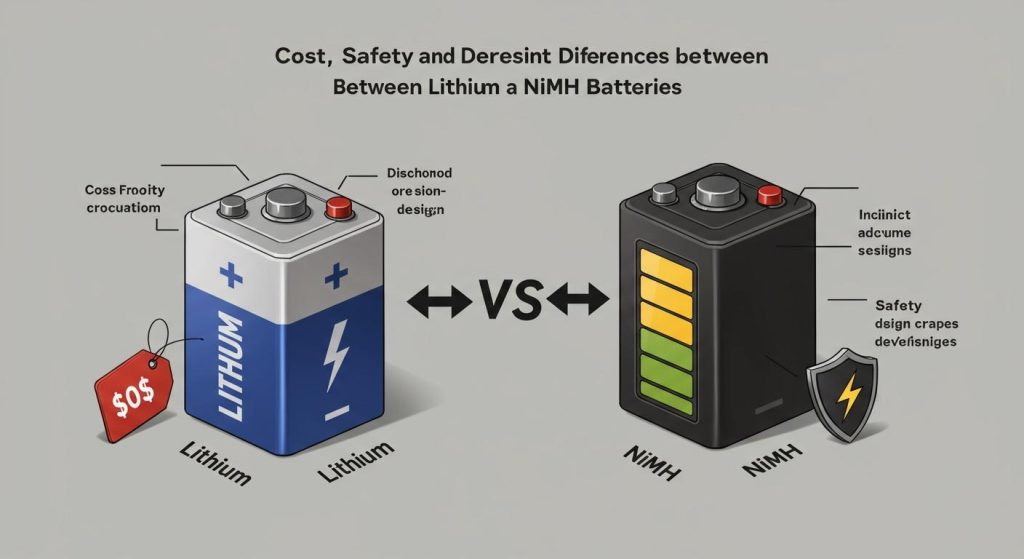
Setting up battery management systems for portable consoles.
Supporting sprite sheets, tilemaps, and font systems for rich graphics.
Organizing dynamic menu systems for hardware configuration.
You might struggle with using both cores of the MCU and keeping your console running fast. The beginner’s guide helps you learn how to overcome these challenges and build a console that shows great graphics and video on any display. You get to see your image on the screen with top quality, whether you use crt, hdtv, rgb, or scart connections.
Key Components in Game Console Design
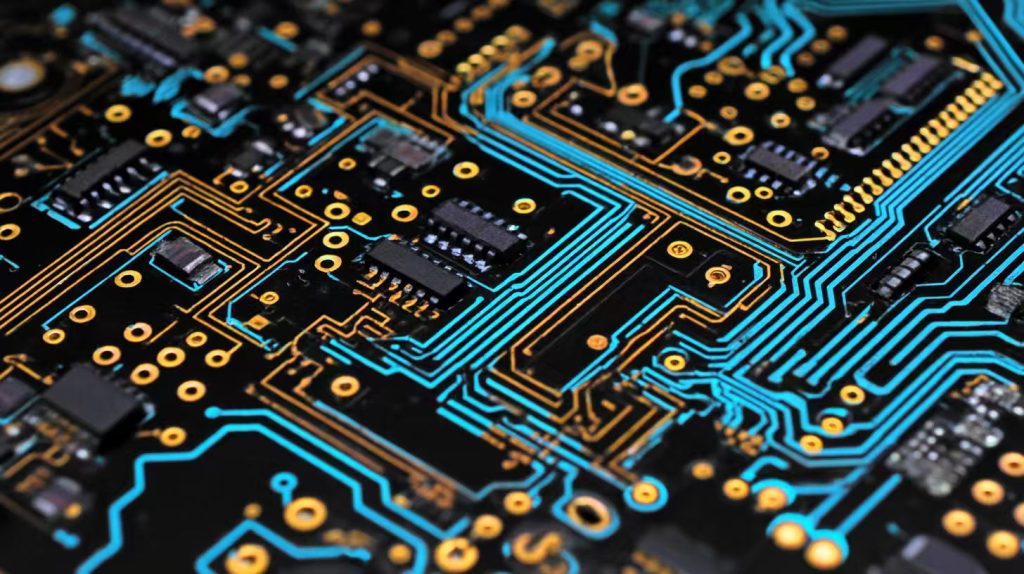
CPU, GPU và bộ nhớ
You see the heart of game consoles in three main parts: CPU, GPU, and memory. Each component plays a special role in your console’s development. The CPU handles game logic and manages tasks. The GPU creates graphics and sends video to your display. Memory stores game data so you can access it quickly during gameplay. Take a look at cái bàn này to understand their functions:
Thành phần | Chức năng | Mô tả Chi tiết |
|---|---|---|
CPU | Đang xử lý | Handles game logic, manages tasks, and executes instructions. |
GPU | Rendering | Processes graphics and outputs visual data to the display. |
Bộ nhớ | Data Management | Stores game data for quick access during gameplay. |
The GPU works by rendering data from the CPU to the video output. It uses parallel computing, which means it has many compute units working together. Each unit includes a scheduler and subprocessing units. Memory, like RAM, is important for fast data access. It lets your console store lots of game data during play. This prevents delays and keeps your gaming experience smooth.
Storage and Power Systems
You want your console to run fast and stay reliable. Storage systems use DirectStorage APIs to reduce operating system overhead. This lets your console handle lên đến 50,000 IOPS while using only a small part of the CPU. Hardware decompression support helps your console use less CPU power when loading game data. You can queue multiple requests and flush them efficiently. This improves data handling speed and keeps your console running well. Power systems make sure your console stays on and delivers quality performance for graphics and video.
Audio, Video, and I/O
Audio, video, and I/O components bring your console to life. You use a software-controlled sound generator to create three square waves with noise and envelope control. ADPCM channels let you play samples with different resolutions and frequencies. A digital-to-analogue converter turns digital signals into analogue audio for speakers. The I/O controller manages data transfer and acts as a memory bank. These parts help you get clear audio, sharp graphics, and smooth video on any display, from crt to hdtv, using rgb or scart for the best image quality. Your beginner’s guide shows you how to connect each component for a great gaming experience.
Beginner’s Guide to Design Tools
Schematic and PCB Software
You need the right tools to bring your console ideas to life. Schematic and PCB software helps you turn your drawings into real circuits. Many beginners start with simple programs. These tools let you design, test, and change your circuits before you build anything. You can see how each component connects and check for mistakes early.
Dưới đây là một quick look at popular software for game consoles:
Công cụ phần mềm | Tính năng | Lý Tưởng Cho |
|---|---|---|
Nhà thiết kế Altium | Advanced features, multi-layer designs, high-speed signal routing, 3D visualization | Thiết kế phức tạp |
Chim ưng | User-friendly interface, extensive component libraries | Hobbyists or simpler projects |
You can use Eagle if you want an easy start. Altium Designer gives you more power for bigger projects. Both help you create clear graphics and video paths for your console. You can also find support for rgb, crt, hdtv, and scart connections. This makes your gaming experience better and your image quality sharp.
Tip: Try out both tools. See which one fits your style and project needs.
Comparing Altium, Eagle, and Others
You might wonder how these tools compare. Each one has strengths for different parts of console development. Eagle works well for small consoles and quick changes. Altium Designer shines when you need advanced graphics, video, and multi-layer boards.
Check out this table to see the differences:
Tính năng | EAGLE | Autodesk Fusion |
|---|---|---|
Maximum Copper Layers | 16 | 64 |
Hierarchical Design Support | Giới hạn do bị che khuất | tăng cường |
Ban Quản Trị Thư Viện | Cơ bản | Nâng cao |
Design Rule System | Cơ bản | Nâng cao |
Cải tiến hiệu suất | Giới hạn do bị che khuất | Đáng kể |
Integrated ECAD/MCAD Collaboration | Không | Có |
You get more options for graphics and video with advanced tools. If you want to add new features or improve your console’s quality, try Autodesk Fusion. It helps you manage every component and supports better image and video output. You can use these tools to make sure your console works with any display, from crt to hdtv, and supports rgb and scart for retro gaming.
A beginner’s guide shows you how to pick the right tool for your project. You can focus on making your game console fun, reliable, and ready for any gaming session.
Creating Game Console Schematics
Lập kế hoạch mạch
You want your console to work well and look great on any display, from crt to hdtv. Planning your circuits is the first big step in the beginner’s guide. You start by thinking about how each component will connect and how your console will handle graphics, video, and audio. Good planning helps you avoid mistakes and makes your development smoother.
Here are the main steps you should follow when you plan circuits for game consoles:
Schematic design comes first. You use PCB design software to draw how each part connects. This helps you see the whole system before you build anything.
Place each component on the board. Make sure you leave space for heat to escape and keep parts away from each other to reduce noise.
Route the traces. You want to use a solid ground plane to keep your video and graphics signals clean. This gives you better image quality and less interference.
Run a design rules check. This step finds errors before you finish your console. It saves you time and money.
Tip: Take your time with each step. Careful planning leads to better gaming experiences and fewer problems later.
Organizing Schematics
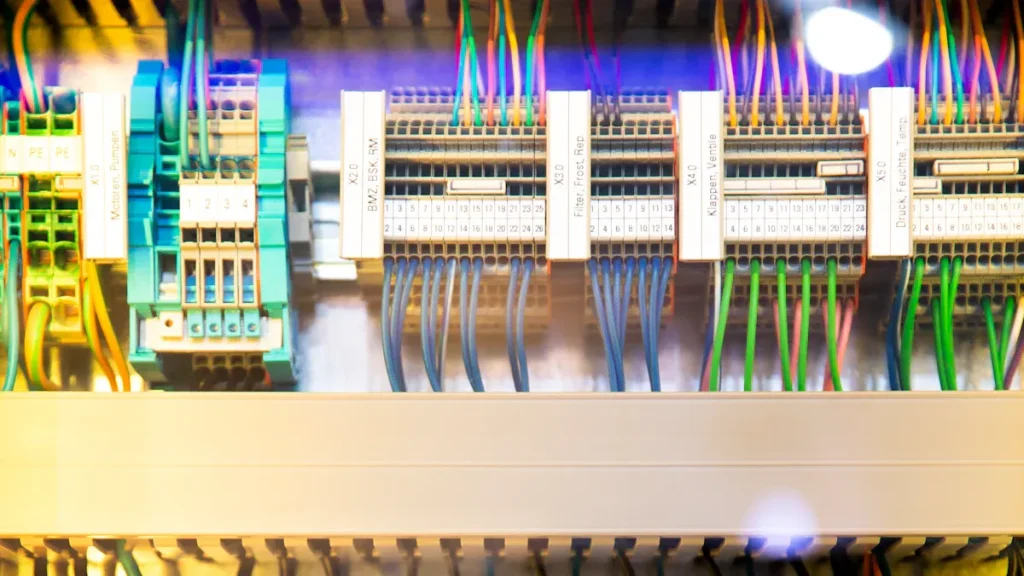
You need to keep your schematics neat and easy to read. When you organize your work, you can find problems faster and make changes without confusion. Use clear labels for each part, like cpu, memory, or rgb output. Group related sections, such as video, audio, and power, in blocks. This makes your guide easier to follow.
Try using colors or notes to highlight important paths, like the video signal going to the display or the graphics chip sending data to the screen. If you want to add scart or hdtv support, show these connections clearly. Good organization helps you share your beginner’s guide with others and makes your console development more fun.
Remember: A clear schematic means you can fix issues quickly and keep your console running strong for every gaming session.
PCB Layout and Routing for Consoles
Translating Schematics to PCB
You’ve got your schematic ready, and now it’s time to turn it into a real PCB for your console. This step feels exciting because you start to see your game console take shape. You want to make sure your graphics and video signals stay clean and your console works well with any display, like crt, hdtv, or even scart for retro setups.
Đây là những gì bạn nên tập trung vào:
Group components by function. Keep parts that work together close. This helps reduce noise and boosts performance.
Start with critical components, like processors and connectors. Place them first so your console has a logical flow.
Manage heat. Space out power-hungry parts and use heat sinks. This keeps your console cool during gaming sessions.
Plan your layer stack early. Assign layers for power and ground. This reduces interference and keeps your video and graphics signals strong.
Route signals above a ground plane. This trick minimizes noise, especially for high-speed designs.
Use wide power planes. Broad planes deliver stable power and improve quality.
Run design rule checks often. Catch errors before they cause problems in development.
Try auto-routing tools, but manually route critical signals for best results.
Check the physical fit. Make sure your PCB fits inside your console’s enclosure.
Tip: Careful planning at this stage means your console will deliver sharp image quality and smooth video for every game.
Layout, Routing, and Layering
When you lay out your PCB, you want everything to fit and work together. Place each component carefully to optimize space and performance. High-speed signals, like those for graphics and video, work best on inner layers next to ground planes. This setup keeps interference low and your image clear.
Use dedicated planes for power and ground. Solid distribution ensures your console gets stable voltage, which is key for reliable gaming. For parts that get hot, add thermal vias under them. These help manage heat and keep your console running longer.
If you follow this beginner’s guide, you’ll see your console handle graphics, video, and audio with ease. Your development will feel smoother, and you’ll get the best quality for every display, whether it’s crt, hdtv, rgb, or scart. You’ll enjoy seeing your game come to life with sharp graphics and vibrant video.
Power and Thermal Management in Game Consoles
Chiến lược phân phối điện
You want your console to run smoothly, whether you play on a crt or an hdtv. Good power distribution keeps every component working at its best. Start by planning how power moves through your board. Use wide traces for high-current paths. This helps your graphics and video chips get steady voltage. If you use a beginner’s guide, you’ll see that grouping power lines by function makes troubleshooting easier.
Many consoles use voltage regulators to keep the power stable. These chips protect your game console from sudden spikes or drops. You can add decoupling capacitors near each chip. These small parts filter out noise and keep your image and audio clear. If you want to support rgb or scart, make sure your power system can handle extra features. Always check your power budget before adding new hardware. This step keeps your console safe and your gaming sessions long.
Tip: Label each power rail on your schematic. This makes your development process smoother and helps you spot problems fast.
Quản lý nhiệt
Heat can hurt your console’s performance and shorten its life. You need smart ways to keep things cool, especially when you push graphics and video to the limit. Here are some methods you can use:
Thermal vias move heat away from hot spots like GPUs. These tiny holes filled with copper can lower temperatures by up to 10°C.
Heat sinks pull heat from chips and spread it out. Finned designs work best and can boost cooling by 30%. Use thermal paste for better contact.
Thermal simulation software lets you test your cooling ideas before you build. You can find hot spots and fix them early in development.
Active cooling uses fans to blow air over your board. This can drop PCB temperatures by 20-30°C. Some high-end consoles even use liquid cooling for top quality.
Advanced materials, like metal-core PCBs, help spread heat better than standard boards. They can cut board temperatures by 15%.
If you follow this guide, you’ll see your console handle long gaming sessions without overheating. You get sharp graphics, smooth video, and a clear image on any display. Your console will last longer and give you the best experience, whether you use rgb, scart, or hdtv.
Remember: Good power and thermal management means more fun and less worry during every game.
Design Checks and Validation
Tránh các lỗi phổ biến
You want your console to work right the first time. Mistakes can happen, but you can catch most of them early. Start by checking every connection in your schematic. Look at each component and make sure it matches your plan. If you miss a pin or wire, your console might not show graphics or video on your display.
Here are some common errors you should watch for:
Missing connections between the CPU and memory
Wrong orientation for chips or connectors
Power lines not reaching every part
Overlapping traces that cause short circuits
Forgetting to add decoupling capacitors for clean video and audio
Tip: Print your schematic and use a colored pen to trace each signal path. This helps you spot missing links, especially for graphics, rgb, or scart outputs.
You should also check your board for enough space around hot parts. If you crowd components, you get more heat and less quality. Always double-check your work before you move to the next step in your beginner’s guide.
Simulation and Review
Before you build your game console, you can use simulation tools. These programs let you test your design on a computer. You can see how your graphics and video signals move through the board. If you find a problem, you can fix it before you spend money on parts.
Try these steps for a smooth review:
Run a simulation for power and signal flow.
Check if your image looks clear on both crt and hdtv displays.
Test audio and video paths for noise or distortion.
Review your layout with a friend or mentor. Fresh eyes catch mistakes you might miss.
You can use a table to track your review:
Trạm kiểm soát | Trạng thái |
|---|---|
Power simulation | Thông qua |
Video output test | Thông qua |
Graphics review | Needs fix |
RGB/Scart support | Thông qua |
If you follow this guide, you will catch errors early and improve your gaming experience. Your console will show sharp graphics and smooth video, with top quality on any display. You will feel proud when your development leads to a working game console.
Prototyping and 3D Modeling for the Best Retro Experience
You want your console to feel real and look cool, right? Prototyping and 3D modeling help you turn ideas into something you can touch and see. When you build game consoles, hands-on work gives you the best retro experience. You get to test graphics, video, and controls before you finish your design. This beginner’s guide shows you how to make your console stand out with sharp image quality and smooth gameplay.
Các bước tạo mẫu nhanh
You can follow these steps to make your console prototype fast:
Xác định mục tiêu. Decide what you want to test, like game controls or video output.
Create a Prototyping Development Document. Write down what you plan to build and what you need to deliver.
Build the prototype. Use templates and pre-made parts to speed up development.
Deliver the prototype. Test your console and get feedback from friends or other gamers.
Tip: Use simple materials like cardboard or 3D-printed shells. You can check how your console fits with crt, hdtv, rgb, or scart displays.
3D Modeling Basics
You can use 3D modeling to design the outside of your console. This step helps you see how each component fits together. You can change the shape, size, and color to match your style. Many beginners use free software like Tinkercad or Fusion 360. You can add holes for connectors, buttons, and vents for cooling. 3D models let you test graphics and video placement, so your console looks great and works well.
Note: 3D modeling makes your development easier. You can fix problems before you build the real thing. Your console will have the best retro experience with clear image quality and smooth gaming.
Manufacturing and Testing Your Game Console
Preparing Manufacturing Files
You have finished your design and want to see your console come to life. Now, you need to prepare files for manufacturing. Start by exporting your schematic and PCB layout from your design software. Most factories ask for Gerber files. These files tell machines where to place each component and how to make the board. Double-check your graphics and video paths in the files. This step helps you avoid mistakes that could hurt your image quality.
Label every part, like the cpu, memory, and rgb output. Clear labels make assembly easier. If you want your console to work with crt, hdtv, or scart, show these connections in your files. Add notes for special features, such as cooling fans or extra video ports. Good files help you get a board that matches your beginner’s guide and supports great gaming.
Tip: Ask your manufacturer for a file checklist. This keeps your development on track and your console ready for testing.
Xây dựng và thử nghiệm nguyên mẫu
You get to build your first prototype. This is where your console starts to feel real. Use your manufacturing files to order parts and assemble the board. When you test, focus on graphics, video, and audio. Try your console with different displays, like crt, hdtv, and rgb monitors. Check if the image looks sharp and the video runs smooth.
Testing is not just about hardware. You need to test your code and game features too. Build your software in a modular way. This makes it easy to add new features or fix bugs. Invite friends to try your console. Listen to their feedback about controls, graphics, and video. Early feedback helps you improve your console before you finish development.
Đây là một số best practices for building and testing prototypes:
Thực hành tốt nhất | Mô tả Chi tiết |
|---|---|
Ensure a Modular and Scalable Codebase | Build your code so you can add features without starting over. |
Prioritize User Testing and Feedback Loops | Let players test early and often. Use their ideas to make your console better. |
Demand Clear Communication and Collaboration | Talk with your team often. Share updates and solve problems together. |
Test Market Viability Before Full Development | Try your game idea fast. See if people like it before you spend more time and money. |
Gather Player Feedback Early and Often | Ask for feedback as soon as you can. Use it to improve graphics, video, and controls. |
Note: Testing with real players helps you find problems you might miss. You want your console to deliver top quality graphics, video, and a fun gaming experience.
If you follow this guide, you will see your console grow from an idea to a working device. You will learn how each component affects the final image and how to make your game consoles stand out.
Optimization Tips for Game Console Design
Cải thiện hiệu suất
You want your console to run fast and look sharp. Start with your UI design. A giao diện rõ ràng và đơn giản helps players enjoy the game. Think about what players need most. Put important buttons and menus where they are easy to find. Good UI makes your gaming experience smooth.
You can boost graphics and video performance with smart tricks. Use Mức độ chi tiết (LOD) to show simple models when objects are far away. This keeps your console from working too hard. Try dynamic resolution scaling. Your console can lower the resolution during busy scenes and raise it when things slow down. This keeps your image smooth and your video steady.
Asset streaming helps your console load only what you need. You do not have to fill memory with every graphic or sound at once. This trick keeps your game consoles running fast, even with lots of graphics and video. Always test your console on different displays, like crt, hdtv, or rgb monitors. You want your graphics to look good everywhere.
Tip: Organize your code and assets. Clean code makes it easier to fix bugs and add new features during development.
Reducing Cost and Complexity
You can save money and make your console easier to build. Start with open-source game engines. These tools do not cost much and help you avoid big license fees. Digital distribution is another smart move. You do not need to pay for boxes, shipping, or scart cables. Players can download your game right to their consoles.
Điện toán đám mây lets you and your team work together from anywhere. You do not need to buy expensive computers or servers. If you need help with sound or animation, hire freelancers for just those tasks. This keeps your team small and your costs low.
Watch out for common pitfalls. Do not add too many features at once. Each new component can make your console harder to fix. Focus on quality, not just more options. Test your console with real players. Listen to their feedback about graphics, video, and controls. This beginner’s guide helps you avoid mistakes and build a console that works well for every gaming session.
Remember: Simple designs are easier to test, fix, and upgrade. You want your console to deliver great graphics, clear video, and a fun experience on any display.
You followed this beginner’s guide and learned how to build consoles step by step. You saw how each component shapes graphics, video, and image quality on any display, like crt, hdtv, rgb, or scart. You mixed hardware and software for great gaming. Keep experimenting with console design and development. Try new ideas and test your game on different displays. Remember, hands-on work brings your console to life.
Building game consoles gives you real skills and lets you enjoy your own graphics and video. Every project helps you grow as a designer.
FAQ
What tools do you need to start designing a game console?
You can use free software like Tinkercad for 3D modeling and Eagle for PCB design. Grab a breadboard, some basic electronic parts, and a computer. Start small and build your skills step by step.
How do you test your console before making the final version?
You build a prototype using simple materials. Connect your parts and run your game. Ask friends to play and give feedback. Fix any problems you find. Testing helps you spot mistakes early.
Can you use old parts from broken consoles?
Yes, you can reuse chips, connectors, and even cases from old consoles. Check each part for damage. Reusing parts saves money and helps the environment. You get to learn how things work inside.
What should you do if your console overheats?
Try adding a heat sink or a small fan. Space out hot parts on your board. Use thermal paste for better cooling. Keep your console in a cool place. Good cooling keeps your console running longer.